Showing posts with label portraits. Show all posts

Friday, December 20, 2024

Student Art Show: People, Places and Things!


The student art exhibition had to do with subject matter. Students made a lot of Portraits in the style of famous artists like Kehende Whiley and Chuck Close.

Students recreated famous portraits by the masters of Renaissance, Surrealism, and Pop Art.

They created still life drawings using graphite, pastel. And they displayed their 3D model of the campus for the giant wooden map of Macon downtown.
Below is a picture of one blind student showing her blind friend her drawing. The lines of the bottles are raised in hot glue. She found her piece using the Braille tag beside the work.

 The Christmas Art Sale was a huge success as well. I love seeing my students pointing out which pieces they made to faculty and peers. They're almost giddy when they say, "I made this one!"


Saturday, September 16, 2023

Zentangle Portraits


 To build on our pattern lesson and give our doodles something to do, my students created what I call "zentangled portraits." They used a picture of themselves, a friend or a model in a magazine, cut out only the neck and face, following the hairline and collaged to a larger piece of paper.


Some images took on royal or saintly mantles as the background was broken up with halos, arches, and crowns, and those spaces were filled with repeated marks from black sharpies. Some kept  encorporated colored paper, markers or colored pencil to add another layer of complexity.

Students who were blind, used Wixi Sticks to divide the space, and then stayed within each shape filling it marks such as stripes, O's or X's. I love the pattern-saturated surfaces of Gustav Klimt paintings and I love the way this assignment turned out.


Wednesday, February 15, 2023

Metalic Paper Portraits


 Three weeks into our Portrait and Figure Unit and I thought we'd try out some play with processes and mixed media. Metallic paper collages are a fun way to fill in a drawing with color. My students drew portraits on mat board and then tore foil paper of various colors to glue down and  ill in the spaces around the lines. They painted the entire surface black and wiped carefully with damp paper towels to polish back some of the shine without rubbing off the colored foil. The dark lines and batik effect is worth the anxiety of temporarily covering the collage in black. All of my students seemed pleased with their finished products.


Friday, November 3, 2017

Zentagle Portraits


My friend, Matt Forrest, who volunteers at my school, got a grant to buy frames and easels for my students to have an exhibit in the community. We sat down with my high school students to brainstorm and vote on a project that interested them. They decided to make portraits that used various patterns.

Once their drawings were done in marker (any color as long as it was dark), I emailed pictures to Matt, who produced the images on plastic and then used photo emulsion and the images on plastic to produce silk screens.  When he came back to the school, my students printed their images with black ink, on to high quality printmaking paper.  The wet ink can be flocked with a powdered plastic that melts when met with a heat gun, making the image tactile. Finally, students colored their prints with water color. I try to have my all my art projects for the year on the calendar before the first day of school, but sometimes, unexpected opportunities and the group decisions make for some nice side trails and beautiful vistas.


Saturday, April 9, 2016

Portrait Perfect

One of my art professors told me, "If you can't make it good, make it big." Scale gives some legitimacy to art. Claus Oldenburg's spoon with a cherry, would be far less impressive if it were life size. It's the making it bigger than life that makes it spectacular. Adding a fountain element to the cherry stem is the over-the-top silliness that sells it to even anti-Pop Art grumps. I decided to give my students a larger-than-life self-portrait assignment, and ended up with some really happy results.


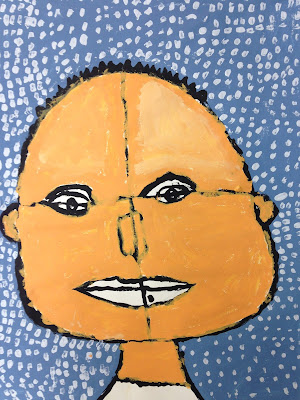
I teach proportions by having students draw a line of symmetry, and find the vertical placement of the eyes on that line. One student kept those preliminary lines, and I love it. This portrait (left) reminds me of Paul Klee.


Because the student, whose paintings are below, has no vision, I would move his hand in the shape the head, four or five times before giving him a brush and having him do it independently, based on muscle memory. Or I would hold his hand over a painted eye and say, the eyebrow goes here, and he'd paint it. I loved these so much that I had him do the assignment four times! Each time, I cut a construction paper head and neck to match his shape, and tape it to his painting, so he could paint the background without any worries of covering the figure. 
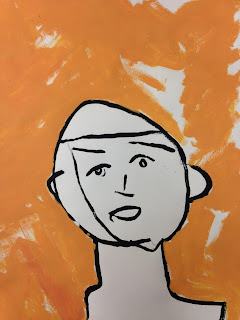

 The student, whose work is shown below was so excited about his image that he decided that he and I should publish a picture book of just this one image. "We'll be rich!" he insisted. He just started art this semester. Fingers crossed that the enthusiasm lasts.
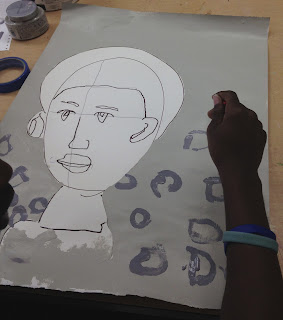

A few students drew in pencil, but could not see their lines, so I traced them in black paint, and that was bold enough to help them paint the shapes.
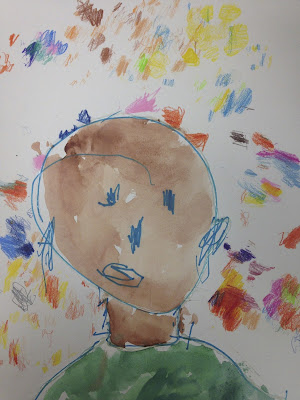
This portrait was done by a cognitively impaired student who is completely blind. I positioned the his  hand and told him what part of the face belonged at that spot. I traced the marker lines with hot glue for watercolor boundaries (the acrylic would have covered the lines). Then I covered the portrait and the student used a stencil and colored pencil to add pattern to the background. It feels simultaneously ephemeral and playful to me.
My advanced students could choose their own medium. This one chose to work in pencil,

and this one used marker and pastel. 

When I look back on an assignment, I can tell if it's a good one or not by how broad the range is in terms of style and interpretation. Everyone definitely was able to show off their skills and reveal their unique style and preferences. Plus they were forced to be bold, by working large. I'll be using this lesson again in the future.


Thursday, September 11, 2014

Shape Month for My Art Class

I dedicated our first month back in school to the design element of SHAPE. I've never taught any of these projects before, but I wanted to find the clearest ways possible to teach the basics of art to students who are visually impaired.

Notan
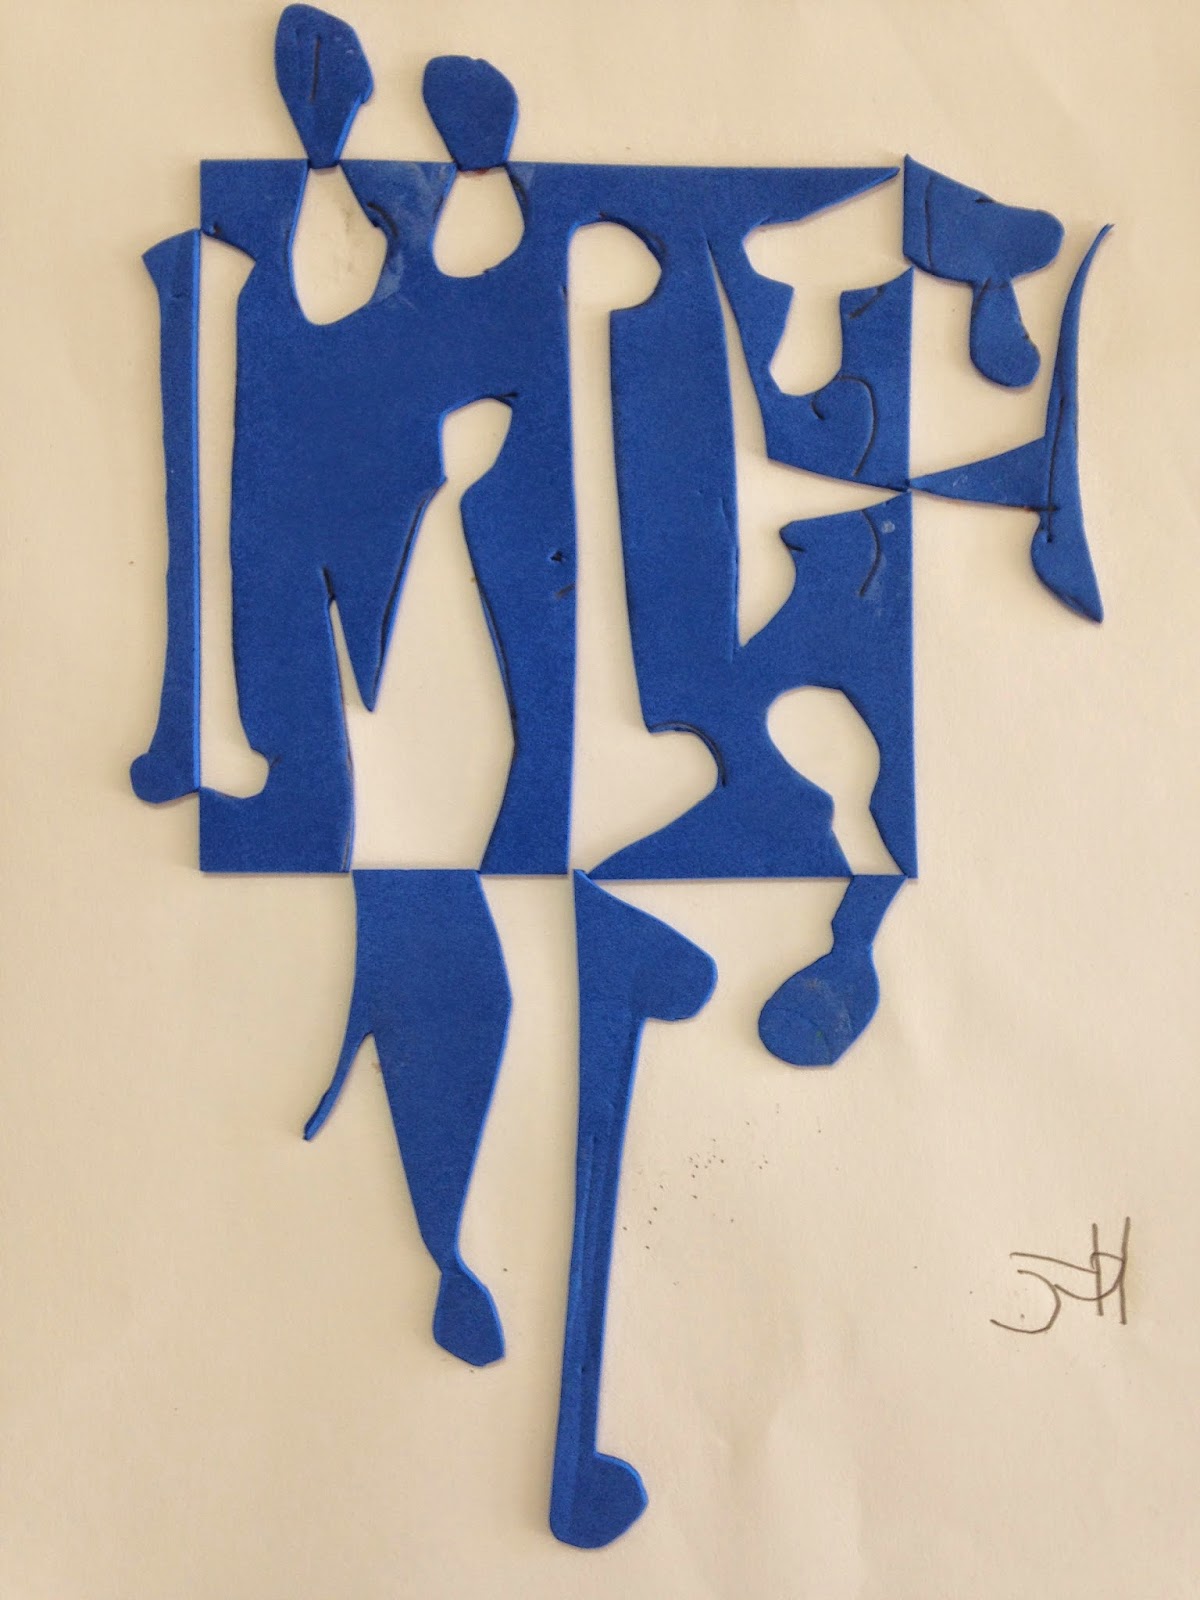
This is my new favorite way to teach the concept of NEGATIVE AND POSITIVE SHAPE. Notan is a Japanese design principle in which dark and light shapes are juxtaposed in an image.  With blind students I found it very helpful to have them use  foam sheets because they could feel the indented lines they drew in creating a shape, and once it was cut out they could put it all back together like a puzzle. After they flipped and glued each piece, they could feel the negative shape (the hole) and the positive shape (the piece they flipped). They each made two images, one symmetrically and one asymmetrically balanced.


Rectilinear Relief Sculptures
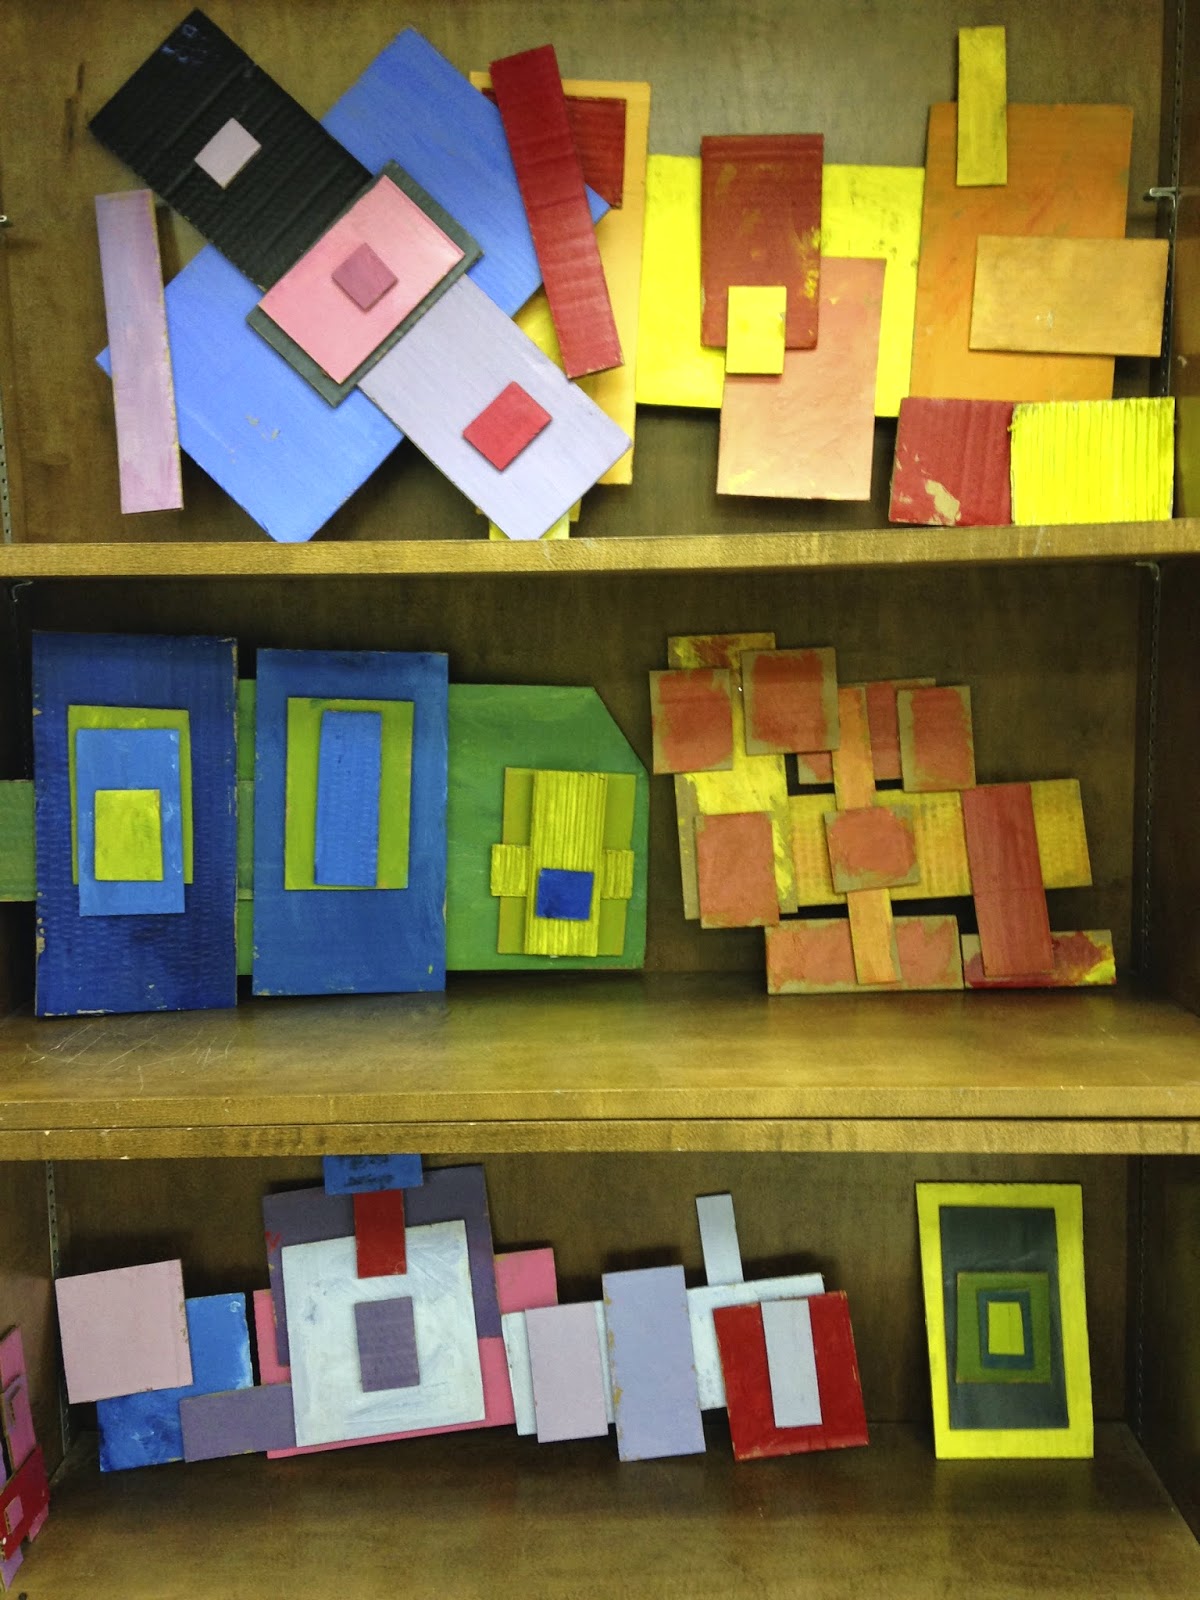
I felt like a little kid at Christmas when all my new classroom supplies rolled in; I just wanted to play with the boxes. I cut these boxes into hundreds of cardboard rectangles which I sorted into piles according to size.  Students gathered a variety of rectangles and picked two primary colors, which they could mix to create an analogous color scheme. They learned about visual unity through color and repetition of RECTILINEAR SHAPES. They arranged the rectangles several times and took digital photos of three different compositions before they chose one for me to hot glue.


Sports Posters
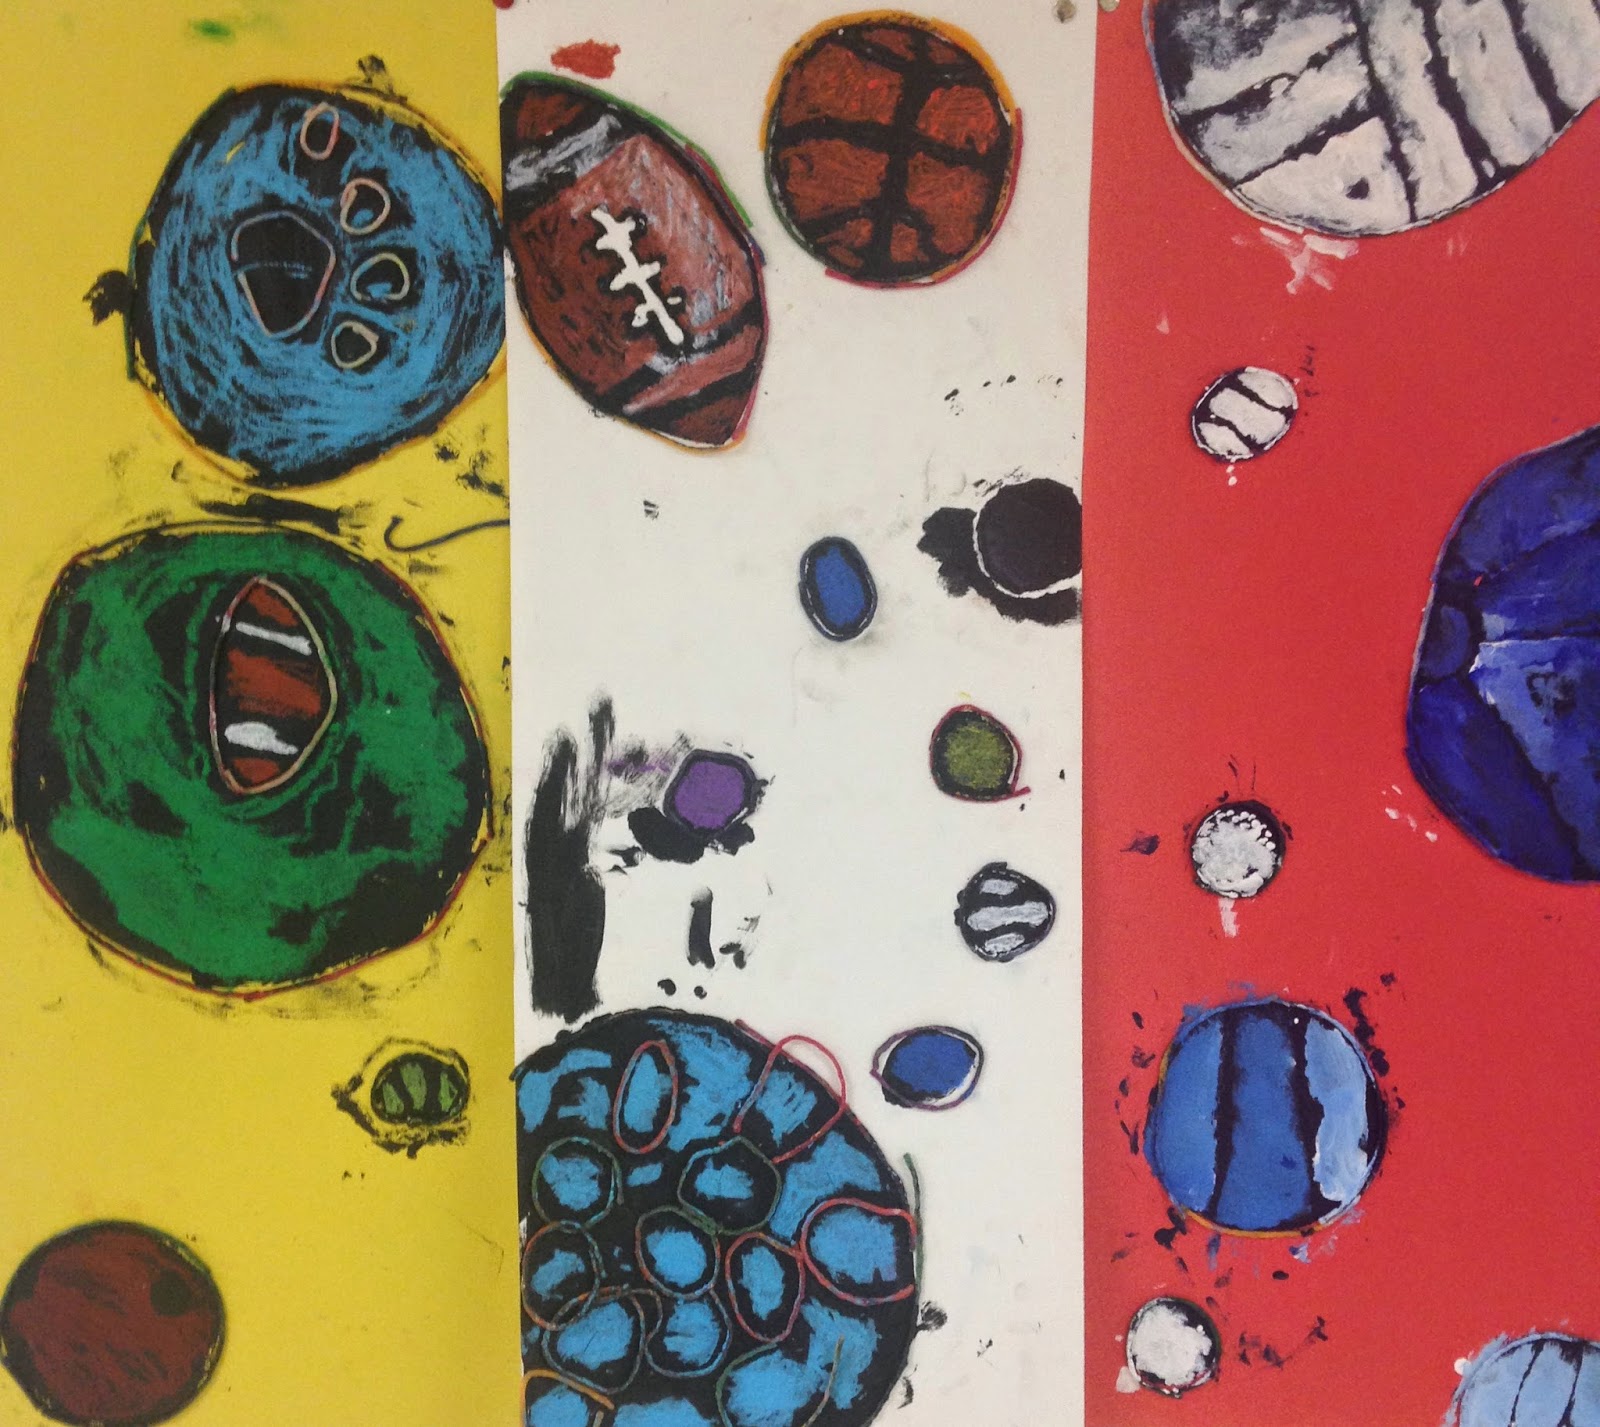
This assignment came about because Coach asked me for help covering his ugly cupboards and I'm all about interdisciplinary assignments.
CURVILINEAR SHAPES are the opposite of the rectangles we worked with the previous week. But we were still building unity through variety of size and unity through repetition of shape. My blind students traced circles with wiki sticks. This provided the tactile boundaries so they would know where to paint. They used black acrylic for the under painting, and then acrylic or oil pastel for the color on top.The fingerprints and smudges come from trying to feel for the dry areas that still needed painting.

Half Face Drawings
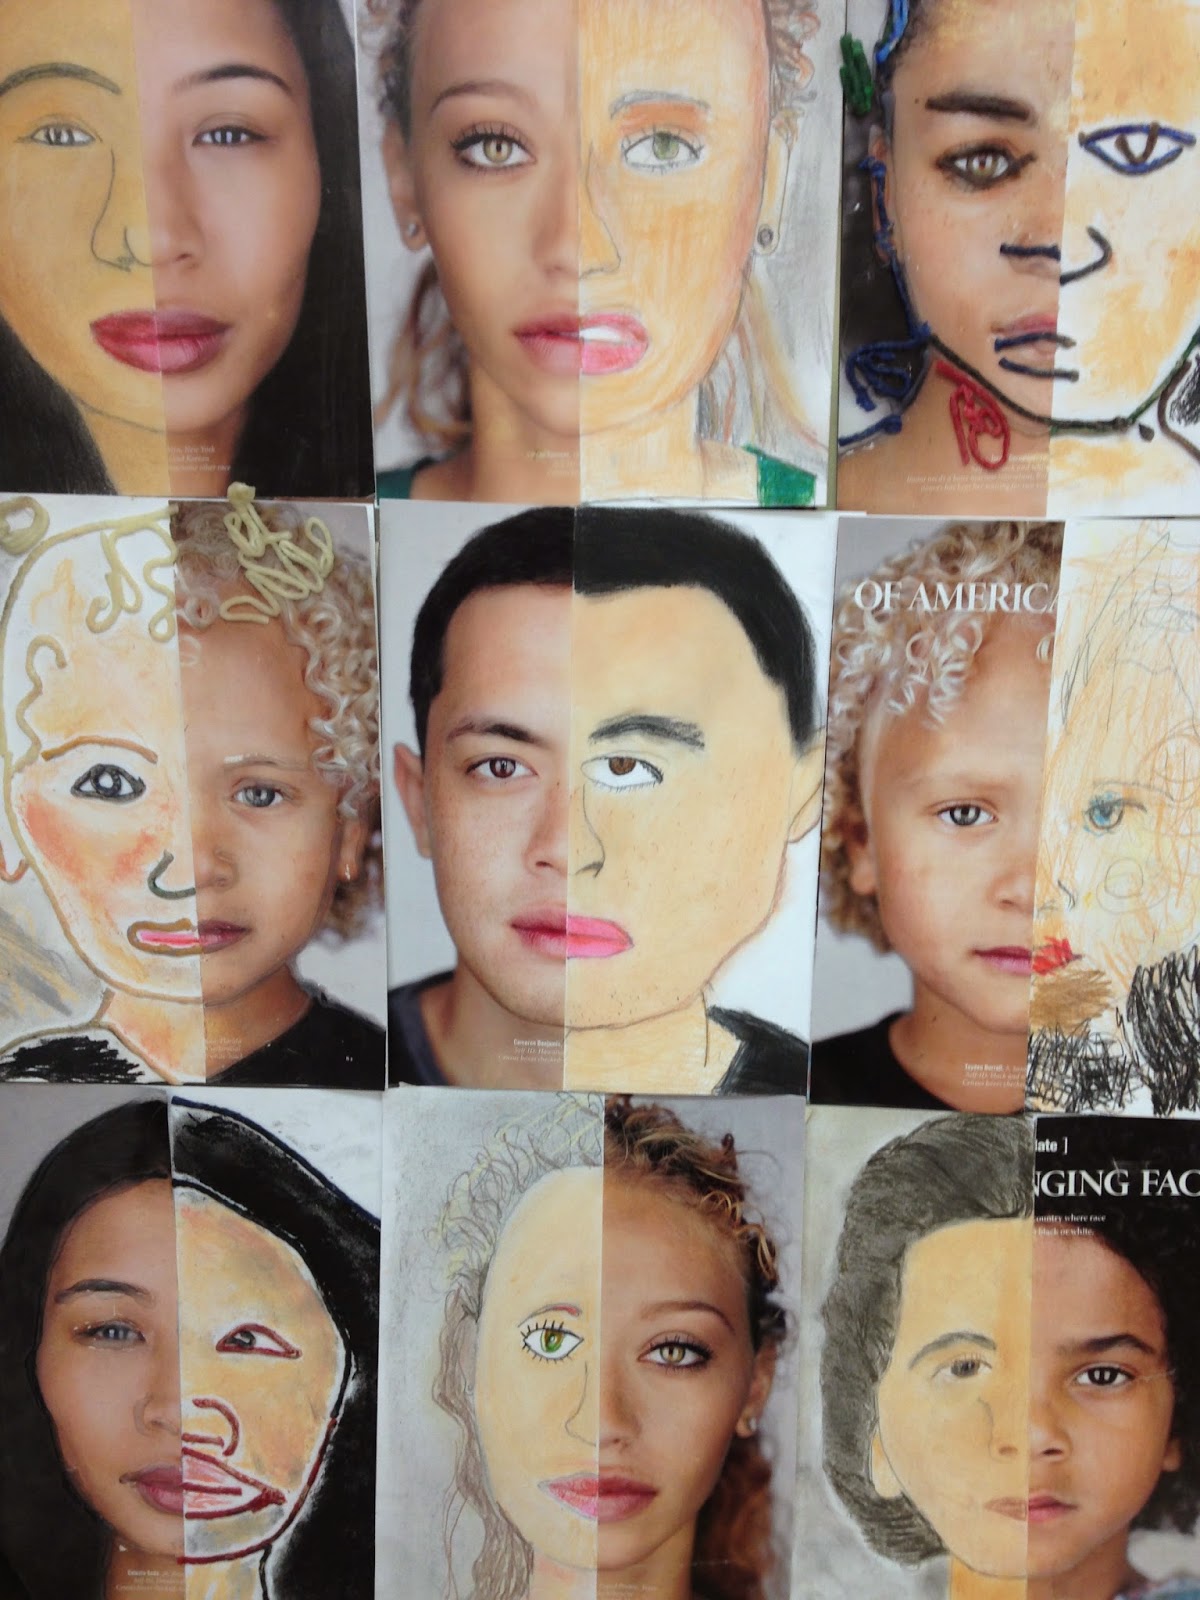
I remember loving this project when I was a kid and have been wanting to try it out with students for a long time. National Geographic had a great article about race in America and I was able to read it and discuss a little genetic science with the students. This assignment was used to teach about NATURALISTIC SHAPE as well as symmetry, proportions of the face, and observational drawing skills like trying to match color. Observational Drawing is hard when you are completely blind, so I traced half the face in hot glue for those students, and after they glued that half face, onto a piece of card stock, they used wiki sticks to create the other half the face. Then they used colored pencils and pastels to color it. Students really enjoyed the process.