 I dedicated our first month back in school to the design element of SHAPE. I've never taught any of these projects before, but I wanted to find the clearest ways possible to teach the basics of art to students who are visually impaired.
Notan
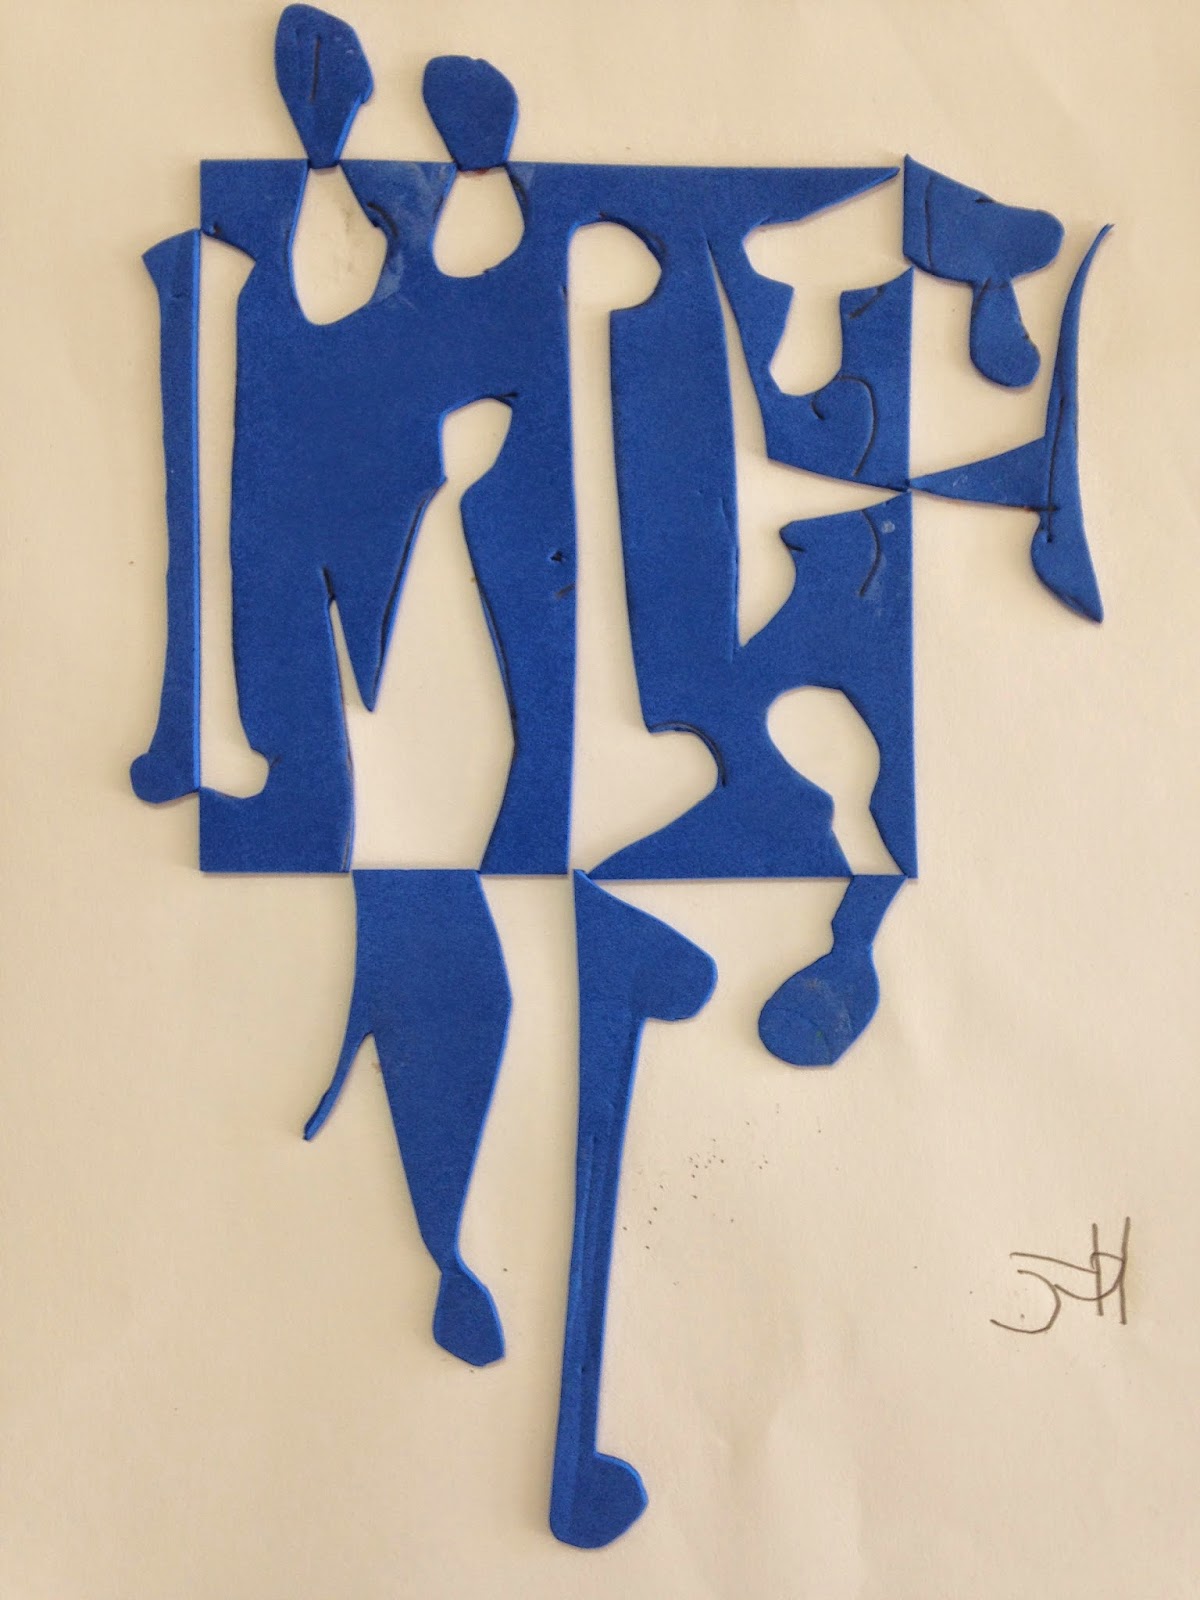
This is my new favorite way to teach the concept of NEGATIVE AND POSITIVE SHAPE. Notan is a Japanese design principle in which dark and light shapes are juxtaposed in an image. With blind students I found it very helpful to have them use foam sheets because they could feel the indented lines they drew in creating a shape, and once it was cut out they could put it all back together like a puzzle. After they flipped and glued each piece, they could feel the negative shape (the hole) and the positive shape (the piece they flipped). They each made two images, one symmetrically and one asymmetrically balanced.

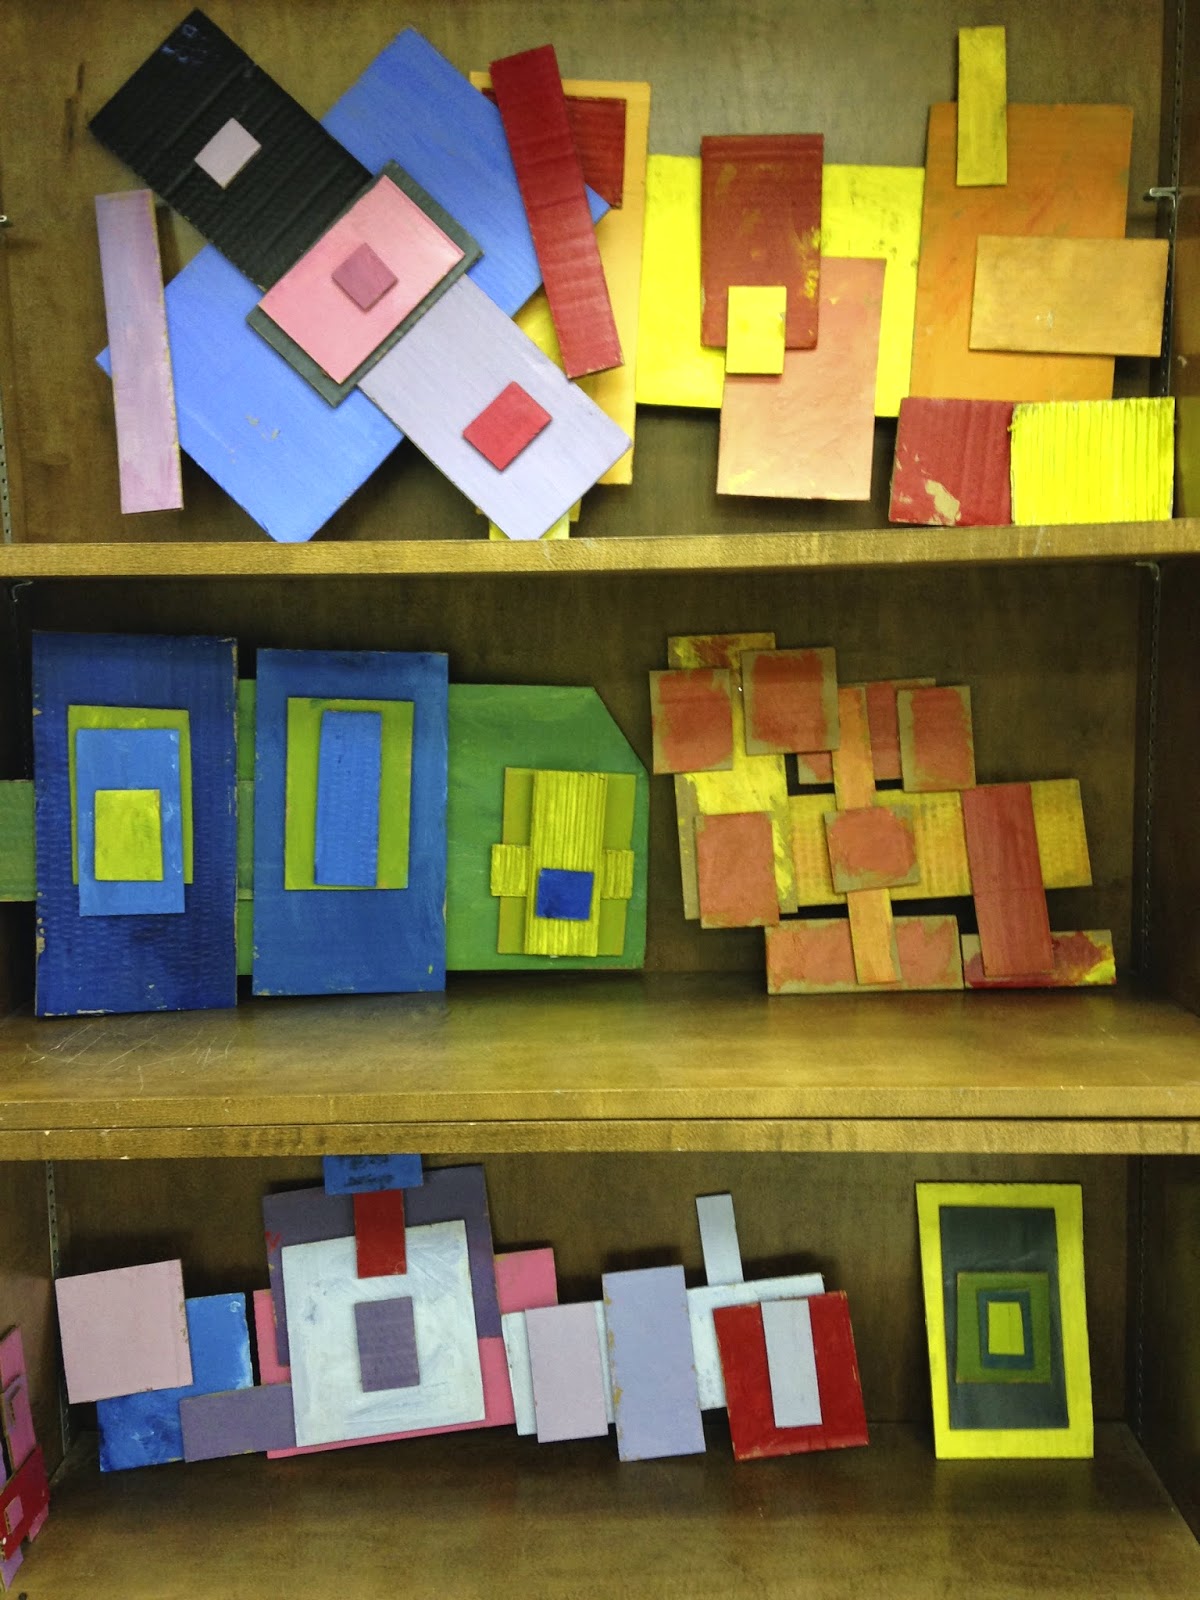
Rectilinear Relief Sculptures
I felt like a little kid at Christmas when all my new classroom supplies rolled in; I just wanted to play with the boxes. I cut these boxes into hundreds of cardboard rectangles which I sorted into piles according to size. Students gathered a variety of rectangles and picked two primary colors, which they could mix to create an analogous color scheme. They learned about visual unity through color and repetition of RECTILINEAR SHAPES. They arranged the rectangles several times and took digital photos of three different compositions before they chose one for me to hot glue.

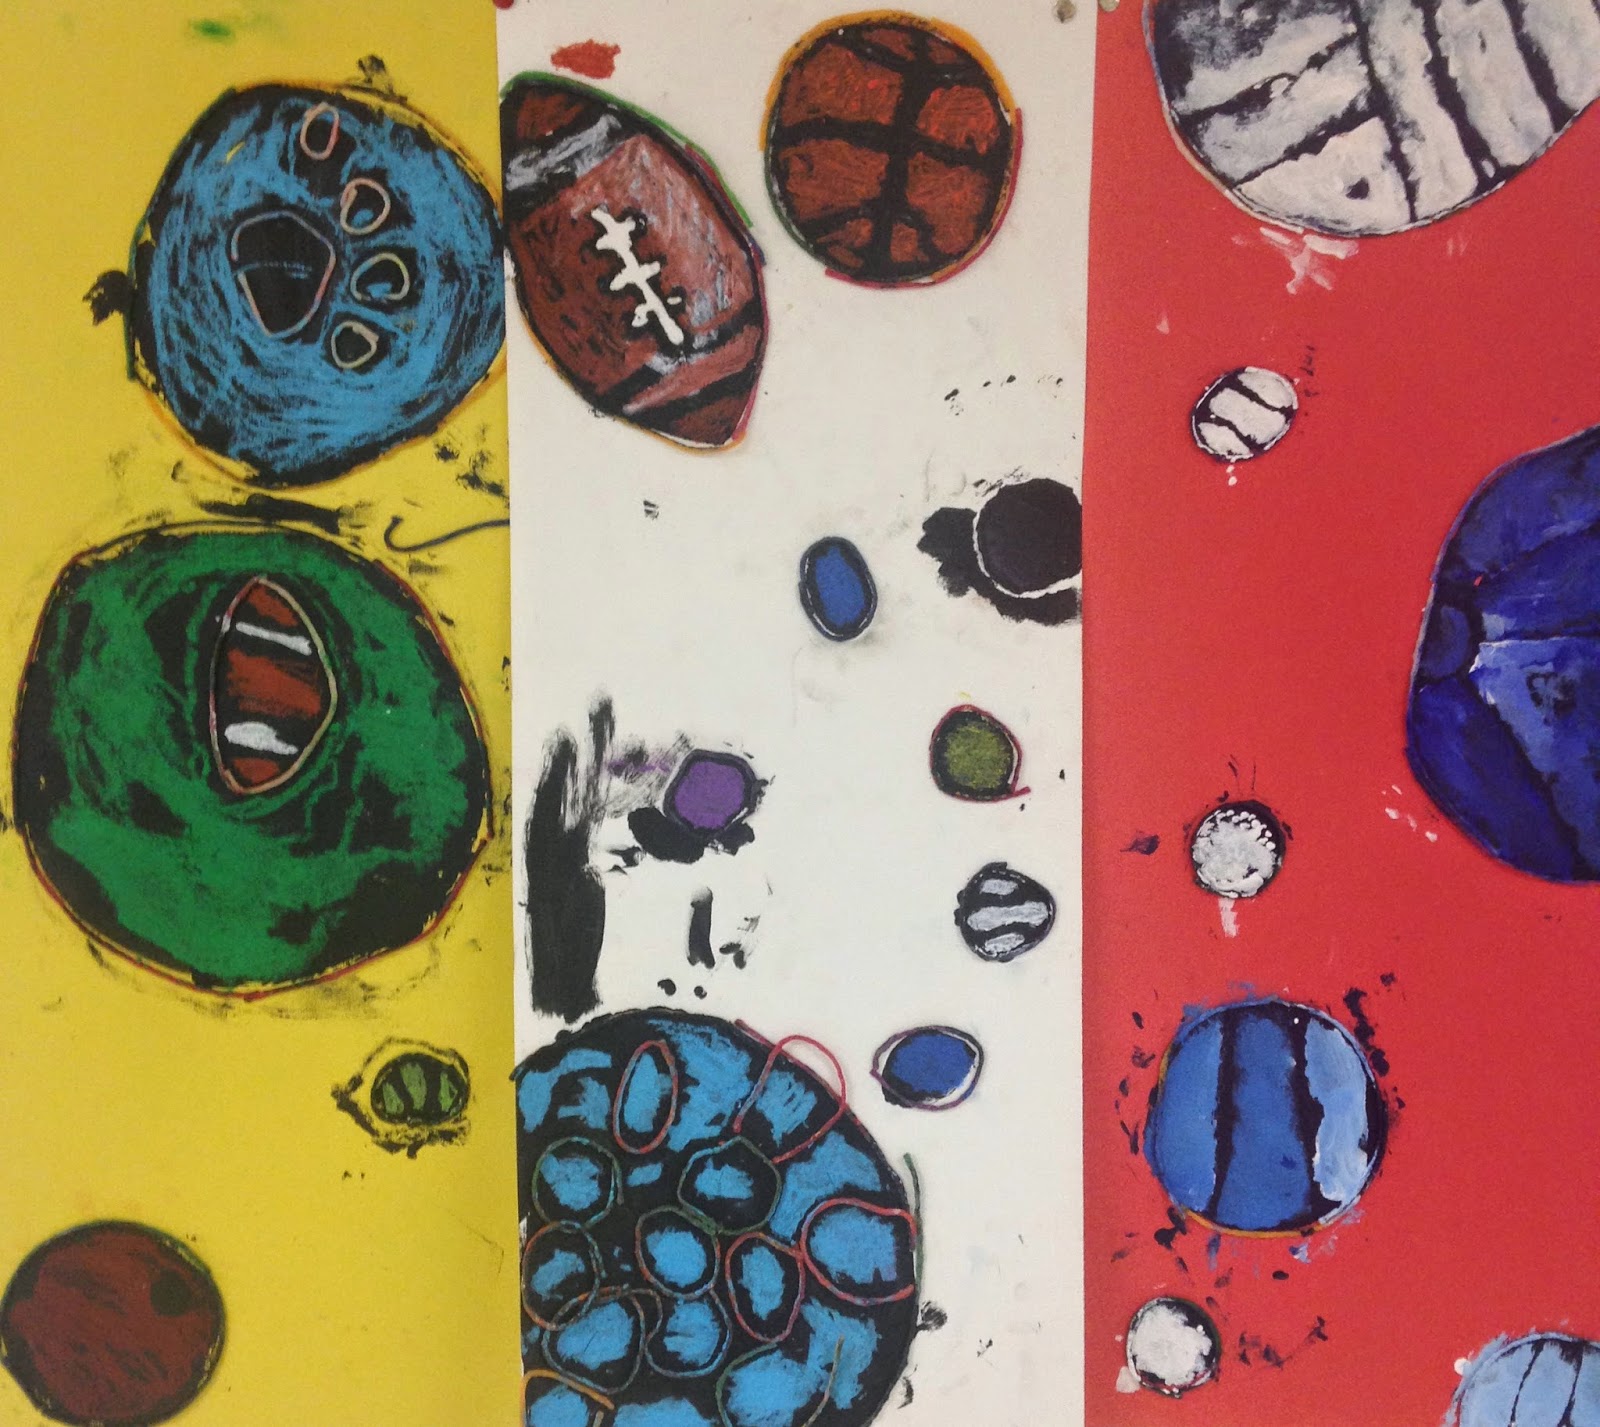
Sports Posters
This assignment came about because Coach asked me for help covering his ugly cupboards and I'm all about interdisciplinary assignments.
CURVILINEAR SHAPES are the opposite of the rectangles we worked with the previous week. But we were still building unity through variety of size and unity through repetition of shape. My blind students traced circles with wiki sticks. This provided the tactile boundaries so they would know where to paint. They used black acrylic for the under painting, and then acrylic or oil pastel for the color on top.The fingerprints and smudges come from trying to feel for the dry areas that still needed painting.
Half Face Drawings
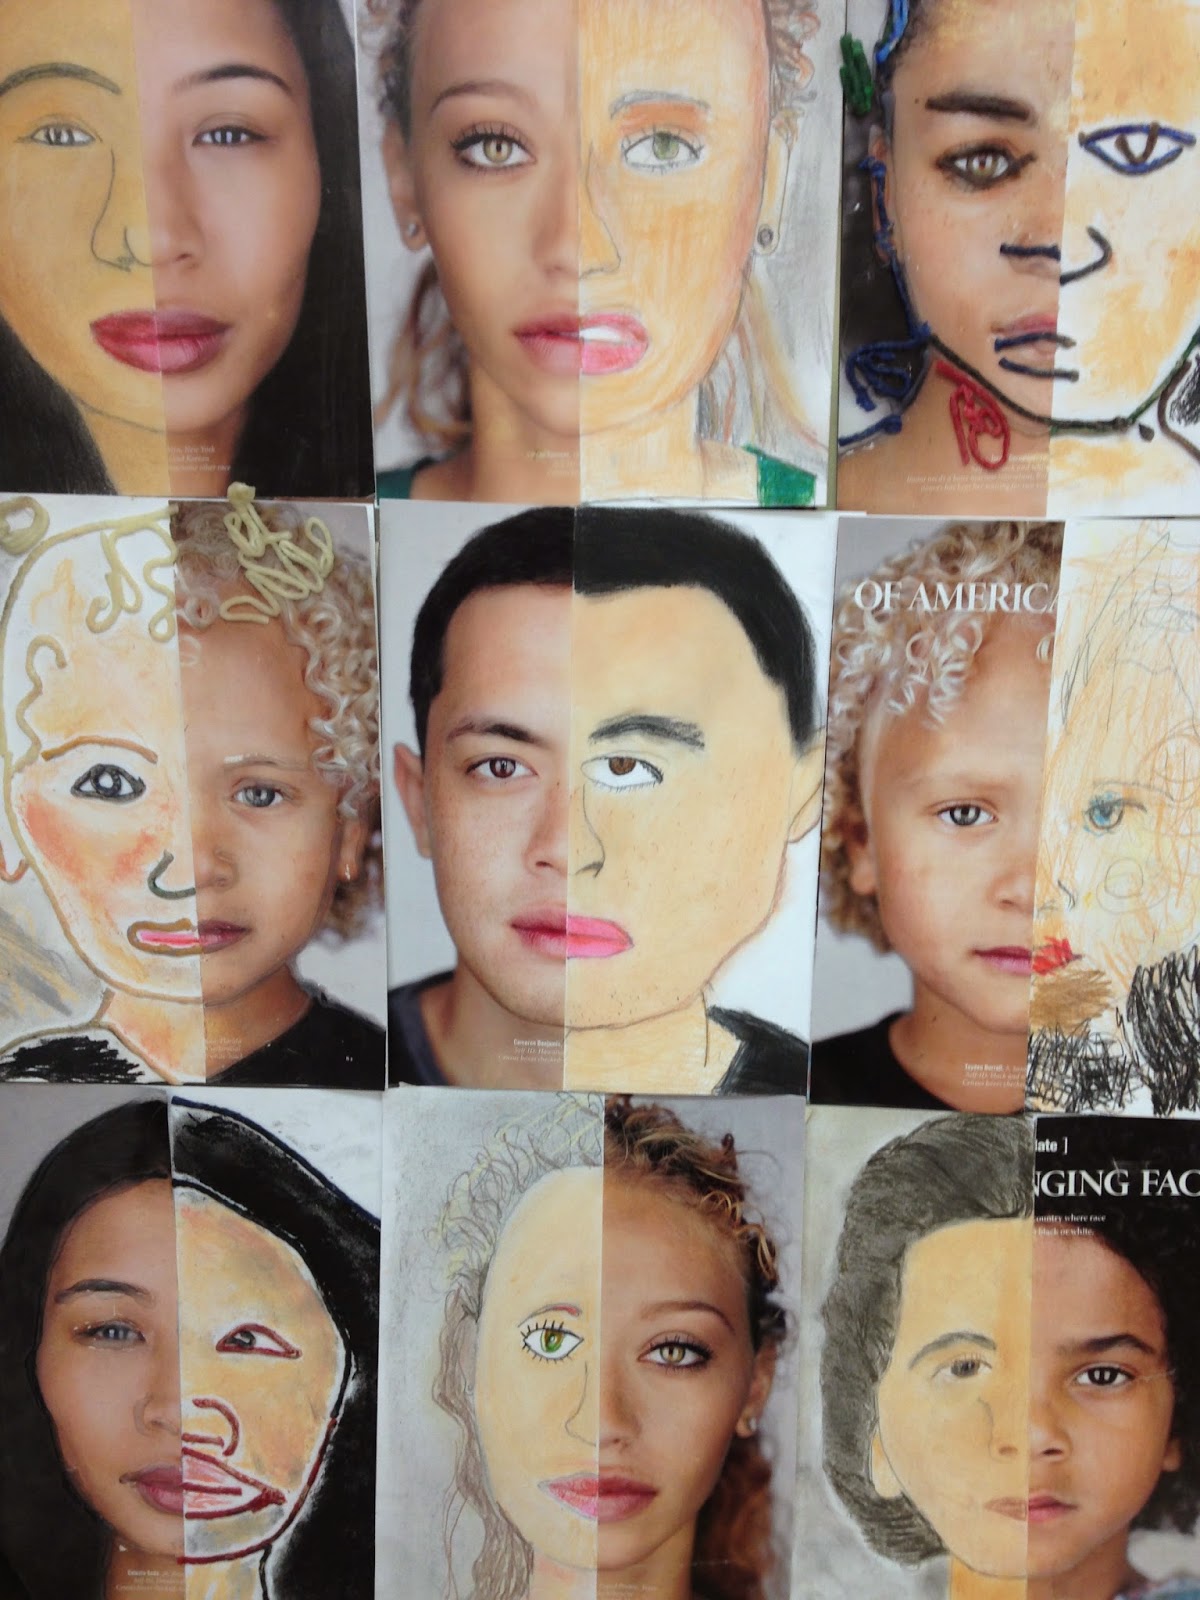 I remember loving this project when I was a kid and have been wanting to try it out with students for a long time. National Geographic had a great article about race in America and I was able to read it and discuss a little genetic science with the students. This assignment was used to teach about NATURALISTIC SHAPE as well as symmetry, proportions of the face, and observational drawing skills like trying to match color. Observational Drawing is hard when you are completely blind, so I traced half the face in hot glue for those students, and after they glued that half face, onto a piece of card stock, they used wiki sticks to create the other half the face. Then they used colored pencils and pastels to color it. Students really enjoyed the process.
Amazing. Your students are so lucky to have you.
ReplyDelete