Showing posts with label art for the visually impaired. Show all posts

Saturday, February 28, 2026

ELLE Field Trip and Virtual Artist's Visit

 whose medium is photography. Her exhibit (Jan-Feb 2026) at the Wesleyan Leadership lab is a collection of three bodies of her work.  I was so happy when the Wesleyan Leadership Lab director, Alexis Gregg invited my students and I to come see the show, because one room was set apart especially for people with visual impairments, which is right up our alley.
We couldn't make our schedules work to be there at the same time as the artist, but Aleixis did a great job in audio describing pieces like the banners of portraits of black women portraying large monuments in American history, such as liberty and justice, with slave crops, such as tobacco and cotton being used as props.


She also lead a discussion on resilience as we learned about a series of photographs for people who moved to a new place and learned a new culture where they were a minority.


But the most meaningful part of the trip was getting to explore the embossed paper images and the Brailled descriptions. There was also a soundscape of familiar noises such as a beep kickball, which is used in a modified version of baseball.
There were glass light boxes with images of faces which were cyanotypes. These also had Braille dots on the textured glass.
The following day, we had a zoom call to get to talk to the artist. She had more questions for them they they did for her, but the discussion was meaningful and the students were left feeling inspired and seen. Stephanie Elle is a talented artist who works notices the marginalized and gives them a place at the table in the art world.


Tuesday, May 20, 2025

Ceramic Carving Assignment


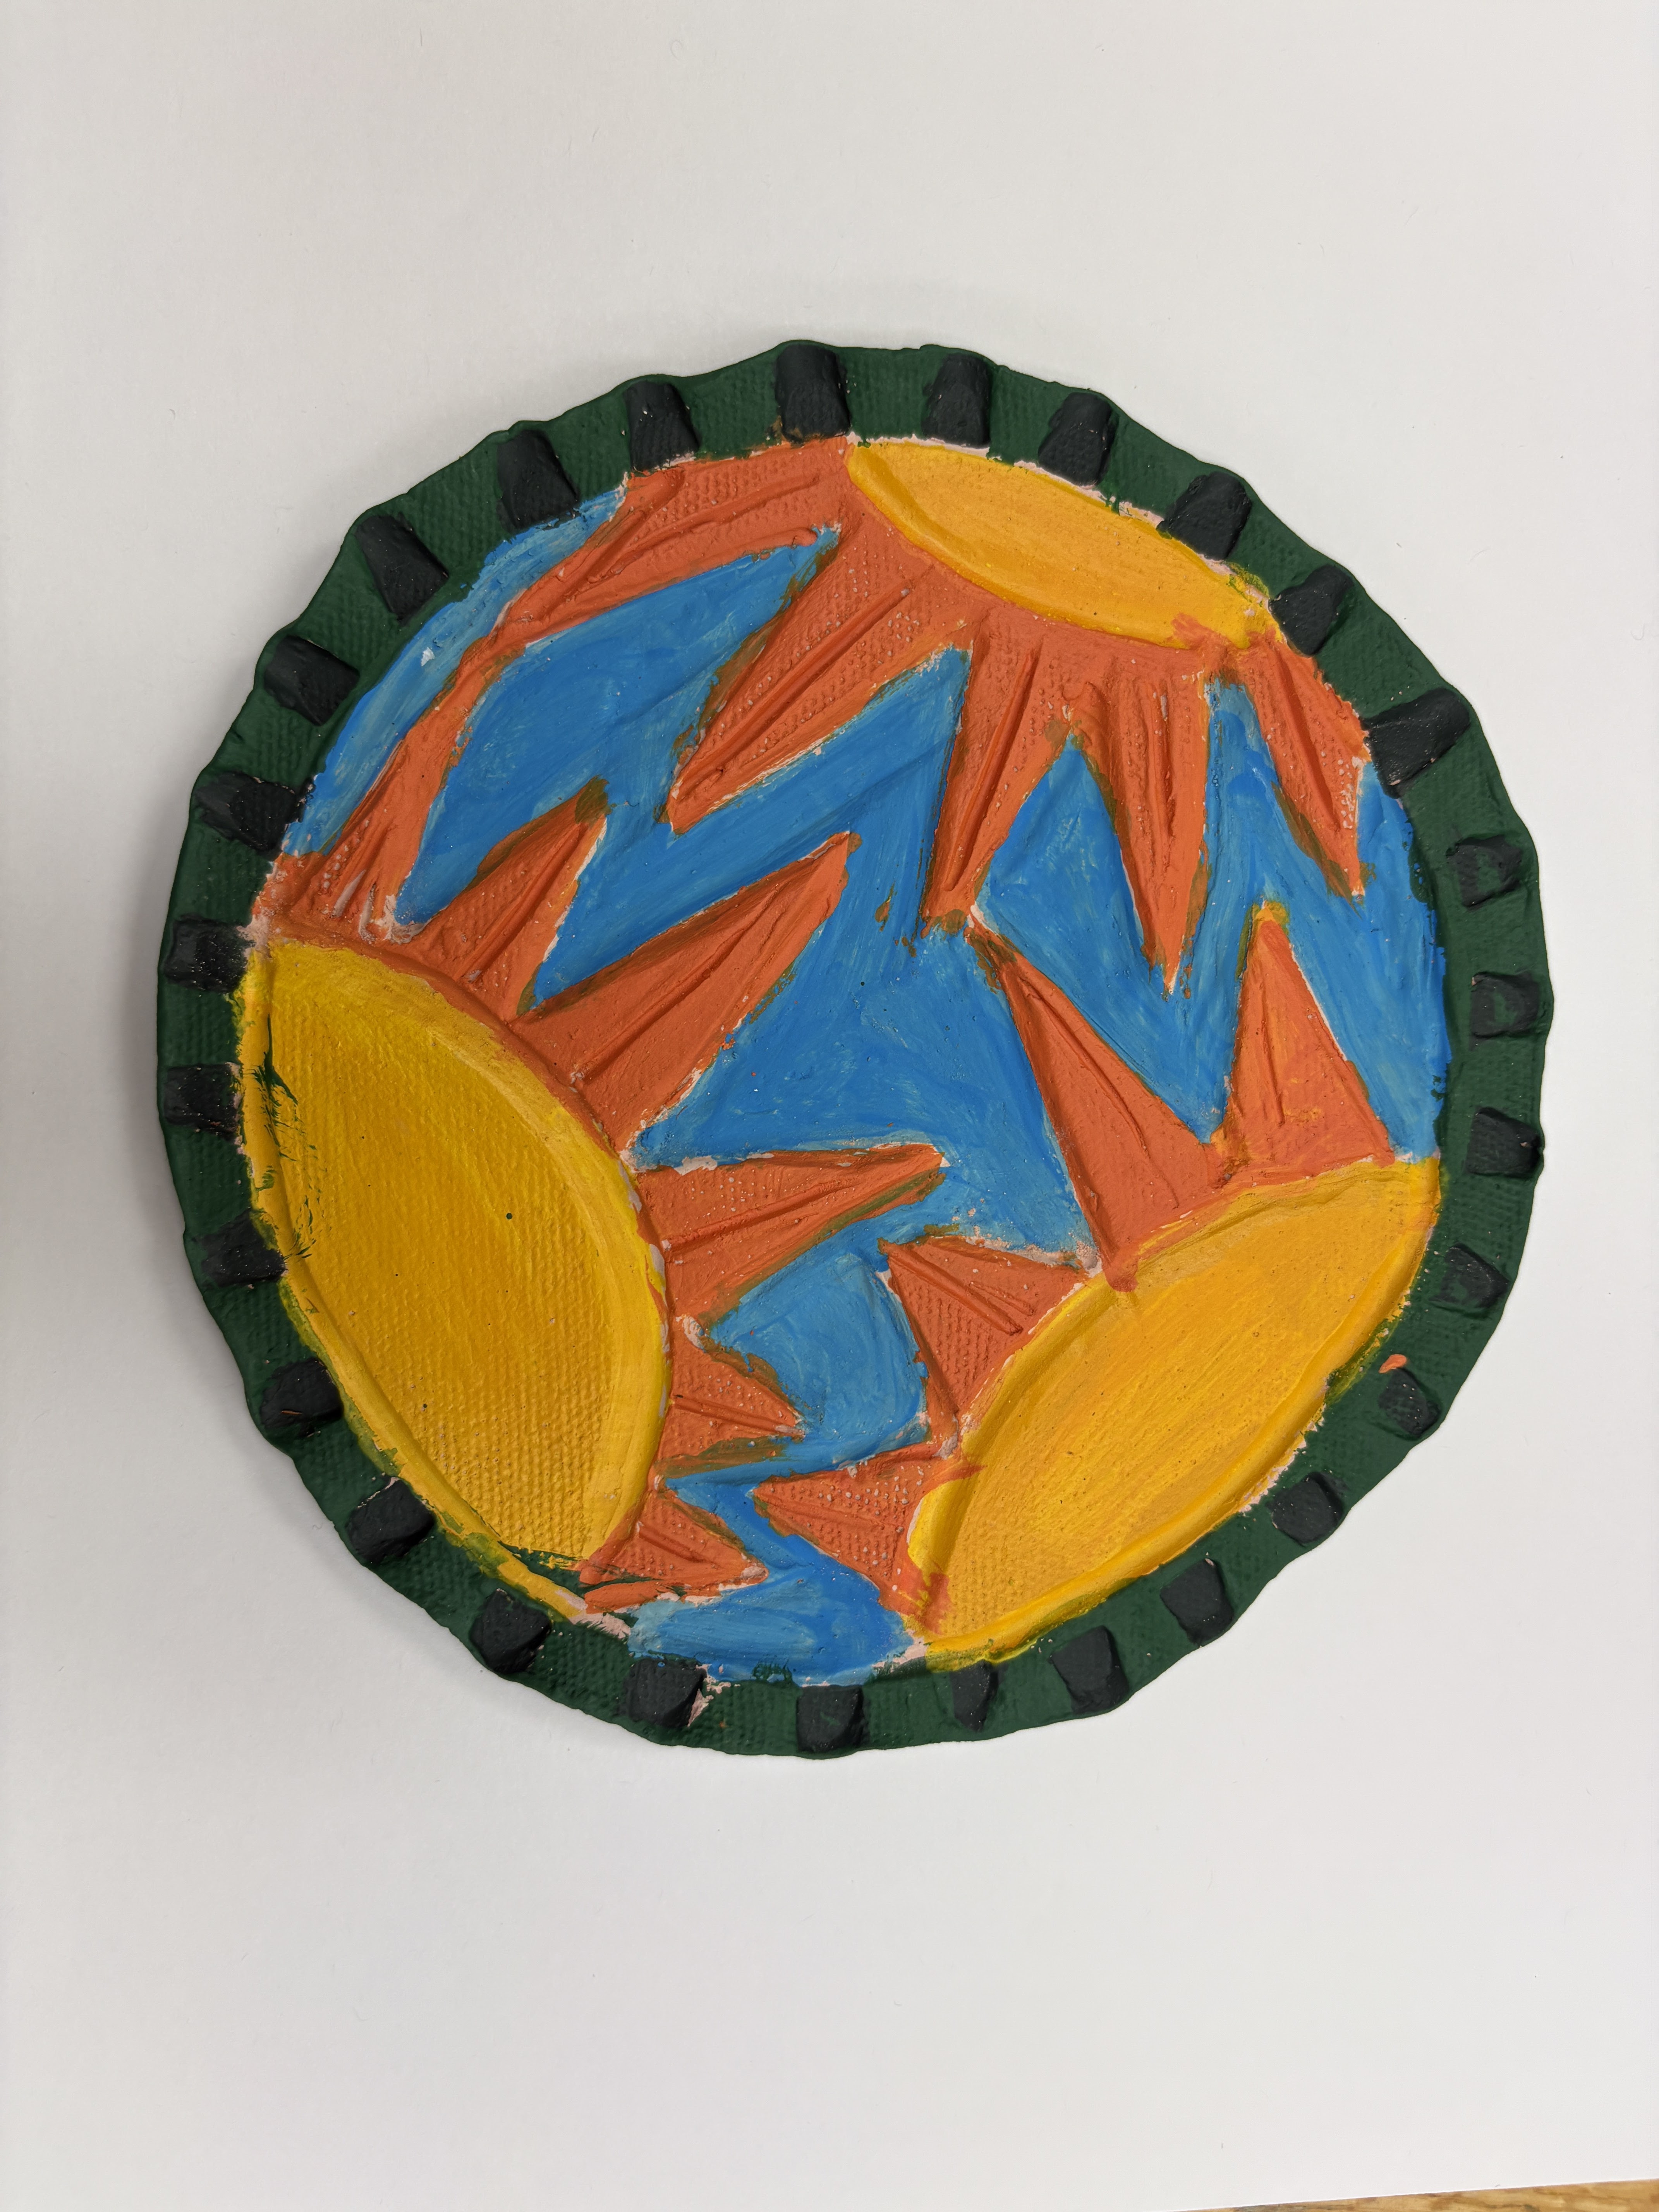
Making tactile images in my art class are a must. All of my students are visually impaired and half are totally blind. We draw with Wiki-stix, glue, string, puffy paint or by embossing foil. but clay tablets are another solution. This assignment worked really well for my students who normally don't like working with clay because they have tactile issues with anything gooey, slimy, or even sandy in texture. I used clay that was already starting to dry out a little before I cut off slices. Students ran the clay through the slab roller and then it felt more like a thick, heavy piece of fabric since it had the canvas texture pressed into it from the rolling process.


While the clay was still malable, students pressed the ends of pencils or paint brushes to make repeated patterns for boarders. Than they lightly drew an image into the center before carving away the background with ceramic tools. Some students used stencils to get the design that they wanted.

Once the clay was fired, Students were able to feel where to paint (acrylic) each color. Students who were totally blind usually opted to paint the entire thing one color before dry brushing across (perpendicularly) the surface of lines so that only the foreground would get the second color.

Many of these were made as trivets, to set hot pots on. Others had holes made before firing to string twine or ribbon through and make it into a wall hanging. They were the perfect gift for Mother's Day and 


Thursday, May 11, 2023

Earth Based Artwork: Cloudscapes


 We're focusing our last Art Unit on our beloved Planet. Earth Day, Arbor Day, and May Day all of which roll up to keeping our world clean, planting trees and celebrating seasonal changes.

I started by talking about cloudscapes, landscapes and seascapes: all of which traditionally have a horizontal format. For a mixed media cloudscape we taped paper to the back of a board and propped it at a slight angle. One loaded paint brush stroke across the top of the paper has extra water on the bottom edge of the line. That's the part that the next brush stroke needs to be touching in order for it to all blend together and create subtle gradations and transitions. 

We created clouds using pastel on the dry watercolor, mostly creating fluffy top edges and blending them with our fingers for darker shadows on the bottom. Two techniques in two days created heavenly results.

As a bonus science portion of our lesson, we created tactile cloud charts with cotton balls and feathers. Students labeled their clouds in Braille or Large Print. Score a point for cross-curriculum lessons and kids with visual impairments learning through hands-on learning.

Tuesday, April 5, 2022

Weaving T-shirts into a Rug


I began my Craft Unit, by teaching students how to macrame friendship bracelets. The next week, they learned to weave. Other teachers came answered my call for old t-shirts, which were cut and torn into strips before being strung on a six foot tall loom. Technique and craftsmanship are the focus skills but there's also life lessons such as "Each time you make a mistake, nip it in the bud. Don't put off correcting it, or you'll just heap more work on yourself later." 

It's also easy to teach formal design principles. Color theory and pattern were obvious things to talk about during the creation of our two rugs. Students chose bright and cheerful yellow greens, pinks, blues and whites for the first piece. For the second, we had more serious colors left: gray, black, dark green and dusty purple. We discussed how color pallets communicate mood in advertisements, paintings, and interior designs.

While individual students took turns on the big loom, the rest of the class made their own potholder on a small loom. Students could express their own aesthetic preferences in their individual pieces and have something a little something for a Mother's Day offering.

Self contained students did a simple pre-weaving project of creating yarn god's eyes. There are so many ways to differentiate and accommodate with weaving projects.


Saturday, December 11, 2021

Set Painting with Stencils

Making sets and backdrops for students with visual impairments is very doable.

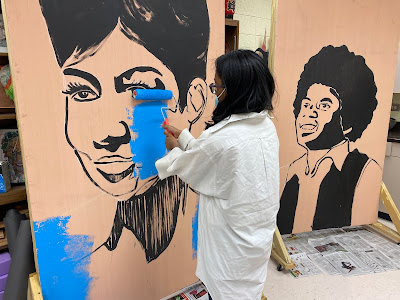
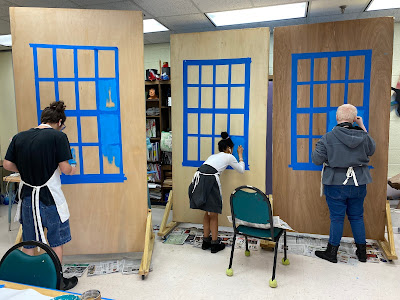
Working large makes things easier to see. And using just one solid color makes it harder to mess up. I can always go back and fill in any spots that are thin or missing.
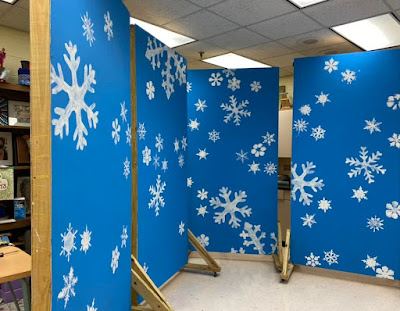
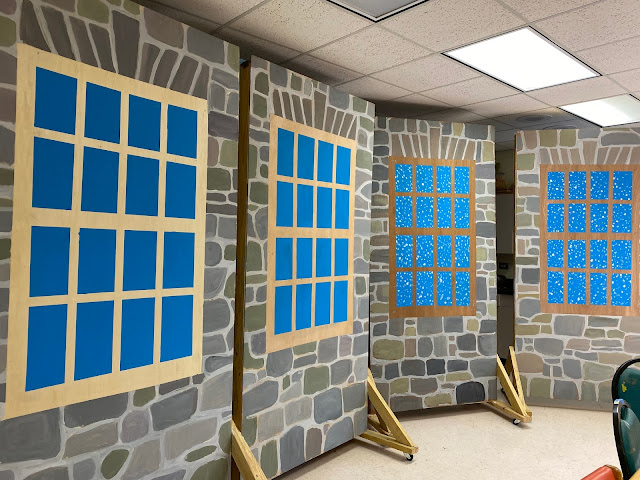
Paint tape or masking tape also defines areas and protects parts of sets where you don't want paint. It works best for straight lines like the windows for the winter program next week, or the stripes on a flag for the Veteran's Day concert last month.
Plastic stencils can be used for tracing or for sponging paint into the shapes, such as the snowflakes for our Christmas party photo back drop this week.

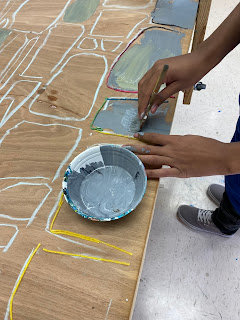
For organic, one-of-a-kind areas, we traced shapes with Wiki Stix. This was a tactile edge and worked well for students to feel, which parts of the shape still needed painted. Because it meant finger prints were inevitable it was perfect for making stones before adding the mortar colored paint in between. Big Artwork makes a big impact, and everyone should get to participate at their own level.
 

Tuesday, September 15, 2020

Notan and the Element of Shape


Pre-schoolers learn basic shape names: circle, square, triangle, but the truth is, most shapes don't have names. Some are geometric, some organic, some rectilinear, some curvilinear. Sometimes I can recognize a friend or family member as a distant silhouette by their shape. Shape is one of the most important elements of art because it can be used in so many ways.

Notans are fun to make when exploring positive and negative shapes. Notan is a Japanese art form that deals with flat areas of light and dark. The high contrast is especially helpful for my students with low vision, and for those with no vision, a piece of thick card stock or craft foam, makes this project tactile.


To make an expanded square notan image, start with a square or rectangle. You'll want to draw shapes that start on one side and end on the same size. Think about whether you want the lines to be jagged and straight edged or consisting of soft curves. You may want to try to do half shapes such as half of a heart, face or a tree. If drawing in foam, you should be able to feel the lines to know where to cut, or you may want to skip the drawing and just jump right in, cutting simple shapes from each side. 

Once the pieces are cut, place the center, original square/rectangle shape in the center of the paper. You may need to turn it at an angel so the finished piece is fits better. Then put all the cut pieces back in place like a puzzle. You'll flip each piece out from the center, like you are opening a door on a hinge. The corners should touch the spot where the piece was removed so that the straight edge continues the whole way around either by black or white shapes. The white shapes are the negative space, if your large piece of paper is white, and this will mirror the black positive shapes.


Now's a good time to glue the center piece of paper if you didn't do that before, and then put your "puzzle" back together.

Before gluing the smaller pieces down, you might want to consider creating even smaller, negative and positive shapes out of those. You can take the straight inward edge of one of the flipped pieces and cut another shape from that edge to flip back into the negative shape. This works well for things like pupils in eye shapes. And if your ambitions, you can cut and flip that smallest shape again.


For a simplified version of a notan, just cut one simple shape from one side of a small piece of paper or foam and flip it out. You can make it more interesting by repeating the process in series of small squares or rectangles in a checkerboard pattern.


I included a very simple, tactile example in each package I mailed to students who are learning virtually. It is a piece of foam on a piece of plastic cover from discarded Braille Books. The shape of the hole from the missing piece is the mirror image of the piece that was removed. The foam parts are the positive shapes, and the holes or background make up the negative space. Enjoy the process and product!


Wednesday, May 1, 2019

Visions of Inspiration exhibition at Macon Little Theatre!


Who inspires you? That's the question I asked each of my students to prepare for our Visions of Inspiration exhibit. They wrote a paragraph about someone who makes them want to be a better person then drew something that represented that hero.  One student chose Jim Henson and drew a bunch of puppets, another choose Little Cesar and drew pizza slices.

Matthew Forrest of Georgia College, used grant money for most of the frames and created silk screens from these drawings, which were printed onto paper silhouettes of the students.  Then the students used watercolors, crayon or colored pencil to enhance the prints. We mounted and framed the prints and viola! A show was born.

My rendition of Anne Sullivan and the magic word
The most moving pieces included a middle schooler whose "Papa" died a month earlier. He drew all the tools that the two of them used to work on cars together.  Another student talked about the time he flatlined as an ten year old.  He wrote about being taken to a blue room by Jesus and looking out the window back to earth, where he could see surgeons working on him, and his parents crying in the waiting room.

One student chose Helen Keller as her inspiration, and I chose Annie Sullivan, her teacher.  This worked out perfectly because we were asked to have an art show at Macon Little Theatre during their production of "Miracle Worker" which tells the story of Annie and Helen.


Student work with special symbols to represent their inspiration. Helen Keller is represented by roses. Hugs and kisses for mom, brushes and bats for a cousin who is missing an arm, coins for a grandma who taught the artist how to count change, and monsters for Jim Henson.
Matt had the student's stories printed  on a banner and my media specialist friend, Kim Smith embossed sticky plastic with Braille, which  my students helped me attach.

I made the title cards for each piece on print (glued to foam board) and Braille.
But attaching it to the carpeted wall was going to be a trick until someone gave me a tip to use velcro.  The prickly side of velcro worked perfectly!


"Annie Sullivan" and I at the dress rehearsal
 The director was kind enough to invite the school to see a dress rehearsal of the Miracle Worker! It was completely wonderful! All the students were engaged and the time flew! If you get a chance, go see it. It runs from May 3rd-12, 2019 at Macon Little Theatre.


 The two adult collaborators, Matthew Forrest and myself lead the way with student work to follow

Tuesday, April 2, 2019

Yarn Contour Drawings


After giving a slide lecture on the element of design:  LINE, I had my elementary students create contour drawings from yarn.  Some students just did clumps or strands of yarn, while others attempted to represent horses or figures with long  hair.  The piece above started out as a still life of fruit, but once this 4th grader stepped back and looked at the banana, he decided to make it into a smile, making a banana mouthed man with yarn frayed hair.  I told him I loved it so much that I would share it with all of you!

Wednesday, November 14, 2018

Embossing Foil

A flying pig embossed in foil


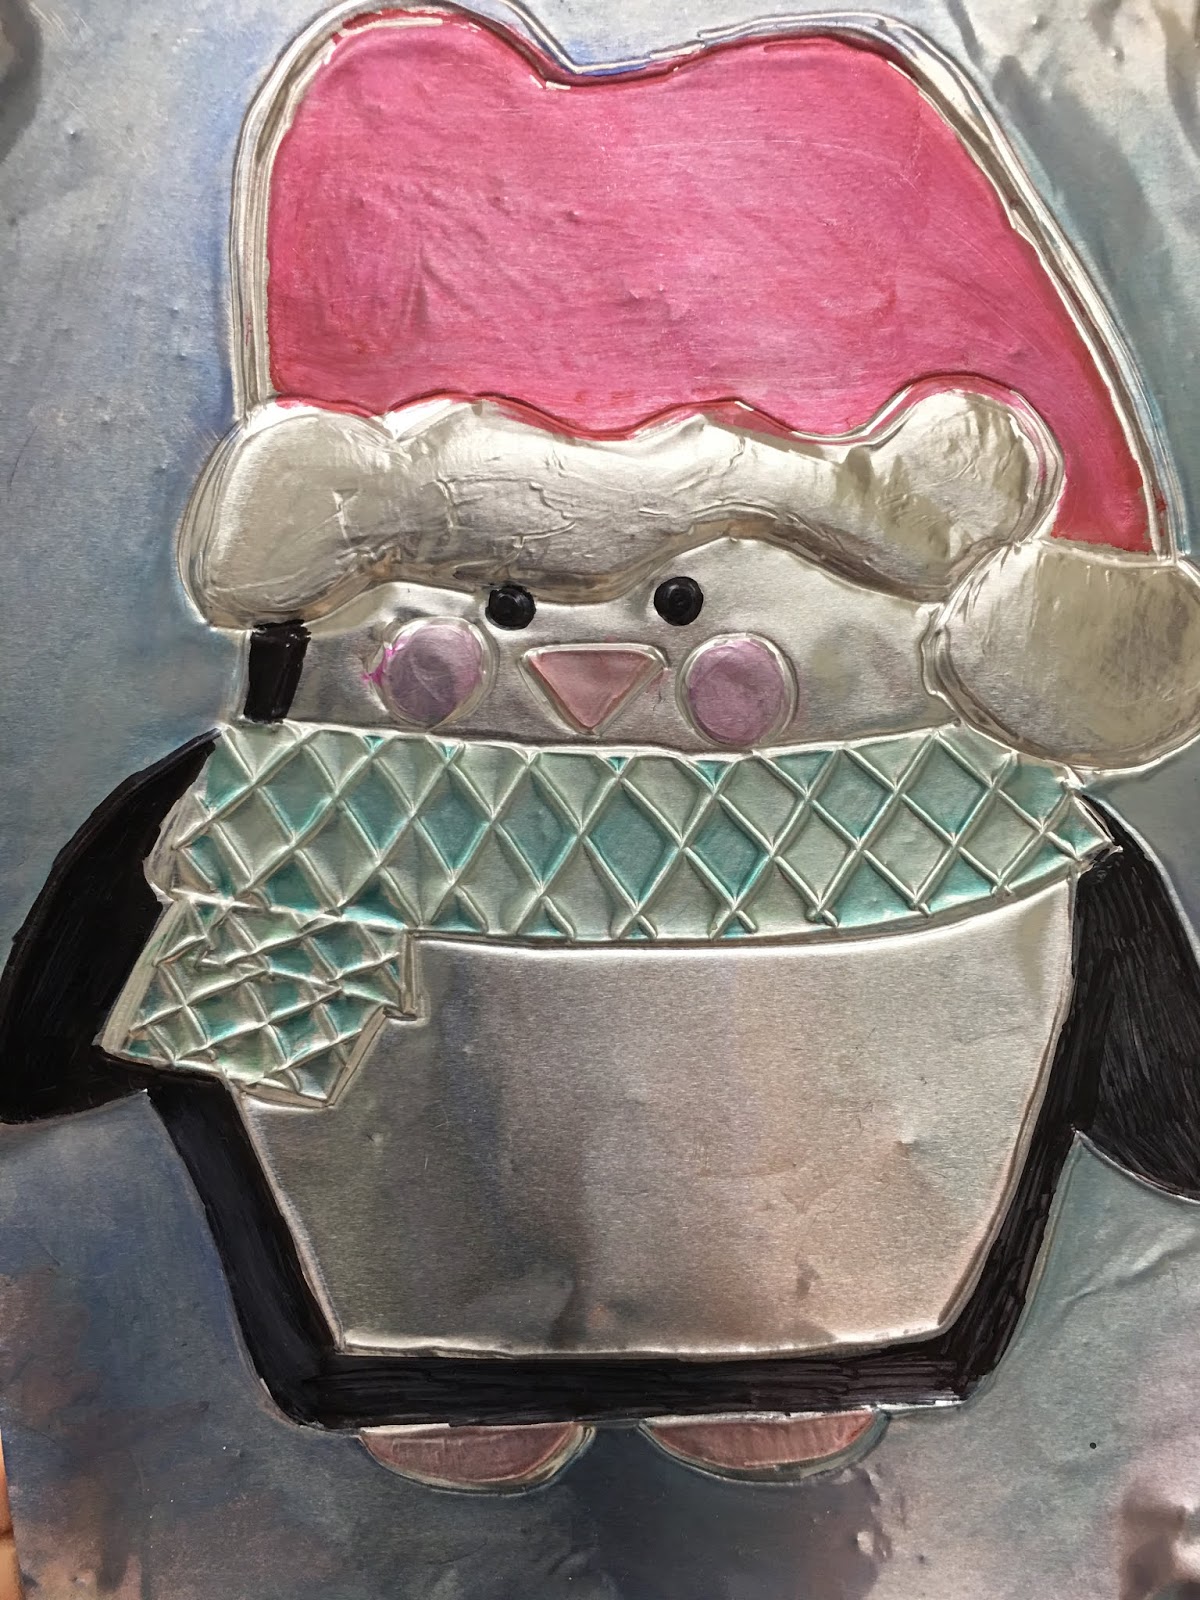
Repousse is a metal working technique in which thin metal or heavy foil is hammered or embossed on the back to make it stand out in the front. My students totally understand the idea of embossing as they use braillers to emboss paper all the time. They used plastic pencil-shaped tools to "tool" the foil and create a wide array of images as part of a low-relief sculpture unit.  Some students painted their images with black acrylic and then wiped it away to give it an aged, batik feel, some colored their image with markers and then gently wiped it away for a stained look, some did both. There's nothing quite like hearing kids who have never had vision, feel their artwork and say, "This looks great!"

Sunday, September 9, 2018

Radial Balance

Our unit on Visual Balance in Art has continued as my students learned about radial balance by creating mandalas.

Radial balance is similar to symmetrical balance in that if you fold the composition in half, it will be the same on both sides. The difference is that you could fold it vertically, horizontally, or diagonally, and it will always be about the same. A daisy or a bicycle wheel are great examples of radial balance. So are mandalas (Sandskrit for circles), which represent a wholeness such as the universe.

I shared a video of Buddhist monks creating mandalas to my students. It is a tedious, time and labor intensive task to create a beautiful mandala from colored sand, only to have it brushed away.  Why did they make it?  Before even watching a video, I ask my students why anyone makes art. Student answers included that it is fun, or because artists want to make money or become famous. Some talked about self expression or leaving something behind for posterity. But none of these answers apply when it comes to Buddhist monks making sand mandalas. These monks believe that the act of making the mandala actually changes them. They are inviting various Buddhas to come and exist within the mandala during the days of its creation, and that by the meditative process of creating that those involved will gain greater compassion for example. They are learning precision and gaining stamina. After it is completed, the sand is brushed away, teaching the impermanence of things and the importance of appreciating life in the moment.

Certainly, art has changed me. Art requires patience and the courage to take risks. The qualities acquired through art making can spill into other areas of life.


To make their mandalas, my students took pieces of card stock, made a square, and folded it diagonally, in both directions to make an X, and then folded it horizontally and vertically, so that there were four folds intersecting at the center to make 8 divisions. They used a compass and scissors to make a circle, and then a piece of pie shaped paper to fit into an 8th of their circle. They drew a pattern which was then traced on a light table on window, flipping the image each time. In other words, every other pie shape had the image facing right, and the remaining spaces had the image facing left. For those who were blind, I traced the template they drew, for them, first in Sharpie and then in hot glue. They were responsible for coloring the tactile shapes with colored pencil or marker.

Finally, some of the shapes were filled in with glue and sprinkled with color sand, not only to reference the Buddhist sand mandalas, but to create a more interesting tactile effect. When I heard complaints about the physical discomfort from leaning over a light table, or the frustration of having to start over when huge mistakes were made, I would remind them of the days or weeks of back breaking work for the monks to make theirs. Everything worthwhile requires sacrifice of one sort or another. And once the projects were completed, all of the reasons for complaining had been forgotten, for the joy of having made something come into existence that wasn't there before.