Monday, December 22, 2014

'Tis the Season to Make Artwork

Ceramic Ornaments

Texture is so important for blind students, which is why I loved giving them this pendant assignment. We used shoe soles, thread spools, combs, and whatever we could find to stamp slabs of clay, which were then cut out with small cups. The colors changed drastically when they dried, and then were fired.

We used acrylic to paint the ornaments. A dry brush with contrasting color helps the texture show.
Then we added ribbons or embroidery floss and tags. Each student took one home and we made about 70 extra to stuff faculty and staff boxes.

God's Eye

When I was a kid I thought popsicle stick and yarn ornaments were just a Christmas craft, and didn't realize the spiritual significance these had in Native American traditions. The Pueblos of New Mexico and the Huichol and Tepehuan of Mexico held these objects as a way to be recognized or a way for the gods to be able to watch over the weaver. They were also thought of as portals for the gods to pass through to get from one world to the other. I have a few students who have disabilities which make it difficult to even draw a line without help, but they were able to do this project independantly.


Tooling Foil

Heavy metal foil and a handful of tooling…uh…tools, kept my students busy for weeks. I wrote some of their names backwards and then flipped it over so they could experience the letters in tactile print rather than braille. Then they'd decorate those. Some pictures were Christmas themed and others weren't. Some were colored with Sharpies and others weren't. I used hot glue to attach the foil to the frames for these. I taught about the Bronze Age and Iron Age and we discussed types of metal and things that are made from metal.  You can try this at home with disposable pie tins and a wooden dowel that has been sharpened with a pencil sharpener.
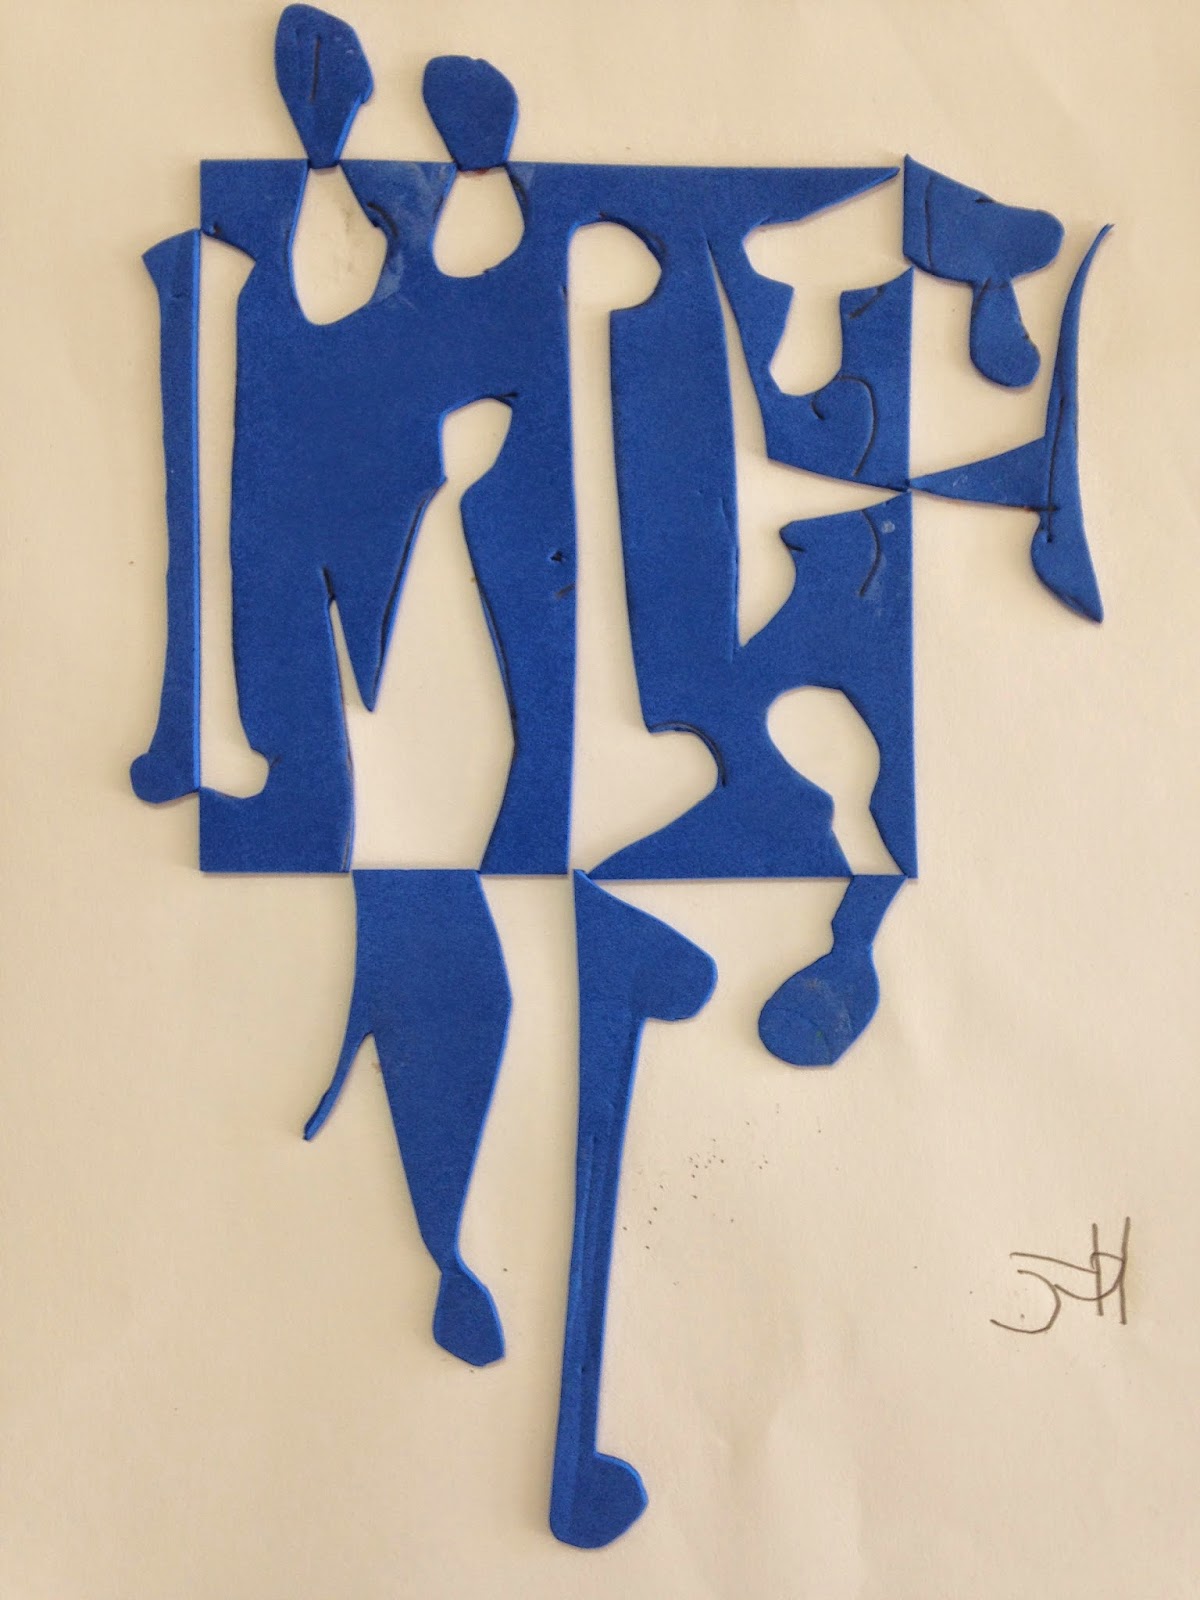
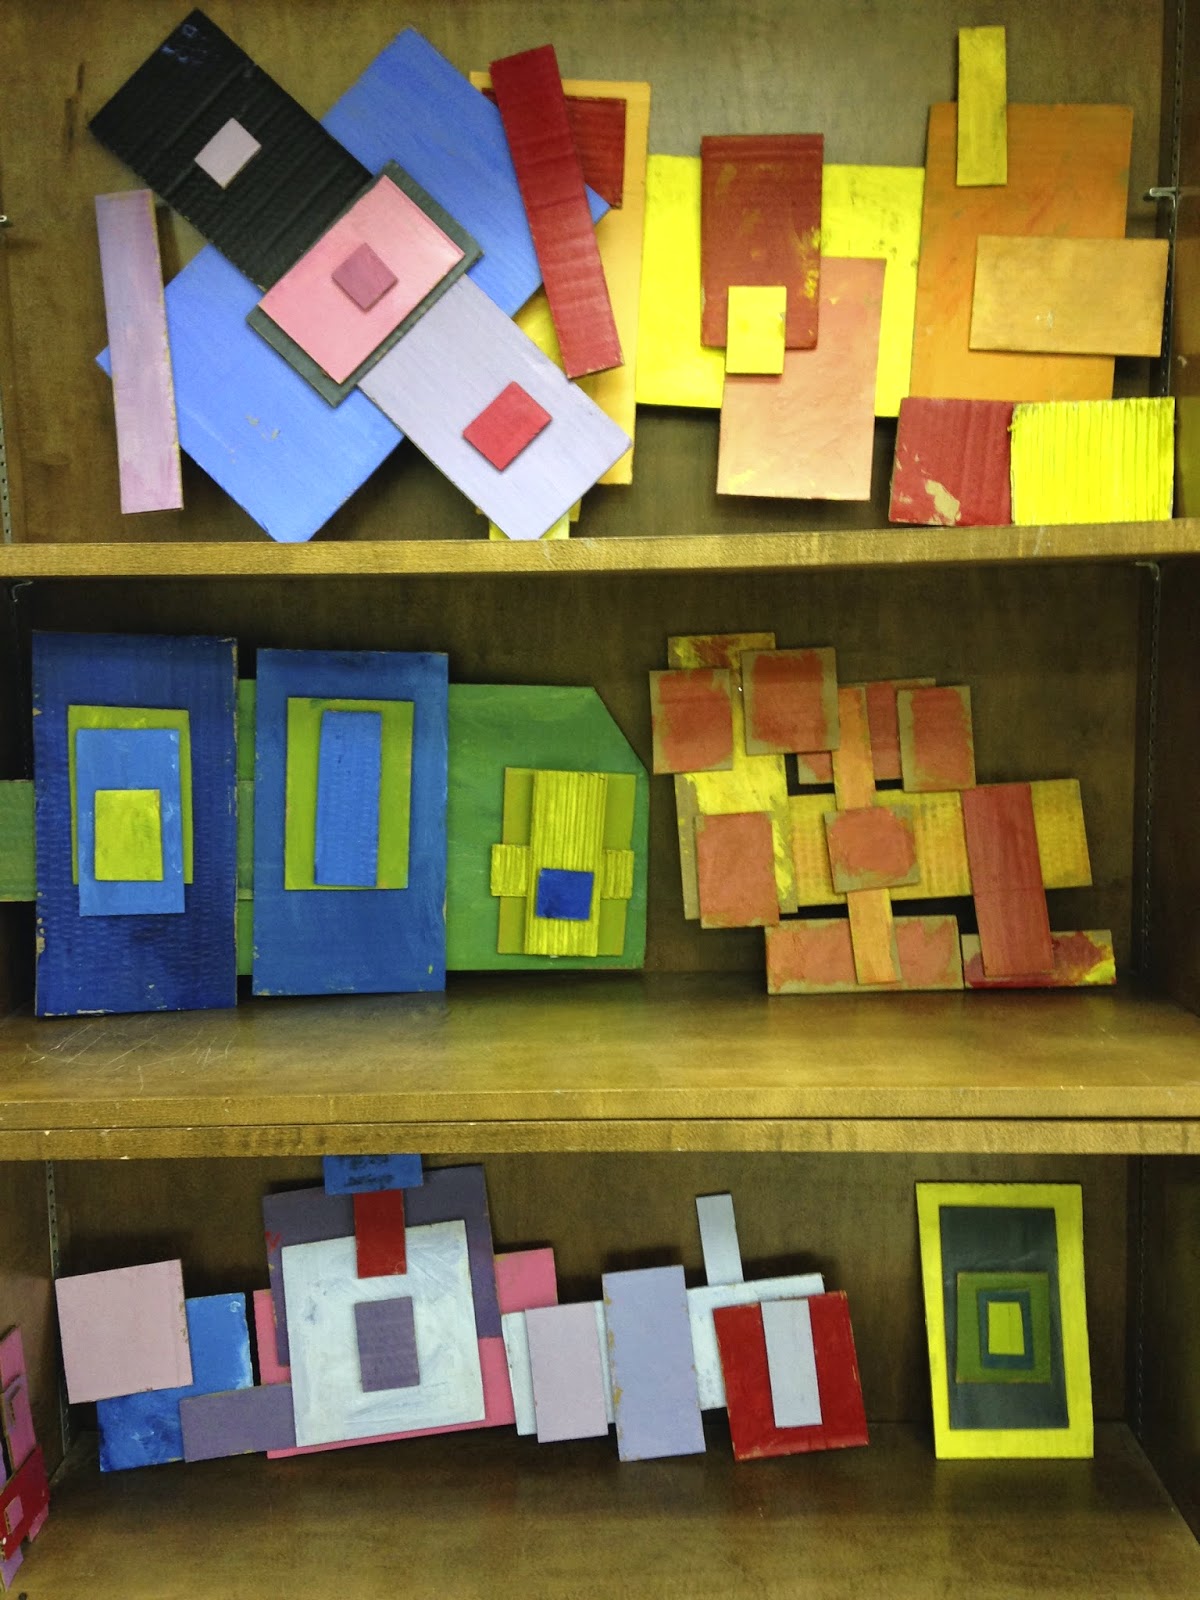
 Set Design

Insulation foam scraps from a recent home improvement project were transformed into ornaments to decorate the stage for our school's Christmas concert. I bought a green rope and thin wire to create a string of lights. Everything hung with fishing line. Students researched ornament designs, painted the lights, poured glitter, and beamed with pride when it all came together on stage.  


Merry Christmas to all, and to all, happy creating!


Tuesday, December 2, 2014

Leaf Art Projects for Kids

Leaf hunting became an art class ritual for several weeks this fall. We made leaf prints, clay leaves, and animal collages from pressed leaves. The collage project was my favorite because it had the most elbow room for creativity. I was afraid that everyone would make fish, but we ended up with a healthy variety of creatures from a T-Rex to a dragon.


Leaf prints are best when made with leaves that are a little fuzzy and textured. The oak-leaf hydrangea used on the piece below worked really well. I encouraged students to paint more than one color on each leaf before printing it. 
Wind chimes were the goal when students pressed leaves into clay slabs and cut them out. Most students only made one or two, not enough for a wind chime, but after they were fired and painted, they still made for interesting ornaments. The trick is to ripple or twist the clay leaf before it dries, to make it look more real. 


Tuesday, October 28, 2014

Clay Houses

Clay play was a fun way to start a new quarter. Students had one day to explore all the qualities of clay before we looked at slides of various types of architecture, from huts to castles. I described each slide in detail to the students are completely blind. Those with partial vision sat inches away from the screen. Their assignment was to describe their dream house and try to capture it in clay. Once I demonstrated how to use the slab roller and we were off and running.

My colleague is married to an architect, so she brought me all his plans for a beautiful public library to share with the students.


I was so eager for students to spend every second of each class period working on their houses, that I about wore myself out by frantically cleaning up and setting up between groups. Exhaustion is a small price to pay for good art.


This flat-topped, Flintstones-style skyscraper (left) is one of the only house that does not have a removable roof. Most students wanted their artwork to be able to function as a box.

One student decided to take her inspiration from North Carolina's Biltmore House. The 18-inch slabs broke several times from uneven drying, and so she had to start over more than once. Every art project teaches more than just art. This time the lesson was in perseverance.


If I do this again, I think I'll have the unit last three weeks instead of two and allot more time at the beginning for planning, sketching, listing adjectives, and picking surface textures such stone, brick, stucco or siding. I'd also spent more time on the vocabulary of architecture (such as arch, balcony, column)  and quiz them on those terms so that they could make more informed decisions. Most of the students worked intuitively. But I'm still pretty tickled by their efforts and how charming their houses are turning out.


Monochromatic Mobiles

I have a goal to make my life as beautiful, uncomplicated, and perfectly balanced as a Alexander Calder mobile.

I taught my students about Calder and mobiles as a way to unite the shape and line themes we'd been learning in art class. I also wanted to add "monochrome" to their list of color theory vocabulary terms. Each student created shapes of various sizes from paper, cardboard, or whatever they wanted. Then they chose a color, which they could mix with either white to tint it, or black to shade it.


The younger students worked collaboratively, painting tints and shades of a chosen color on cards, and later gluing the cards to strings. Although the installation as a whole isn't monochromatic, I think they still learned how to create multiple values from one color by working on their part.

Wednesday, October 22, 2014

Writing and Illustrating for Kids 2014

Another October, another wonderful Writing and Illustrating for Kids (WIK) conference put on by the Southern Breeze region of  Society of Children's Book Writer's and Illustrators (SCBWI). About 150 people met in Birmingham a week ago to hear keynote speaker and author of 130 books, Candice Ransom tell us to "keep calm and carry on!" in our creative endeavors. There were four breakout sessions and then a panel discussion. I am always amazed at how humble and approachable children's book people tend to be. Speaking of whom…
Prescott Hill has just stepped into Elizabeth O. Delumba's giant shoes to be our Illustrator Coordinator. Here he is talking to Beth Rommel after his helpful workshop on digital art.


And here I am, looking and feeling very blurry in my role as Writing and Illustrating Contest Coordinator. We had some great entries this year in every category. Congratulations to first place winners: Michele Phillips (illustration), Jessica Vitalis (novels), and Ginger Garrett Arias (Illustrated fiction/non-fiction).


I was also a conference "Angel" to R. Gregory Christie who is an amazing painter. He's illustrated thirty books, including an Ezra Jack Keats Book Award recipient, Yesterday I Had the Blues. I can't wait to read this book to my blind students to help them understand color through metaphor.


Monday, September 29, 2014

Art Projects for the Little Ones

My students this year have ages ranging from 5 to 20. They're all blind or visually impaired and many have multiple disabilities, so my creative exercise each day is figuring out how to teach each individual child something about art that they didn't know before. I try to keep similar units and themes, whether the classes are elementary, middle school, or high school level, just to help have visual reinforcement of those concepts in my room. Our first month back at school this year was shape month, and our second month is centered on line. This post centers on shape and line assignments for the youngest of my students.
Matisse Collage

This assignment gave me a chance to tell stories about the life of Henri Matisse and explain the concept of "painting with scissors."  Students were told to use geometric shapes in the background and organic shapes in the foreground. I love explaining things in pairs of opposites: geometric and organic, background and foreground. For the children who were able to use modified scissors, they were encouraged to create their own shapes, but I had piles of pre-cut shapes for the ones who aren't to that point.
Watercolor Resist Still Life
We used the design element of shape to talk about how to depict still life objects. This time the medium was oil pastel and watercolor. This student used circles to create a bowl of apples.

Stamping Animal Shapes
For this assignment we used repetition of shapes to create unity. It was fun passing sponges around and having students guess the animal shape of each.
Barnett Newman Line Painting
In case you hadn't heard, a Newman painting of a blue line, entitled Onement VI, sold for almost $44 million at a Sotheby's auction last year. That piece of news was a fun way to discuss the value of line and introduce minimalism to first and second graders.  Rubber bands stretched around paper and cardboard acted as stencils for students to create their own straight line paintings. It wasn't my favorite project, but it has potential so I may try it again one year with modifications.
Yarn Drawings
While the older students were doing their string art, by stretching it across boards or sewing it through holes, the younger students were using glue and yarn collage to create drawings.

Cross Contour Lesson

Here is another assignment I used for Line Month. Cross contour drawings are a great way of showing dimension through line. We spent several days of class trying to find ways to draw lines on top of appropriated famous (and a few not so famous) portraits to give them a greater sense of depth.


The student who did the piece on the left was completely blind but you can see where I hot glued around the nose, eyes, mouth etc. so he would know when to stop with a certain color. 

Students were also required to do a cross contour drawing without a starting image. One visually impaired student tackled hands doing a pinky promise in cross contour.

 Wiki stick shapes were formed by this blind students who would draw lines with rulers outside the shapes and made curves inside the shapes to create their cross contour drawings.

Saturday, September 27, 2014

Line Month in My Classroom: Wire Quilt & String Art

As an artist, I sometimes feel sorry for mathematicians and their limited definition of the line. Lines in art can curve, wiggle, wave, zig, zag, and have three dimensions. Tangible lines are more meaningful to my blind students, who I walk around the room and have feel the spaces between the cinderblocks, the legs of a chair, their canes, wire, yarn, and say, "these are lines."


WIRE QUILT
Sometimes art supply companies create lesson plan ideas to help to their sell supplies and I'm glad I bought into Dick Blick's idea of making a wire quilt. Students used thick aluminum wire, thin, plastic coated wire, pipe cleaners, beads and  the list grew each day of the week to include yarn, ribbon, vinyl, tissue paper and buttons. Had I limited each student to one square, I think the easiest solutions would have been their only solutions.  By asking them to make as many squares as they could in a week, they were able to explore new materials and ideas, such as making a tic-tac-toe board or an American flag The finished product was 70 squares which ended up being about 40" X 30"


STRING ART
A couple years ago, my sweet Minnesota nephew, John, sent me his string art to show me a project he  thought my students would enjoy.  I know I loved doing it as a kid, and it turns out that you don't need working eyes to be able to figure out how to make these.  The magic is discovering ways to make curves, using only straight lines. I hope this is something my students won't be afraid to try at home.


Thursday, September 11, 2014

Shape Month for My Art Class

I dedicated our first month back in school to the design element of SHAPE. I've never taught any of these projects before, but I wanted to find the clearest ways possible to teach the basics of art to students who are visually impaired.

Notan
This is my new favorite way to teach the concept of NEGATIVE AND POSITIVE SHAPE. Notan is a Japanese design principle in which dark and light shapes are juxtaposed in an image.  With blind students I found it very helpful to have them use  foam sheets because they could feel the indented lines they drew in creating a shape, and once it was cut out they could put it all back together like a puzzle. After they flipped and glued each piece, they could feel the negative shape (the hole) and the positive shape (the piece they flipped). They each made two images, one symmetrically and one asymmetrically balanced.


Rectilinear Relief Sculptures
I felt like a little kid at Christmas when all my new classroom supplies rolled in; I just wanted to play with the boxes. I cut these boxes into hundreds of cardboard rectangles which I sorted into piles according to size.  Students gathered a variety of rectangles and picked two primary colors, which they could mix to create an analogous color scheme. They learned about visual unity through color and repetition of RECTILINEAR SHAPES. They arranged the rectangles several times and took digital photos of three different compositions before they chose one for me to hot glue.


Sports Posters
This assignment came about because Coach asked me for help covering his ugly cupboards and I'm all about interdisciplinary assignments.
CURVILINEAR SHAPES are the opposite of the rectangles we worked with the previous week. But we were still building unity through variety of size and unity through repetition of shape. My blind students traced circles with wiki sticks. This provided the tactile boundaries so they would know where to paint. They used black acrylic for the under painting, and then acrylic or oil pastel for the color on top.The fingerprints and smudges come from trying to feel for the dry areas that still needed painting.

Half Face Drawings
I remember loving this project when I was a kid and have been wanting to try it out with students for a long time. National Geographic had a great article about race in America and I was able to read it and discuss a little genetic science with the students. This assignment was used to teach about NATURALISTIC SHAPE as well as symmetry, proportions of the face, and observational drawing skills like trying to match color. Observational Drawing is hard when you are completely blind, so I traced half the face in hot glue for those students, and after they glued that half face, onto a piece of card stock, they used wiki sticks to create the other half the face. Then they used colored pencils and pastels to color it. Students really enjoyed the process.