Showing posts with label notan. Show all posts

Tuesday, September 15, 2020

Notan and the Element of Shape


Pre-schoolers learn basic shape names: circle, square, triangle, but the truth is, most shapes don't have names. Some are geometric, some organic, some rectilinear, some curvilinear. Sometimes I can recognize a friend or family member as a distant silhouette by their shape. Shape is one of the most important elements of art because it can be used in so many ways.

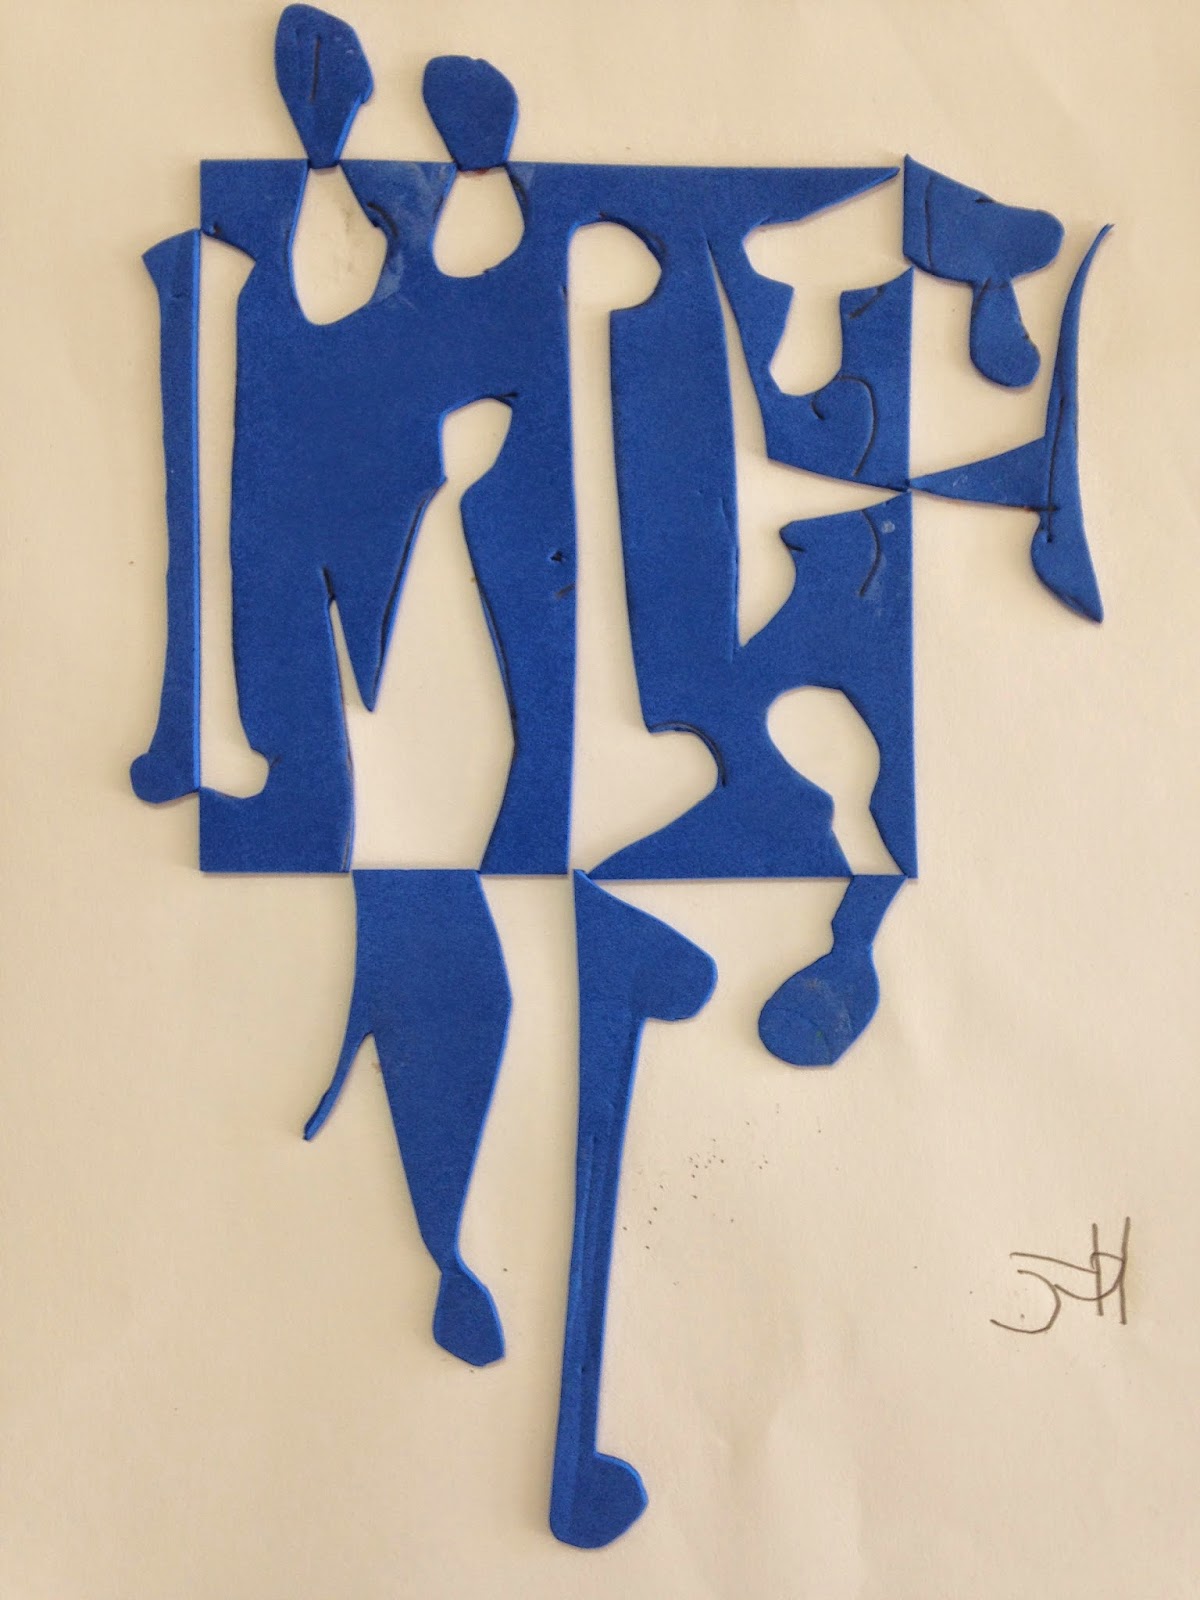
Notans are fun to make when exploring positive and negative shapes. Notan is a Japanese art form that deals with flat areas of light and dark. The high contrast is especially helpful for my students with low vision, and for those with no vision, a piece of thick card stock or craft foam, makes this project tactile.


To make an expanded square notan image, start with a square or rectangle. You'll want to draw shapes that start on one side and end on the same size. Think about whether you want the lines to be jagged and straight edged or consisting of soft curves. You may want to try to do half shapes such as half of a heart, face or a tree. If drawing in foam, you should be able to feel the lines to know where to cut, or you may want to skip the drawing and just jump right in, cutting simple shapes from each side. 

Once the pieces are cut, place the center, original square/rectangle shape in the center of the paper. You may need to turn it at an angel so the finished piece is fits better. Then put all the cut pieces back in place like a puzzle. You'll flip each piece out from the center, like you are opening a door on a hinge. The corners should touch the spot where the piece was removed so that the straight edge continues the whole way around either by black or white shapes. The white shapes are the negative space, if your large piece of paper is white, and this will mirror the black positive shapes.


Now's a good time to glue the center piece of paper if you didn't do that before, and then put your "puzzle" back together.

Before gluing the smaller pieces down, you might want to consider creating even smaller, negative and positive shapes out of those. You can take the straight inward edge of one of the flipped pieces and cut another shape from that edge to flip back into the negative shape. This works well for things like pupils in eye shapes. And if your ambitions, you can cut and flip that smallest shape again.


For a simplified version of a notan, just cut one simple shape from one side of a small piece of paper or foam and flip it out. You can make it more interesting by repeating the process in series of small squares or rectangles in a checkerboard pattern.


I included a very simple, tactile example in each package I mailed to students who are learning virtually. It is a piece of foam on a piece of plastic cover from discarded Braille Books. The shape of the hole from the missing piece is the mirror image of the piece that was removed. The foam parts are the positive shapes, and the holes or background make up the negative space. Enjoy the process and product!


Thursday, September 11, 2014

Shape Month for My Art Class

I dedicated our first month back in school to the design element of SHAPE. I've never taught any of these projects before, but I wanted to find the clearest ways possible to teach the basics of art to students who are visually impaired.

Notan
This is my new favorite way to teach the concept of NEGATIVE AND POSITIVE SHAPE. Notan is a Japanese design principle in which dark and light shapes are juxtaposed in an image.  With blind students I found it very helpful to have them use  foam sheets because they could feel the indented lines they drew in creating a shape, and once it was cut out they could put it all back together like a puzzle. After they flipped and glued each piece, they could feel the negative shape (the hole) and the positive shape (the piece they flipped). They each made two images, one symmetrically and one asymmetrically balanced.


Rectilinear Relief Sculptures
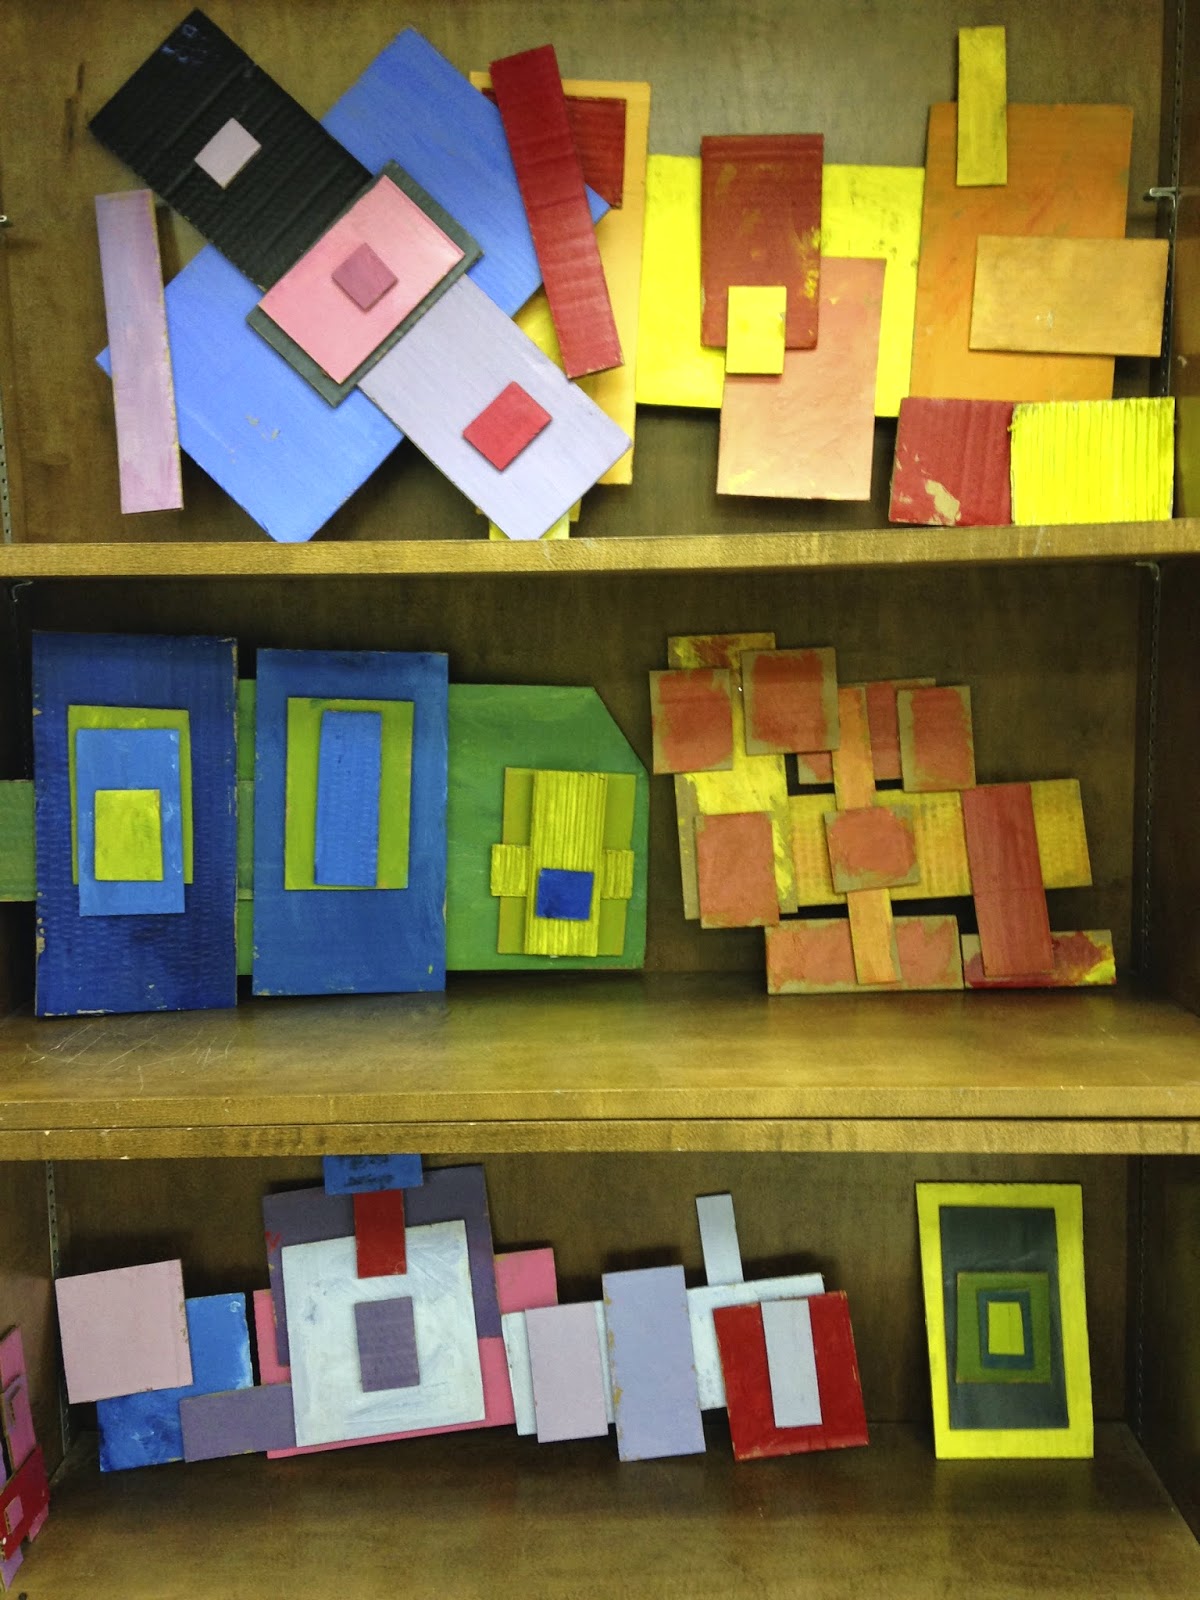
I felt like a little kid at Christmas when all my new classroom supplies rolled in; I just wanted to play with the boxes. I cut these boxes into hundreds of cardboard rectangles which I sorted into piles according to size.  Students gathered a variety of rectangles and picked two primary colors, which they could mix to create an analogous color scheme. They learned about visual unity through color and repetition of RECTILINEAR SHAPES. They arranged the rectangles several times and took digital photos of three different compositions before they chose one for me to hot glue.


Sports Posters
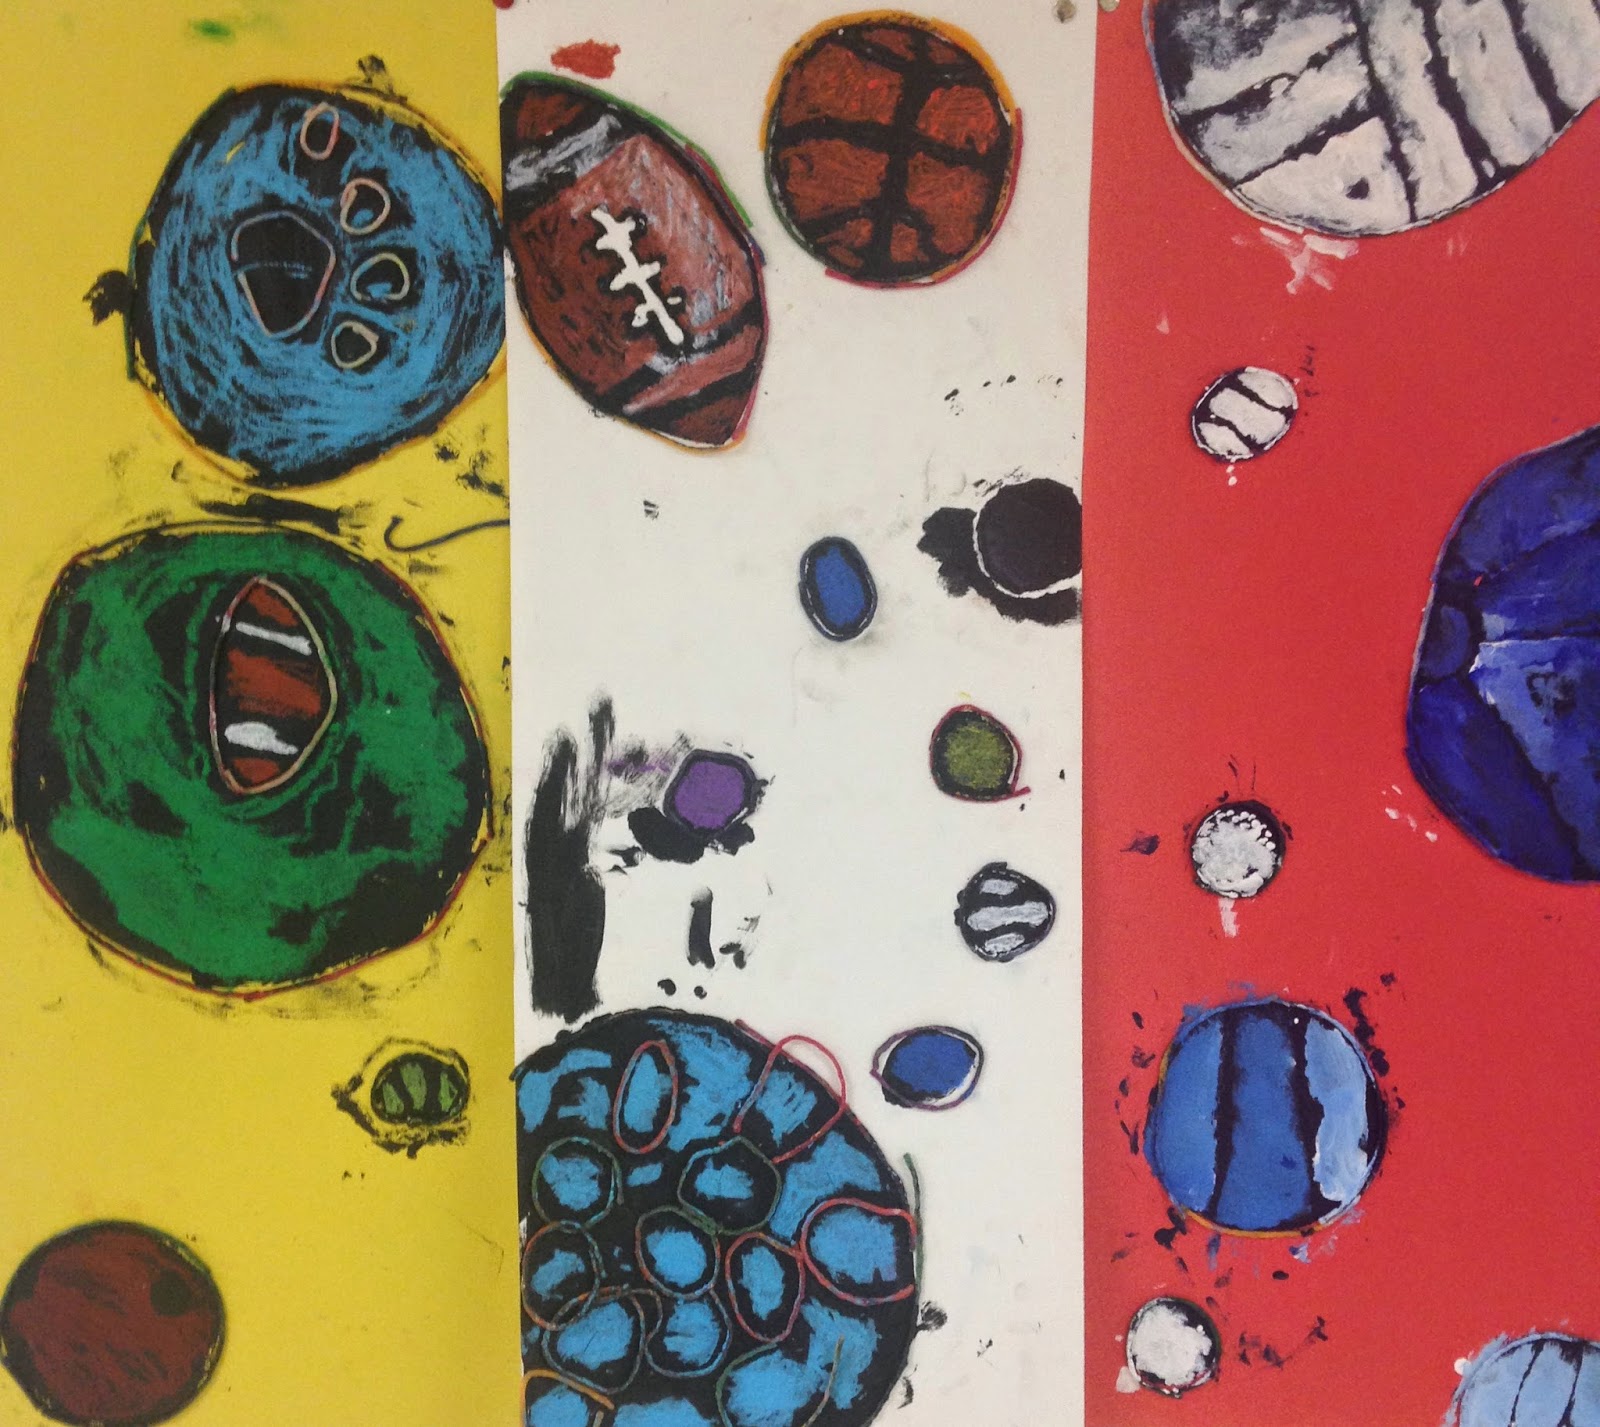
This assignment came about because Coach asked me for help covering his ugly cupboards and I'm all about interdisciplinary assignments.
CURVILINEAR SHAPES are the opposite of the rectangles we worked with the previous week. But we were still building unity through variety of size and unity through repetition of shape. My blind students traced circles with wiki sticks. This provided the tactile boundaries so they would know where to paint. They used black acrylic for the under painting, and then acrylic or oil pastel for the color on top.The fingerprints and smudges come from trying to feel for the dry areas that still needed painting.

Half Face Drawings
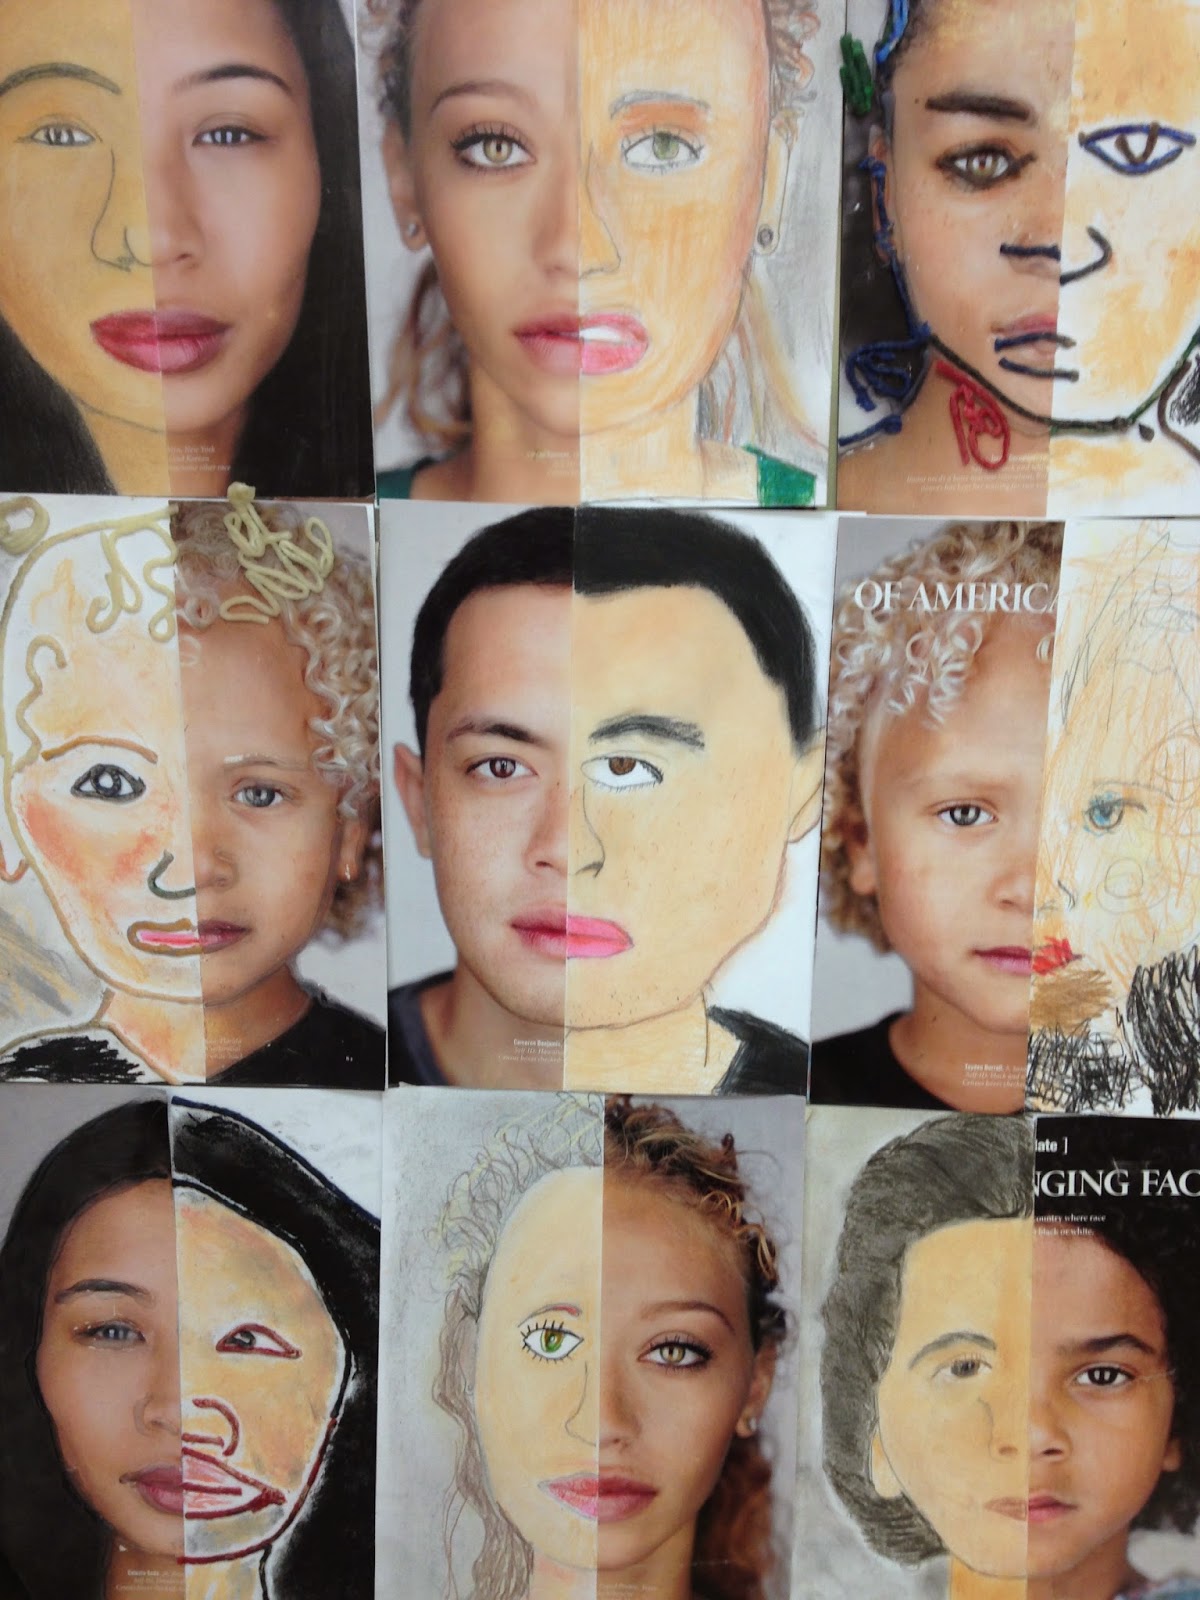
I remember loving this project when I was a kid and have been wanting to try it out with students for a long time. National Geographic had a great article about race in America and I was able to read it and discuss a little genetic science with the students. This assignment was used to teach about NATURALISTIC SHAPE as well as symmetry, proportions of the face, and observational drawing skills like trying to match color. Observational Drawing is hard when you are completely blind, so I traced half the face in hot glue for those students, and after they glued that half face, onto a piece of card stock, they used wiki sticks to create the other half the face. Then they used colored pencils and pastels to color it. Students really enjoyed the process.