Showing posts with label art lessons. Show all posts

Wednesday, October 15, 2025

Tactile Caulk Painting project

To wrap up our relief sculpture unit, I had student's create tactile images by using caulk on canvas or wood. Many of them started with a drawing in marker or Wiki-Stix, if the students were totally blind. Then these were traced using caulk from the hardware store. Once the paint was dried, Under paintings were completed and by the 3rd day my students were able to paint work on the top layer of their painting.

Some students placed their canvas on the potter's wheel and squirted the caulk down onto the base. By touching the tip of the caulk gun to the surface, there was more of a mechanical feel, where as just squirting it from the air, felt more organic. The colors reflect the nature of the line. 

Some students used masonite (the back of scraps of bead board from a home improvement project to be specific), and used spray paint for their under painting.


The tactile quality allowed for my blind students to feel where to paint. Because this spider web was black, my student spray painted the entire image black, and then filled in the negative space with white, so the black lines would feel more like the foreground. She finger painted acrylic, dripping tiny strands as she went. There was not a single student who wasn't happy with their finished painting.


Monday, December 28, 2020

Kente Cloth Paper Weaving


Kente Cloth originated in Ghana and has been an important part of West African culture for hundreds of years. Each color has meaning. Green for growth and harvest, gold for royalty and prosperity, purple for femininity and sweetness etc. The shapes are also symbolic: triangle represents birth, life, and death, a circle represents eternity, and the idea that there is no beginning or end to the royal lineage. 

For a simple paper weaving craft project, cut strips of construction paper. I cut one inch strips of 8"X11" paper horizontally, and vertically (except the vertical one stopped one inch from the top, so that it stayed connected. I also glued the top of the vertical cut paper to a plastic base, so that it could be shipped easily to my distance learning students without getting wrinkled.

Students lifted the odd number strips up, and glued a horizontal strip of paper to the even strips with glue stick. Then the strips that were up came down and the ones that were down came up before adding another horizontal strip. This is an easy way to discuss pattern in art and life. We repeat, up, down, up, down, up, down, up, down. As we manipulate the vertical strips of paper (this is the "warp" of weaving), then we'd choose the pattern of the "weft" (horizontal strips): such as orange, yellow, red, orange, yellow, red....


Once the weaving is completed, pattern is discussed again as a student decides to place an "X" shape on all of the yellow squares, and diamonds on the green, for example. For students who had fine motor issues or no vision, I offered stencils, and traced what they drew in puffy paint for a tactile finish.

This project can be a part of a social studies unit on West Africa, or it can be an extension of a literature lesson. A Spider Weaver: The Legend of Kente Cloth by Margaret Musgrove is the picture book I shared with my class. Folklore is always a fun way to learn about culture. I brought in some masks and shirts from West Africa for students to try on. Whether you want to teach reading, geography, or art principles, this is a great project for kids.


Wednesday, August 31, 2016

Word Mandala

Mandalas are repeated patterns using radial balance. They are used in some Indian religions and ancient architecture to symbolize the universe.


After my 12 year-old daughter came home with the painting above, I had my own students create mandalas. First I  folded a square of 12" X 12" paper in fourths to make 4- 4"X4" pieces and then diagonally to make 8 identical triangles. I cut them out and gave one to each student. They wrote a name or word that was meaningful to them. (My daughter's says "APPLES.") This can be done with the bottom of the word against the longest side of the triangle or one of the shorter sides, but the letters should fill the space. The word needs to be traced with marker so that it can be seen well enough to trace. We used a light table to trace the word into one section of paper and then flip upside down on the next section and trace it again.The flipping and tracing continued the entire way around the paper. Some people might want to do every other space with the word reading correctly, and then flip the word upside down and fill in the mirror images in the missing spaces. Either way, the results are the same: 4 mirrored pairs of the word.


For my students who are completely blind, and read Braille, instead of print, I wrote the word for them and traced it in hot glue. Their job was to color them using the tactile lines.

These two say "Kind" and "Faith." 

I wish I had taken pictures of the finished pieces because they looked fantastic. This project really helped students who felt like they couldn't come up with a pattern or design themselves, realize that they could. It also helped some of my students think about negative space, and find ways to repeat color for sense of wholeness.


Monday, February 8, 2016

Aluminum Foil Sculptures

This project was part of a lesson about sculpture in the round. The Family and Consumer Science teacher had covered the bulletin board with aluminum foil to look like a cookie sheet, and then she had students make paper and foam cookies to cover it. When it was my turn to do the bulletin board, I took down the foil, and gave a piece to each student. We felt how flat it was and talked about the difference between two dimensional and three dimensional art. Then they were given the task to make a 3D sculpture from the 2D foil. Here are the results.


 The horse was the only piece that required a little pipe cleaner armature to cover. If they were going to make bigger pieces, I'm sure we'd use wire structure to start. Mostly, this is an instant gratification type of lesson and one I have already referred back to several times to help them remember my students difference between 2D and 3D art.

Monday, April 6, 2015

Puppetry Arts in the classroom

The last couple of weeks, I have watched stoned faced students erupt into giggles when being hugged and kissed by puppets. For blind children, it is important to get to touch the mouth of a hand puppet as it opens and closes, and shake hands with a puppet arm. They each got to try out several kinds of puppets and listen to silly my voices. I showed an episode of the "Muppets" and talked about how someone has to invent each character and make it by hand.


When it came to art production, my elementary students began at the beginning, which for me is the paper bag puppet. No childhood is complete without making at least one.

It didn't take long for me to sew dozens of little finger puppet bodies, which these kids took to new heights. It's important to discuss lots of ideas and offer a variety of materials before students come up with a solution that will work for them. I was surprised at some of the ideas they had, like feather for hair and a goat-tee, or a yarn loop to make a girl's hula hoop.


Older students watched power point presentations on puppets and video clips of amazing giant marionettes to ancient shadow puppets. They then made their own shadow puppets with two pieces of black paper, wire, and metallic markers. Dowels and brads work too for moving parts. But I am saving our dowels for another project.


The marionette project used paper towel rolls (we still have plenty left over from all of our toilet paper roll crafts), paint, string, and Popsicle sticks.


Puppets and marionettes marry visual arts with literacy and performance art. We wrapped up our unit by taking a trip to the Center for Puppetry Arts to watch an amazing performance about "The Diary of Anne Frank."


Tuesday, October 28, 2014

Monochromatic Mobiles

I have a goal to make my life as beautiful, uncomplicated, and perfectly balanced as a Alexander Calder mobile.

I taught my students about Calder and mobiles as a way to unite the shape and line themes we'd been learning in art class. I also wanted to add "monochrome" to their list of color theory vocabulary terms. Each student created shapes of various sizes from paper, cardboard, or whatever they wanted. Then they chose a color, which they could mix with either white to tint it, or black to shade it.


The younger students worked collaboratively, painting tints and shades of a chosen color on cards, and later gluing the cards to strings. Although the installation as a whole isn't monochromatic, I think they still learned how to create multiple values from one color by working on their part.

Monday, September 29, 2014

Cross Contour Lesson

Here is another assignment I used for Line Month. Cross contour drawings are a great way of showing dimension through line. We spent several days of class trying to find ways to draw lines on top of appropriated famous (and a few not so famous) portraits to give them a greater sense of depth.


The student who did the piece on the left was completely blind but you can see where I hot glued around the nose, eyes, mouth etc. so he would know when to stop with a certain color. 

Students were also required to do a cross contour drawing without a starting image. One visually impaired student tackled hands doing a pinky promise in cross contour.

 Wiki stick shapes were formed by this blind students who would draw lines with rulers outside the shapes and made curves inside the shapes to create their cross contour drawings.

Saturday, September 27, 2014

Line Month in My Classroom: Wire Quilt & String Art

As an artist, I sometimes feel sorry for mathematicians and their limited definition of the line. Lines in art can curve, wiggle, wave, zig, zag, and have three dimensions. Tangible lines are more meaningful to my blind students, who I walk around the room and have feel the spaces between the cinderblocks, the legs of a chair, their canes, wire, yarn, and say, "these are lines."


WIRE QUILT
Sometimes art supply companies create lesson plan ideas to help to their sell supplies and I'm glad I bought into Dick Blick's idea of making a wire quilt. Students used thick aluminum wire, thin, plastic coated wire, pipe cleaners, beads and  the list grew each day of the week to include yarn, ribbon, vinyl, tissue paper and buttons. Had I limited each student to one square, I think the easiest solutions would have been their only solutions.  By asking them to make as many squares as they could in a week, they were able to explore new materials and ideas, such as making a tic-tac-toe board or an American flag The finished product was 70 squares which ended up being about 40" X 30"


STRING ART
A couple years ago, my sweet Minnesota nephew, John, sent me his string art to show me a project he  thought my students would enjoy.  I know I loved doing it as a kid, and it turns out that you don't need working eyes to be able to figure out how to make these.  The magic is discovering ways to make curves, using only straight lines. I hope this is something my students won't be afraid to try at home.


Saturday, January 25, 2014

From the Art Classroom

I love that my blind and visually impaired art students say, "It's nice to see you."
When something is amiss they might say, "That doesn't look right," and when they understand what I'm talking about, they say, "I see."
The fact that their eyes don't work perfectly, doesn't mean they have to use a different phrases then sighted people. They live in the same world, and deserve to understand what people are talking about when they make references to art. They also deserve to try their hand at art projects. Art, after all, is for everyone.


I recently had my students empty their portfolios onto the wall for a critique. It is so fun to track 
their progress and how see much they've accomplished in the last few months.


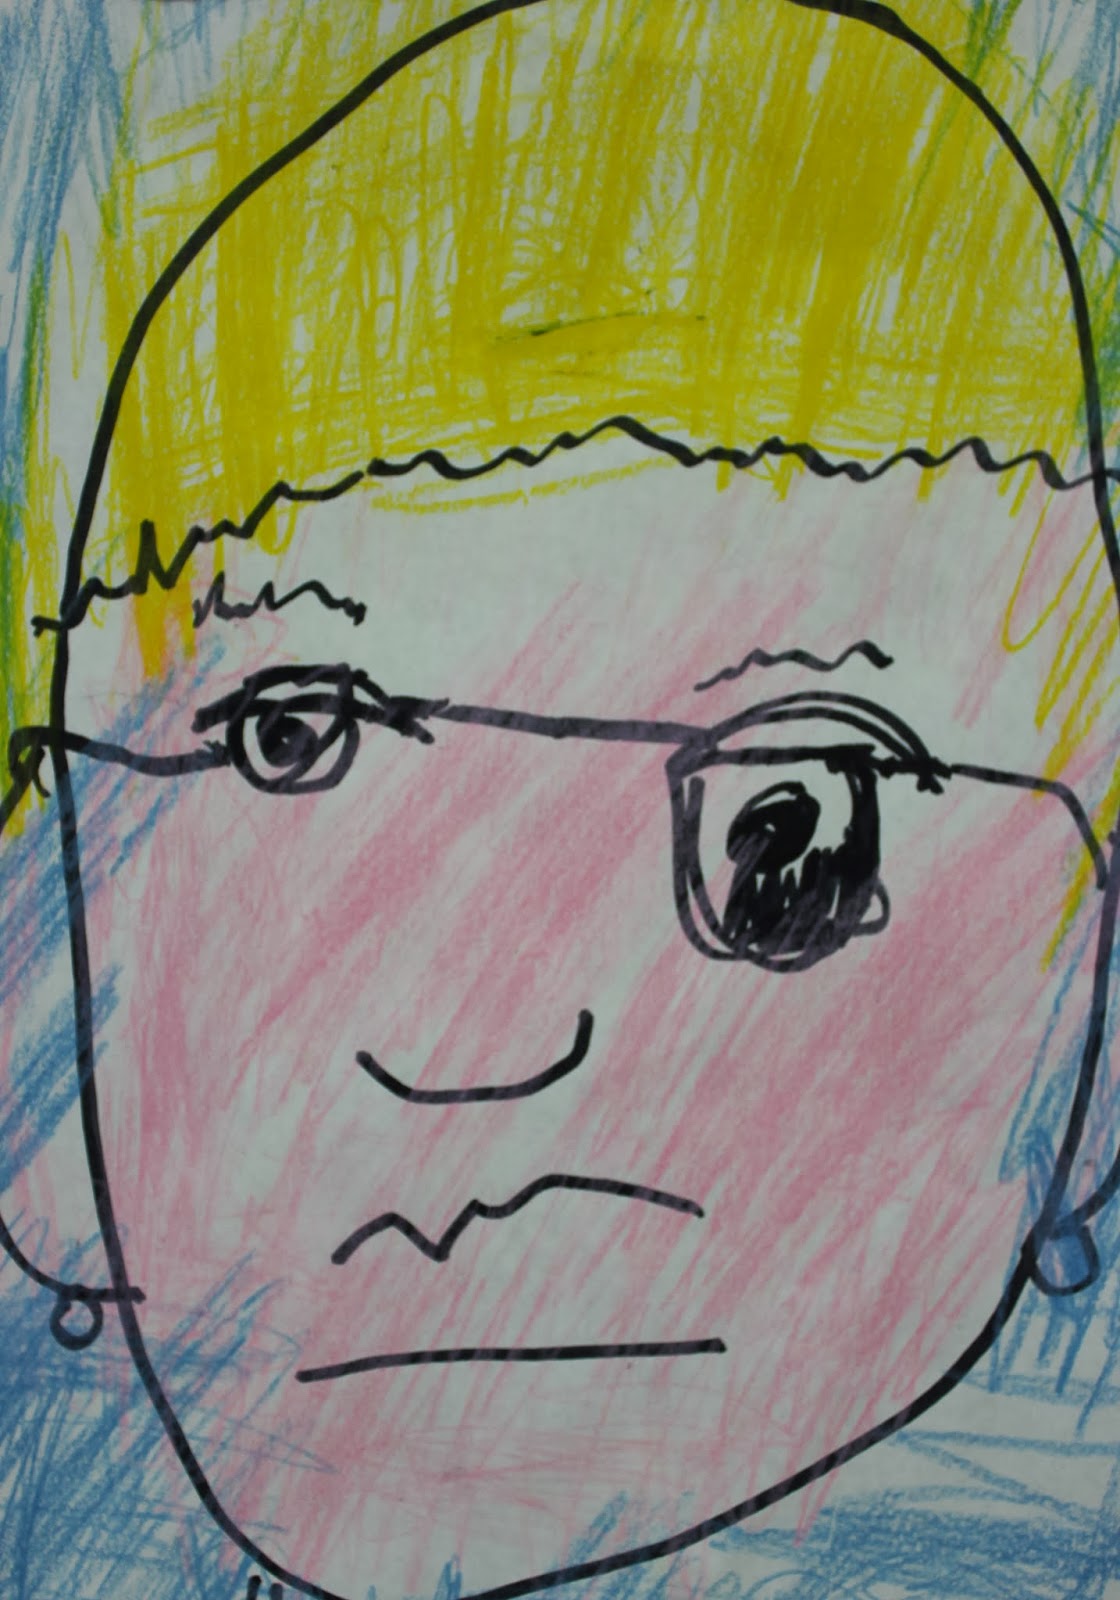
I had each student pose in front of their work while I took their pictures. I can't share the photos of them, but I can share a few of their self portraits.


 We talk about line of symmetry and proportions. Mirror's aren't always useful, but students can use their fingers to determine how far apart their eyes are, and what fraction of their head is taken up by their forehead.
This student used wiki sticks to "see" his "drawing" as he worked.


Tessellation projects are are a favorite way to teach math/art concepts of perimeter, shape and pattern. I have a slide lecture of M.C. Escher images that I describe in detail to those who can't see, and then they used wiki sticks to trace the templates they made.


Observational concepts such as linear perspective and use of value to show three dimensions were tackled by my low vision students.   


Right before winter break, we studied Andy Warhol before doing screen prints of snow flakes. And we learned a little about Frank Lloyd Wright and architecture before building and decorating graham cracker houses.