
It's easy to make a pair of Alice legs out of cardboard and tissue paper. I used the white cardboard from a trifold board. I just cut the calves and feet, leaving enough cardboard at the top to fold into a stand.


My students made hats as part of a Careers in Art: Costume Design assignment that also served as a "Let's make hats to use for our Wonderland Prom!" project. That was a couple of years ago, and now that we're finally going to use the hats as table center pieces, I thought hat stands were in order. You don't want to just have a few hats of the same height sitting next to each other, you want to create some negative spaces and differing heights for visual interest.

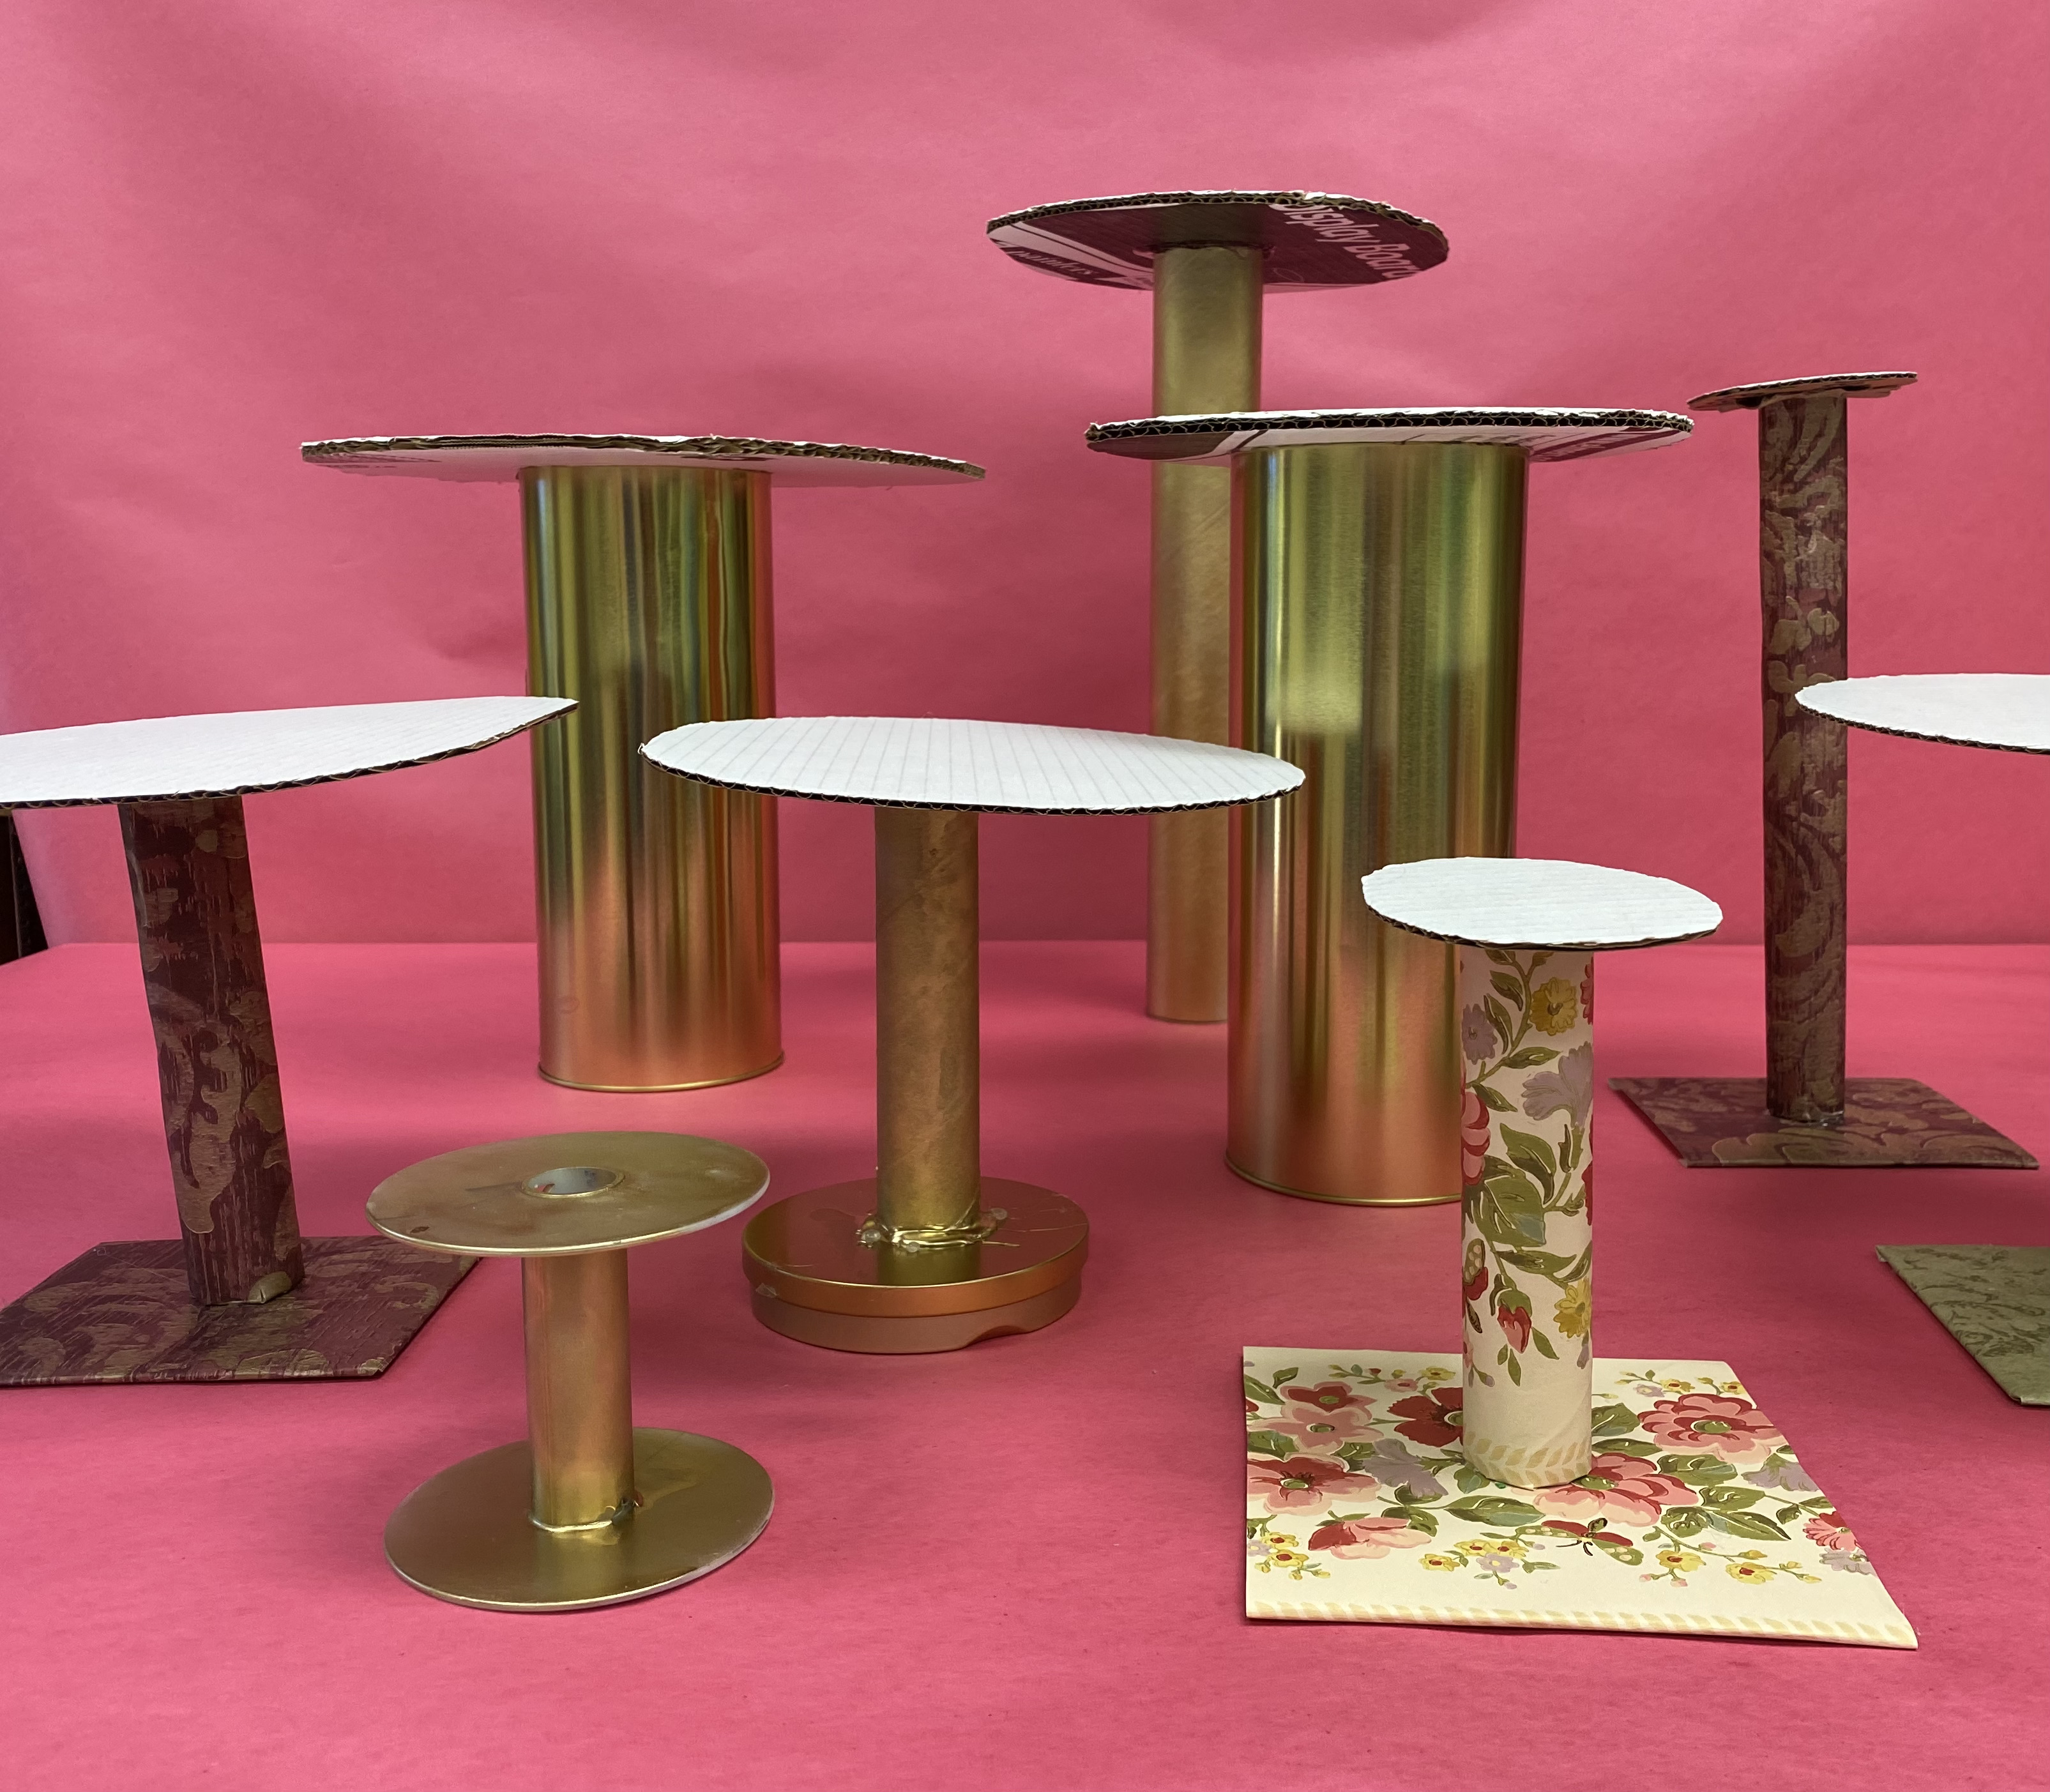
For the rest, I wrapped paper towel tubes (cut to various lengths) with vintage looking wall paper. Wall paper was also wrapped around square pieces of cardboard for the base. These are a little wimpy, and so you need to be sure the paper is securely glued to the top of the cardboard base, so the tube is more secure. I also filled the tubes with sand to give it some weight and stability. The trick then is to put the glue on the top of the tube and attach the cardboard top without lifting the tube upside down to attach it, or you'll have a big, sandy mess. Another tip is to cut vertical slits in the top of the tube, and fan out the tabs like flower petals so the hot glue has more area to stick to the top. I didn't worry about decorating the top since they'll all be covered with hats, but a little lace around the edges might be a nice touch.
My set design class has been very busy the last few Fridays since the Spring Concert, making prom decorations. The theme is: A Night in Wonderland! The class of 2020 picked the Alice in Wonderland Theme, but COVID canceled that dance, and we've had giant chess backgrounds and chess pieces waiting in storage since then. (You can go back and see my blog posts about how to make those things.)

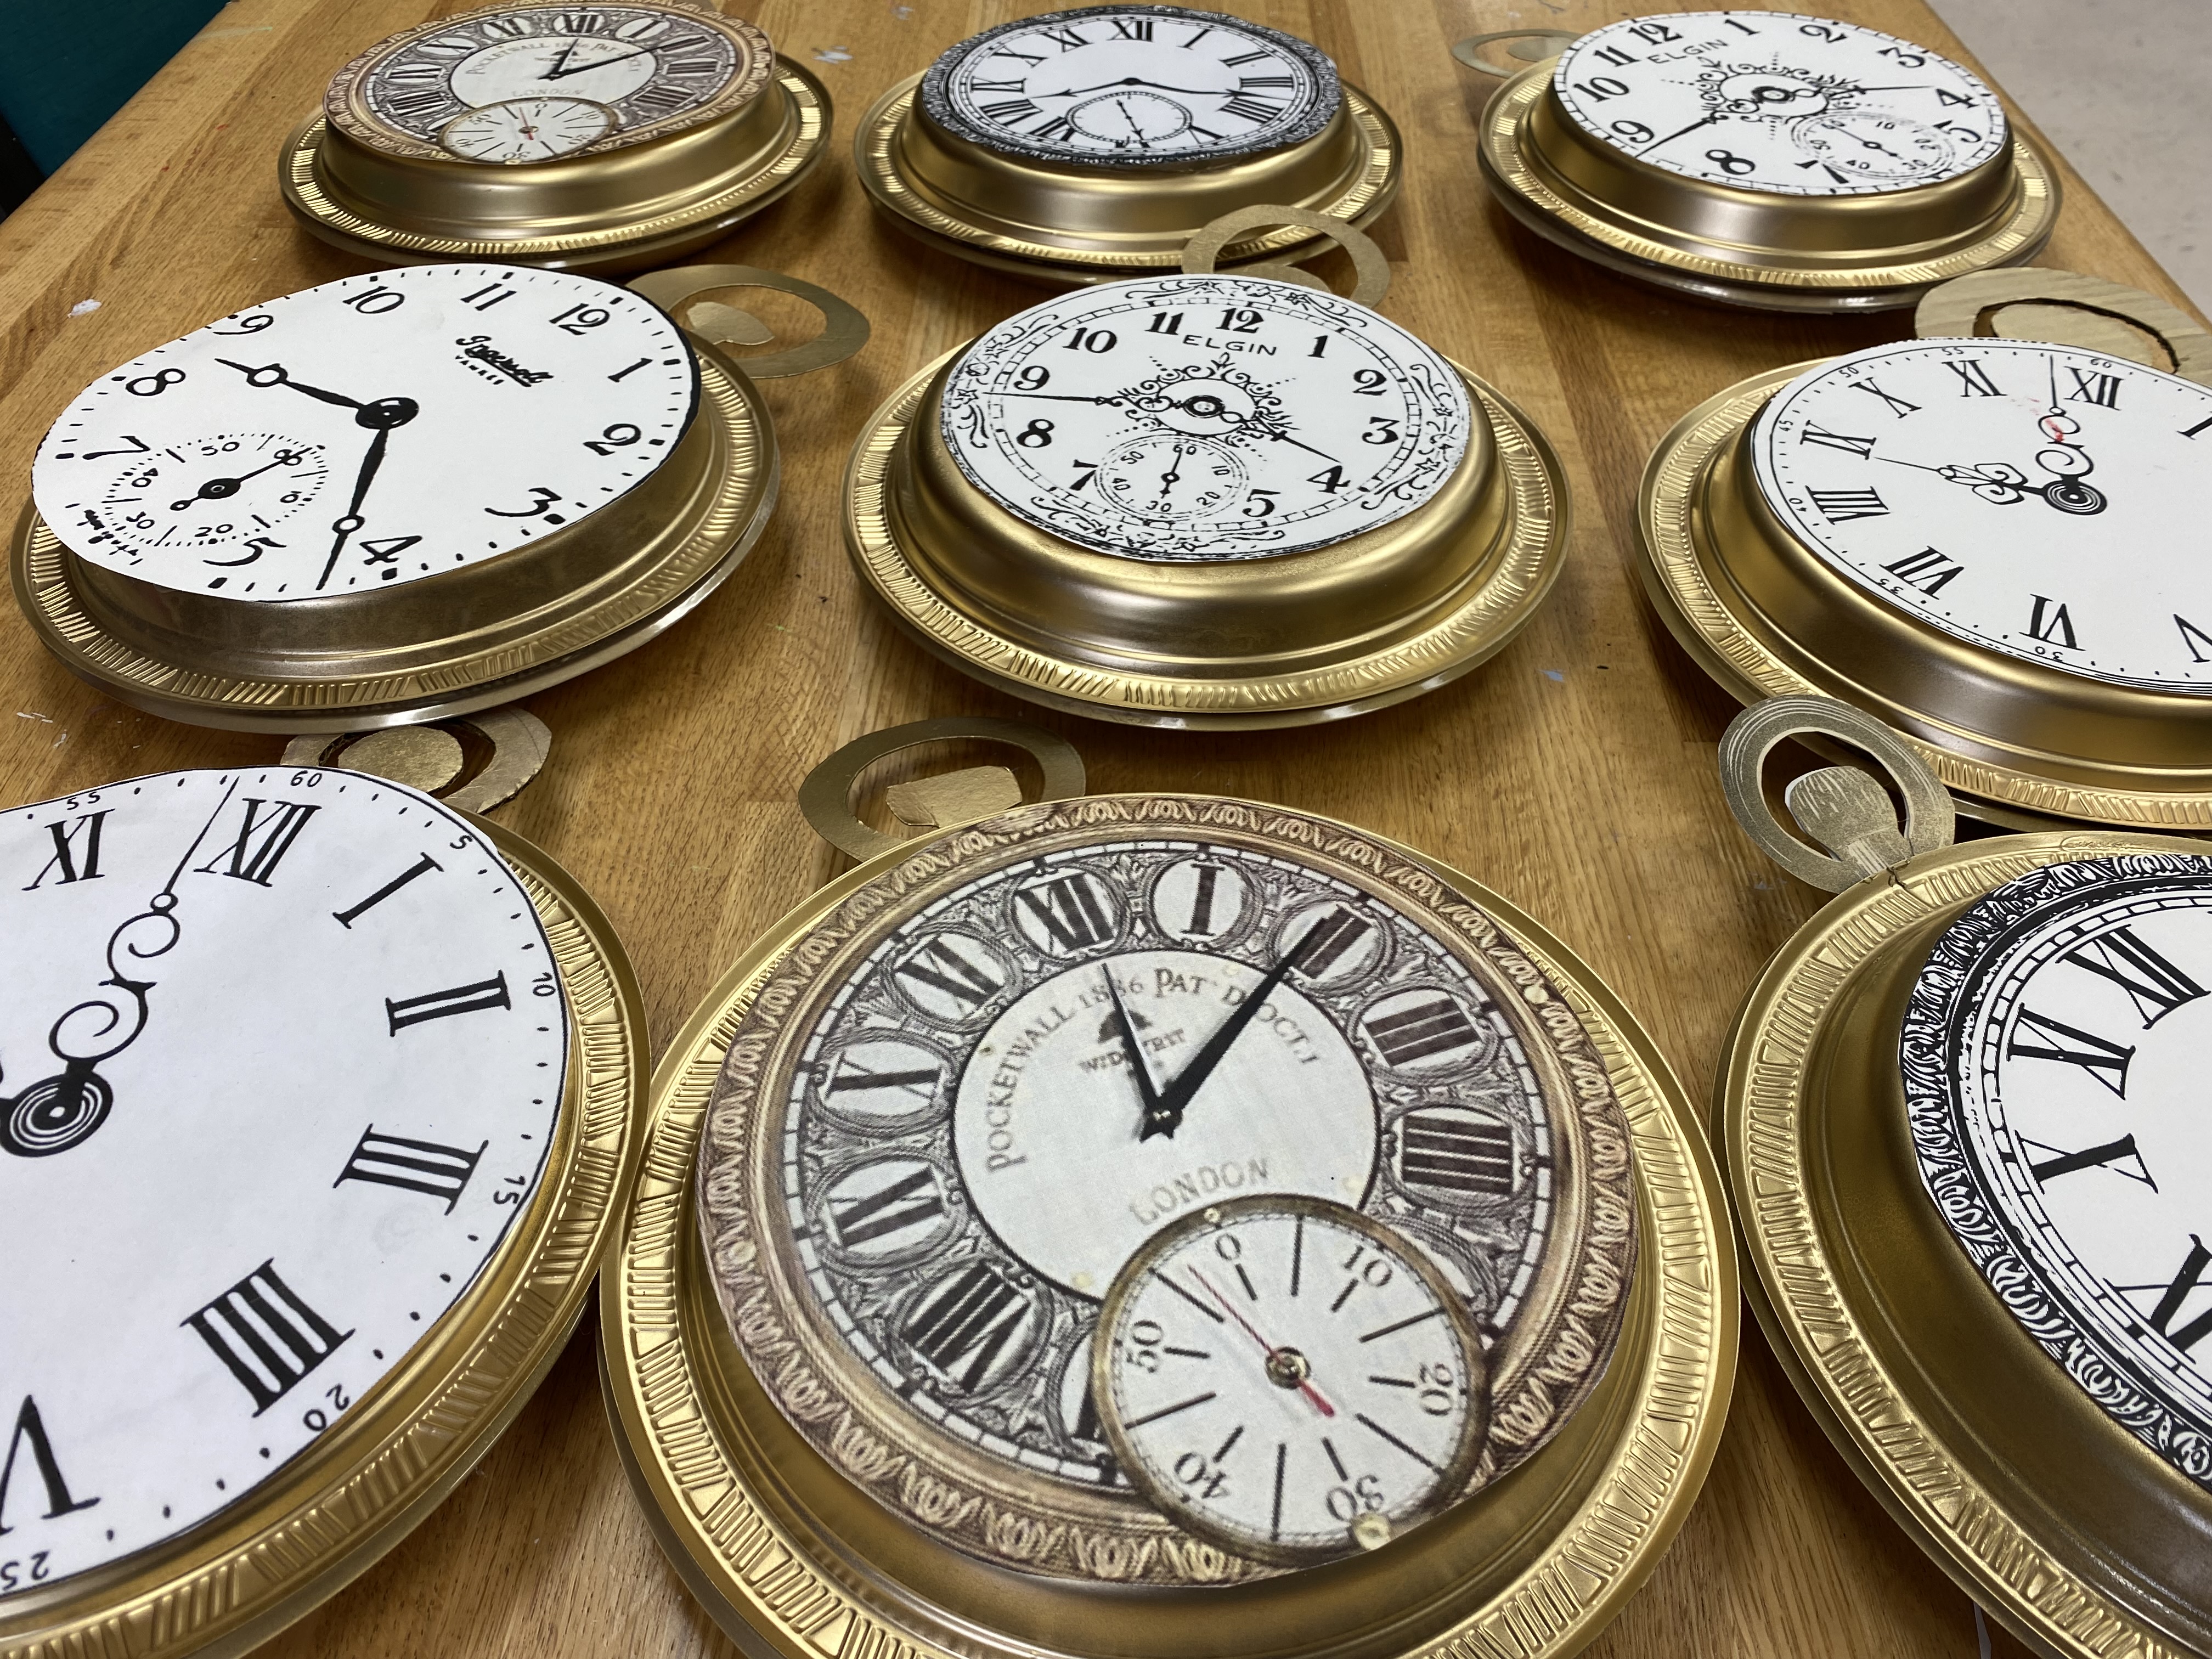
In the meantime, I'll fill you in on some of the new decorations, starting with the famous pocket watch that the white rabbit was obsessed with looking at.


When I planned on teaching the Ukrainian art form of Psyanky decorative eggs to my art class, I had no idea that the Ukraine be in the news every day after Russia's invasion. We were able to look at this decorative egg tradition in 1,000 years of historical context from ancient Pagan symbols, to Easter tradition, and to current event stories of fundraising pysanky eggs for Ukrainian refugees. I also didn't know we'd have an April school-wide Eggs-tranvaganza that included egg games and that I'd get 4 dozen leftover fresh eggs to use for my students. It was a trick poking holes in each end, scrambling the inside with a tooth pick and blowing each egg out for hollow egg shells.

You draw with a kistka stylus. Beeswax is melted in the kistka cup which funnels to a point. Thin wax lines are drawn on the egg before dying it the first color.


Then more drawing can be added between each color to follow.
The colors are revealed by melting the wax lines with a candle flame and wiping them with a paper towel.


