Showing posts with label art project for the blind. Show all posts

Tuesday, September 1, 2026

Stripped Cardboard Mixed Media Art Project


Once they finished making cardboard mono-prints on paper (see my last blog post for instructions), my Art students didn't toss their cardboard "printing plate," they used it to create a new tactile finished piece of art!

The back ink that had been rolled on from printing gave it a nice dark undercoat. Students choose from a wide range of media to layer. Some collaged torn strips of scrapbook paper and others collaged carefully cut parts of wall paper. to keep those shapes from standing out too much, some used whisps of spray paint, or pastel (oil or chalk), to unify the parts of the image. A paper stencil of the subject, and spray paint created more contrast and help their focal point pop out a little. Patterned stencils were used to activate the background or add another layer of color. 

The piece of art that was made from the printing matrix is facing the opposite direction as the print. This is an important lesson for future print projects: left is right and right is left. If you are using words, you would have to write them backwards using mirror writing, like Leonardo daVinci did in his notebook. There are so many little fun things to discuss and learn in multi-media projects like this one. I just love how they turned out, and the fact that they're tactile is a double win for my students who are blind.


Wednesday, March 18, 2026

Mosaics Project


We began our Art class unit about art around the world by studying Ancient Roman mosaics. Long before Italy was a country with Rome as a capital, it was part of a huge empire, extending into Africa and Great Britain. And the mosaics with intricate images made of thousands of tiny colored glass and ceramic tiles, like pixels. There were complex boarder patterns, intricate scenes from daily life. a wide range of value would give the illusion of space to images of people, animals, and still life objects. 

 My students chose from a variety of colored tiles in my room, put on a pair of safety glasses, and then took a hammer to the tile to break it into smaller pieces. Our classroom has an outdoor patio, where we could attack the tiles on bricks without having to worry about a big indoor mess. 


Students each drew a simple image onto a piece of wood, and then glued their tiles down with hot glue or hot glue. It helps to start with the big pieces and then fit smaller pieces into the remaining spaces. I bought a bag of sand grout, and half the bag ended up being enough for 15 mosaics of various sizes. We mixed a cup or two at a time, covering the top with a square of mat board, trying to "squeegee" it into all the cracks. After it sits long enough to harden, the excess on the top can wiped and polished up with a rag. Everyone was so excited to see how their projects turned out. 


Tuesday, May 20, 2025

Ceramic Carving Assignment


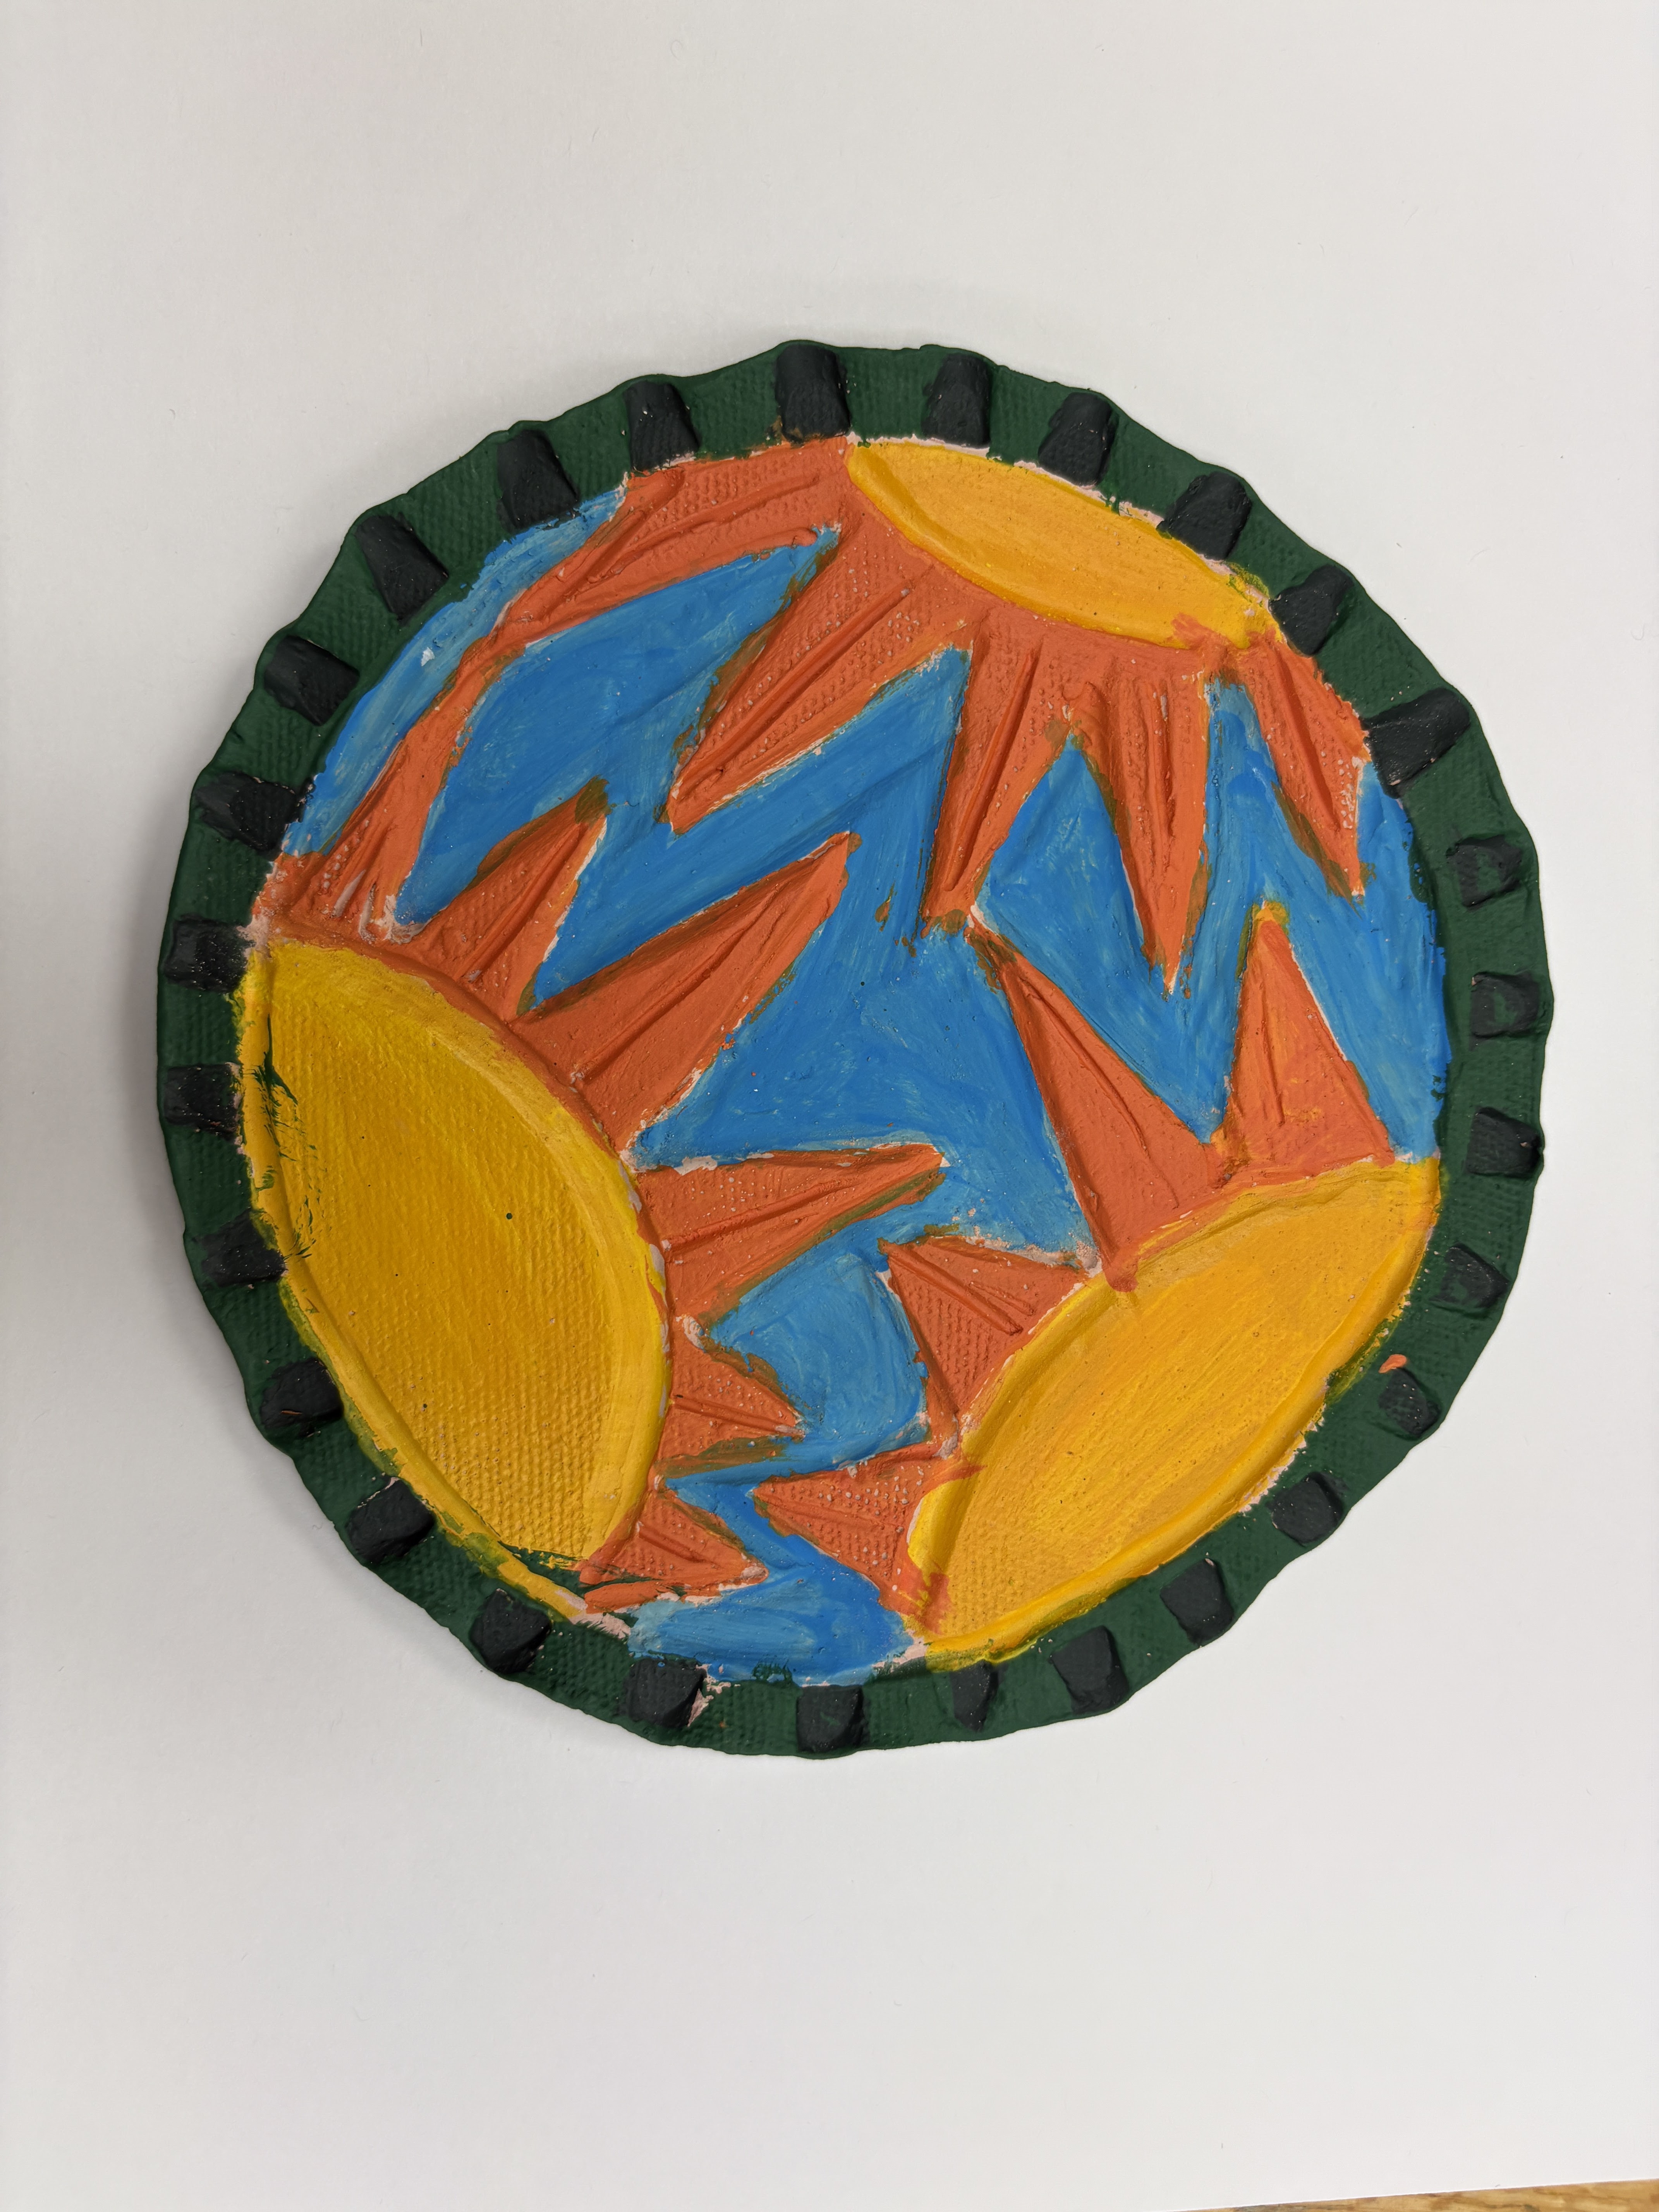
Making tactile images in my art class are a must. All of my students are visually impaired and half are totally blind. We draw with Wiki-stix, glue, string, puffy paint or by embossing foil. but clay tablets are another solution. This assignment worked really well for my students who normally don't like working with clay because they have tactile issues with anything gooey, slimy, or even sandy in texture. I used clay that was already starting to dry out a little before I cut off slices. Students ran the clay through the slab roller and then it felt more like a thick, heavy piece of fabric since it had the canvas texture pressed into it from the rolling process.


While the clay was still malable, students pressed the ends of pencils or paint brushes to make repeated patterns for boarders. Than they lightly drew an image into the center before carving away the background with ceramic tools. Some students used stencils to get the design that they wanted.

Once the clay was fired, Students were able to feel where to paint (acrylic) each color. Students who were totally blind usually opted to paint the entire thing one color before dry brushing across (perpendicularly) the surface of lines so that only the foreground would get the second color.

Many of these were made as trivets, to set hot pots on. Others had holes made before firing to string twine or ribbon through and make it into a wall hanging. They were the perfect gift for Mother's Day and 


Saturday, November 6, 2021

Festival of Trees Clay Ornaments: Peace, Love and Braille


Claymation is as natural a segue into ceramics, as a school-wide event is to a community event. So my art students went from having our mini animation film fest to the festival of trees. This is our 3rd year to participate in the Festival of Trees exhibit at Macon Georgia's Museum of Art and Science. It is a way for us to have a presence in the community, support the museum's fundraiser, and to subtly advocate and inform. We titled this tree: Peace, Love, and Braille.

Most terracotta ornaments were dry brushed with paint, while most porcelain were glazed 


My students love working in clay because it is such a tactile experience. For this tree, they rolled slabs, cut shapes, pressed textures, and stamped words into the clay ornaments. If we didn't have cookie cutters or cups to cut the shapes we wanted, we made our own templates out of Braille book cover plastic. 

 Many of the students at the school read Braille, which is a code created by Louis Braille in France about 200 years ago, using raised dots to represent letters. Other students have some vision and can read print if it is large enough. Peace, Love Hope, andJoy are the words represented in many of the ornaments (in print and/or Braille) because that is what we wish for each of you this holiday season, and always.

While at the museum decorating the tree, we explored what the museum had to offer: mini zoo, art galleries, bat cave, artist's loft, and science floor. We met the museum's director and the director of education, who is hopeful about working with us at some point in the future. We topped off the trip by stopping for ice cream on the way back to the school. 
Whether in Large Print or Braille, what better way to usher in the holiday season than with peace, love, hope, joy, and a morning to explore  the museum?