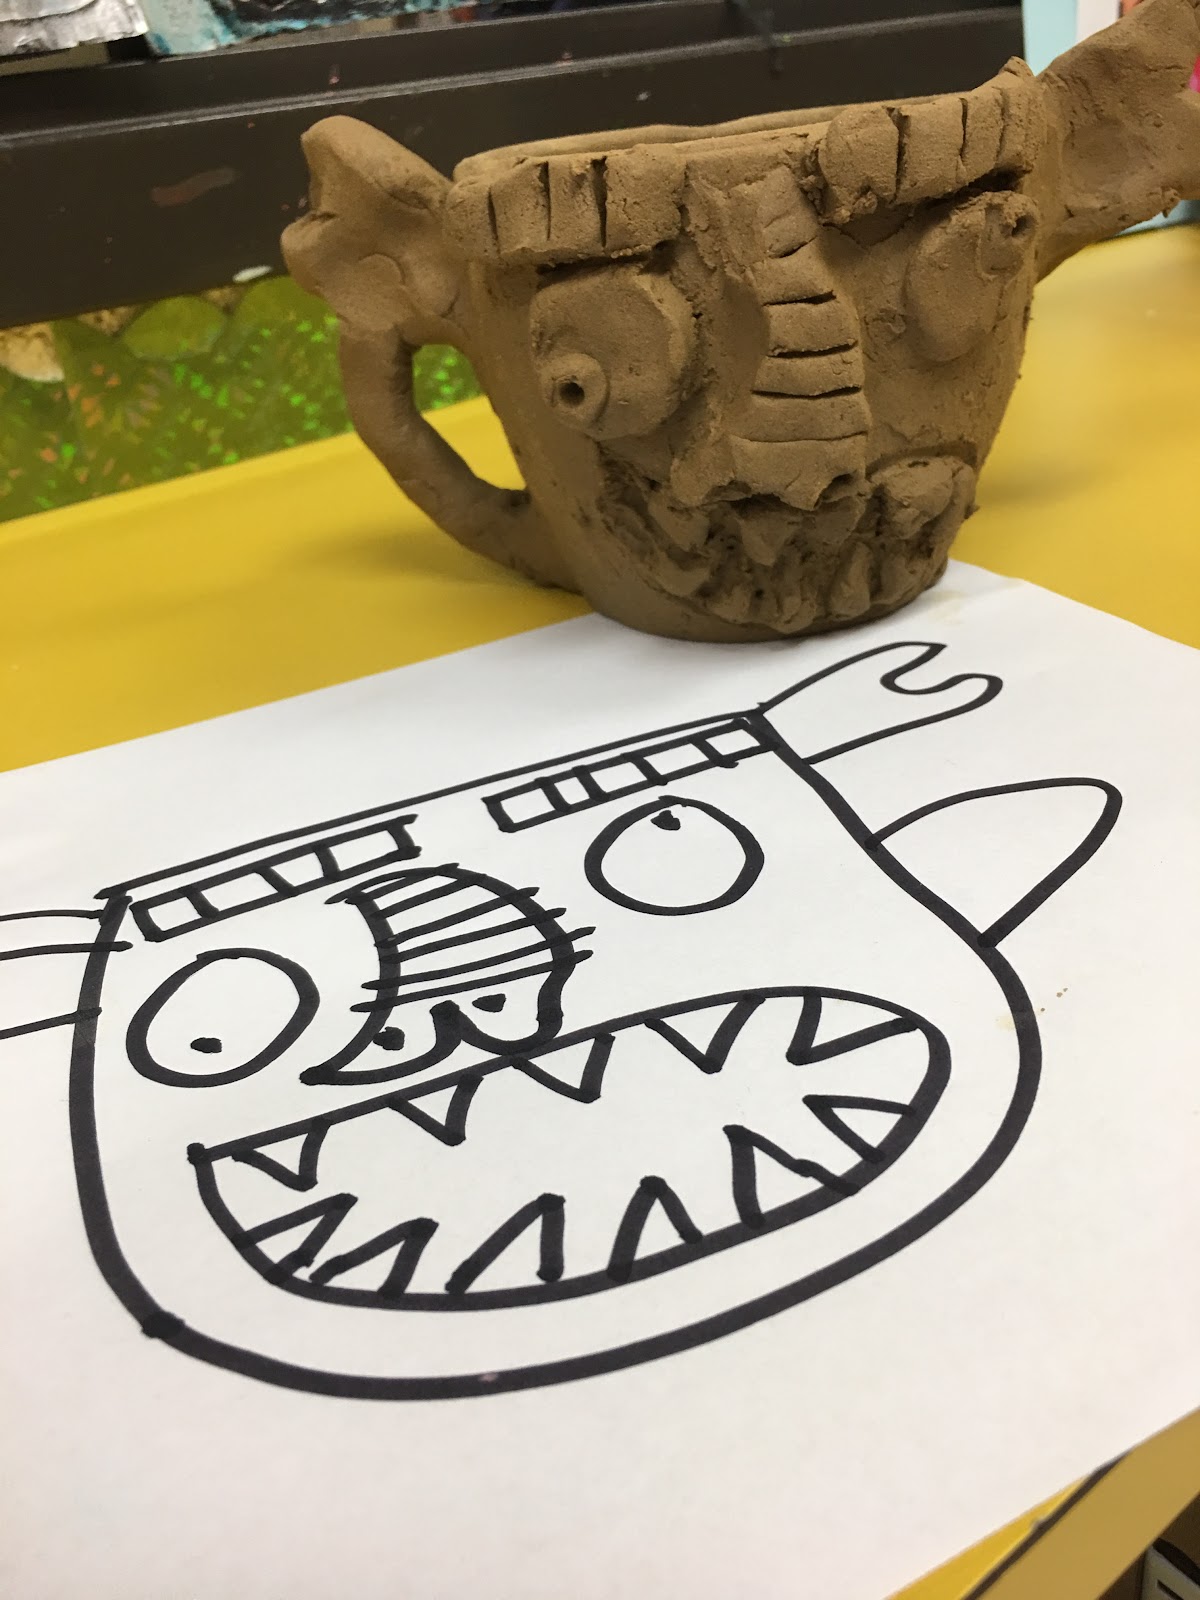
Face pottery is one of the earliest forms of post-colonial art in the United States. It originated in the mid 1800's with slaves, in South Carolina, who carried their beliefs from Africa. They used face jugs the same way they had used special wooden figures, which contained special items to ward off evil spirits. These "ugly jugs" were used as grave markers to scare away the devil so the spirits of their loved ones could go to heaven. The pottery was also buried outside of doors to protect the home. Some of the jugs traveled north with escaped slaves on the Underground Railroad . I have also heard that, during the prohibition era, some used the jugs to store moonshine. (In this case the ugly faces were used to scare children away). Any archeologist and art historian will tell you that it's not just writings that tell the human story. Much of history is told through the objects we make.
This lesson plan was fun to teach because it lent itself to so many interesting discussion questions: Why would anyone make something ugly on purpose? How do beliefs and traditions impact art? Why would anyone risk their life to escape slavery? What is the Underground Railroad and how did it work?
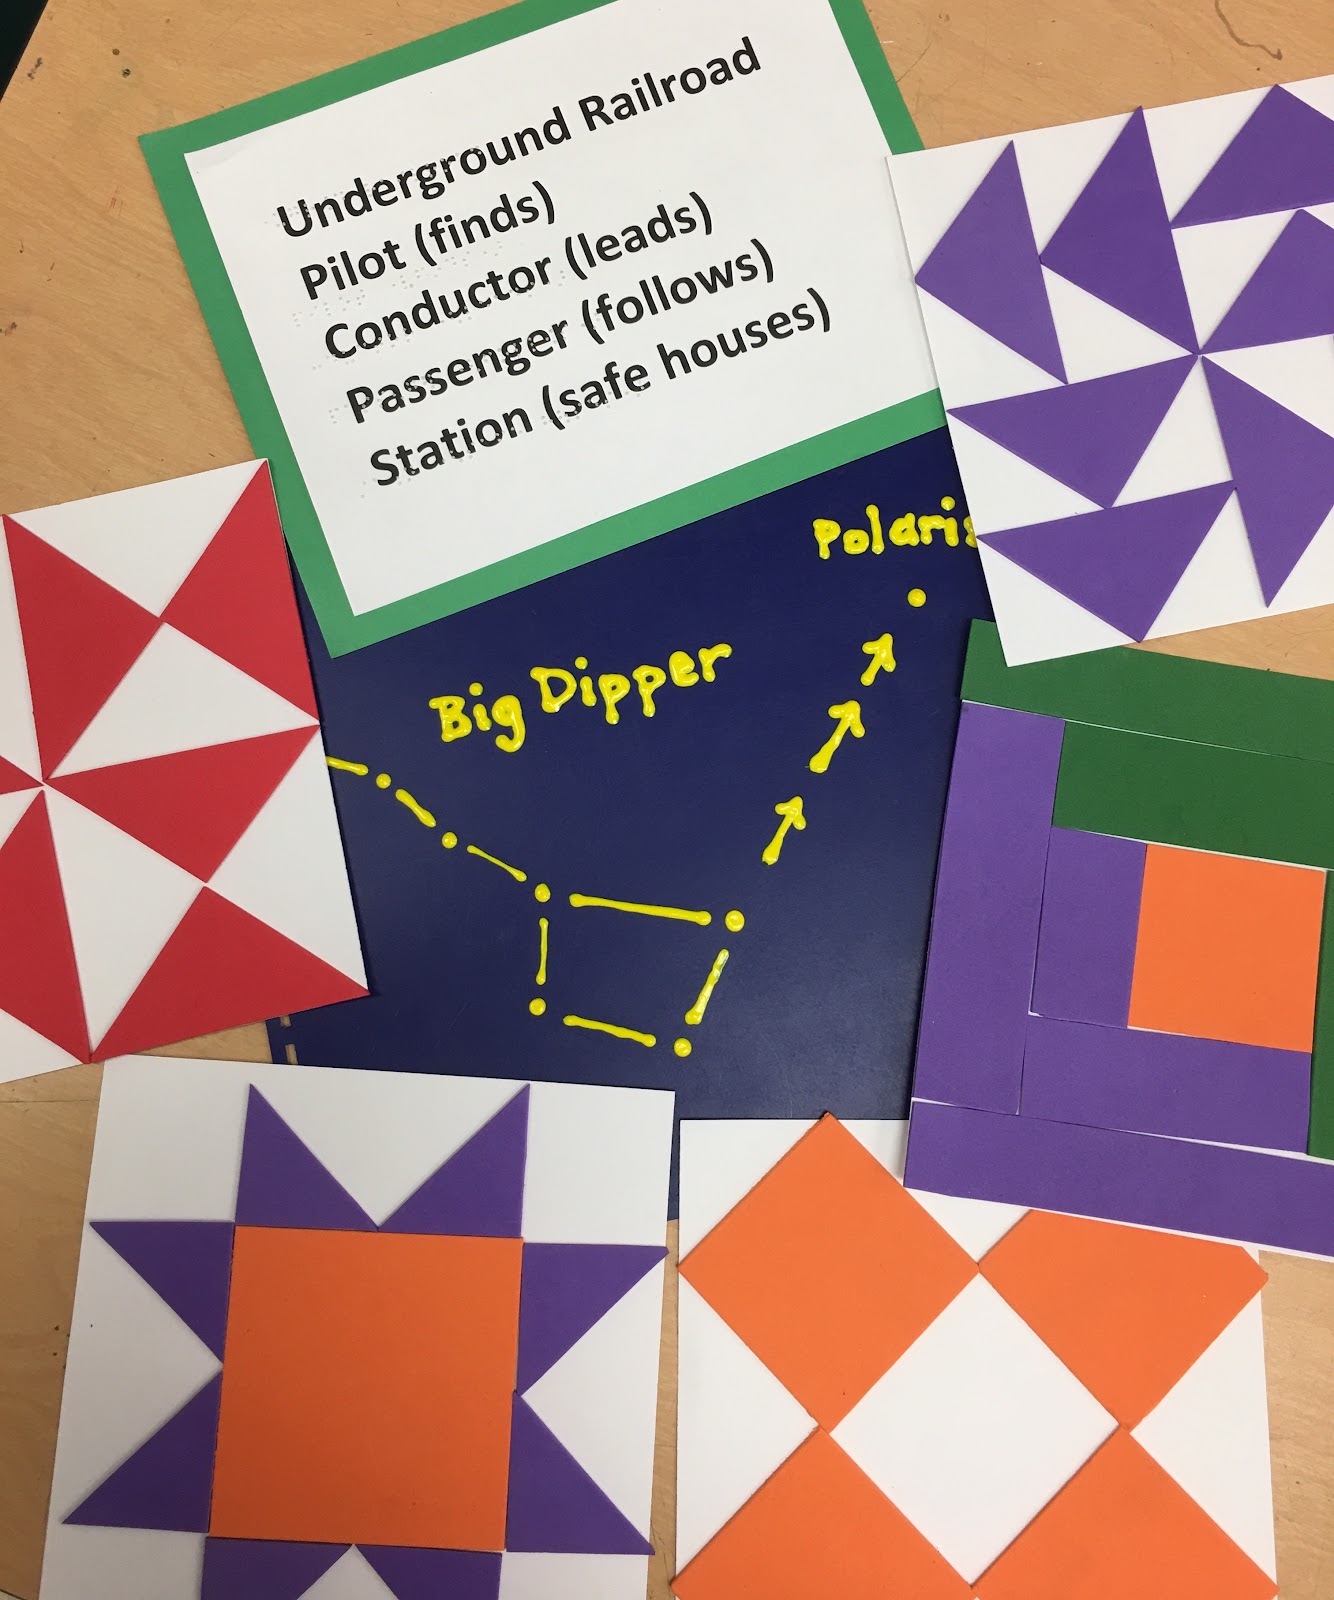
In this lesson, students learned about parts of a jug (body, neck, mouth, lip, arms). They handled a wooden mask from west Africa and talked about the expression and aesthetic of the large eyes and open mouth. They learned the history of the underground railroad which began just as railroads started to be built in the U.S. and lasted the 30 years leading up to the Civil War (1830-1860). Students studied tactile freedom quilt squares and guessed the symbolism used to communicate to runaway slaves (North Star, log cabin, crossroads, bow tie, geese). They saw and felt a diagram of the Big Dipper and North Star, and learned how constellations helped lead people even without maps.
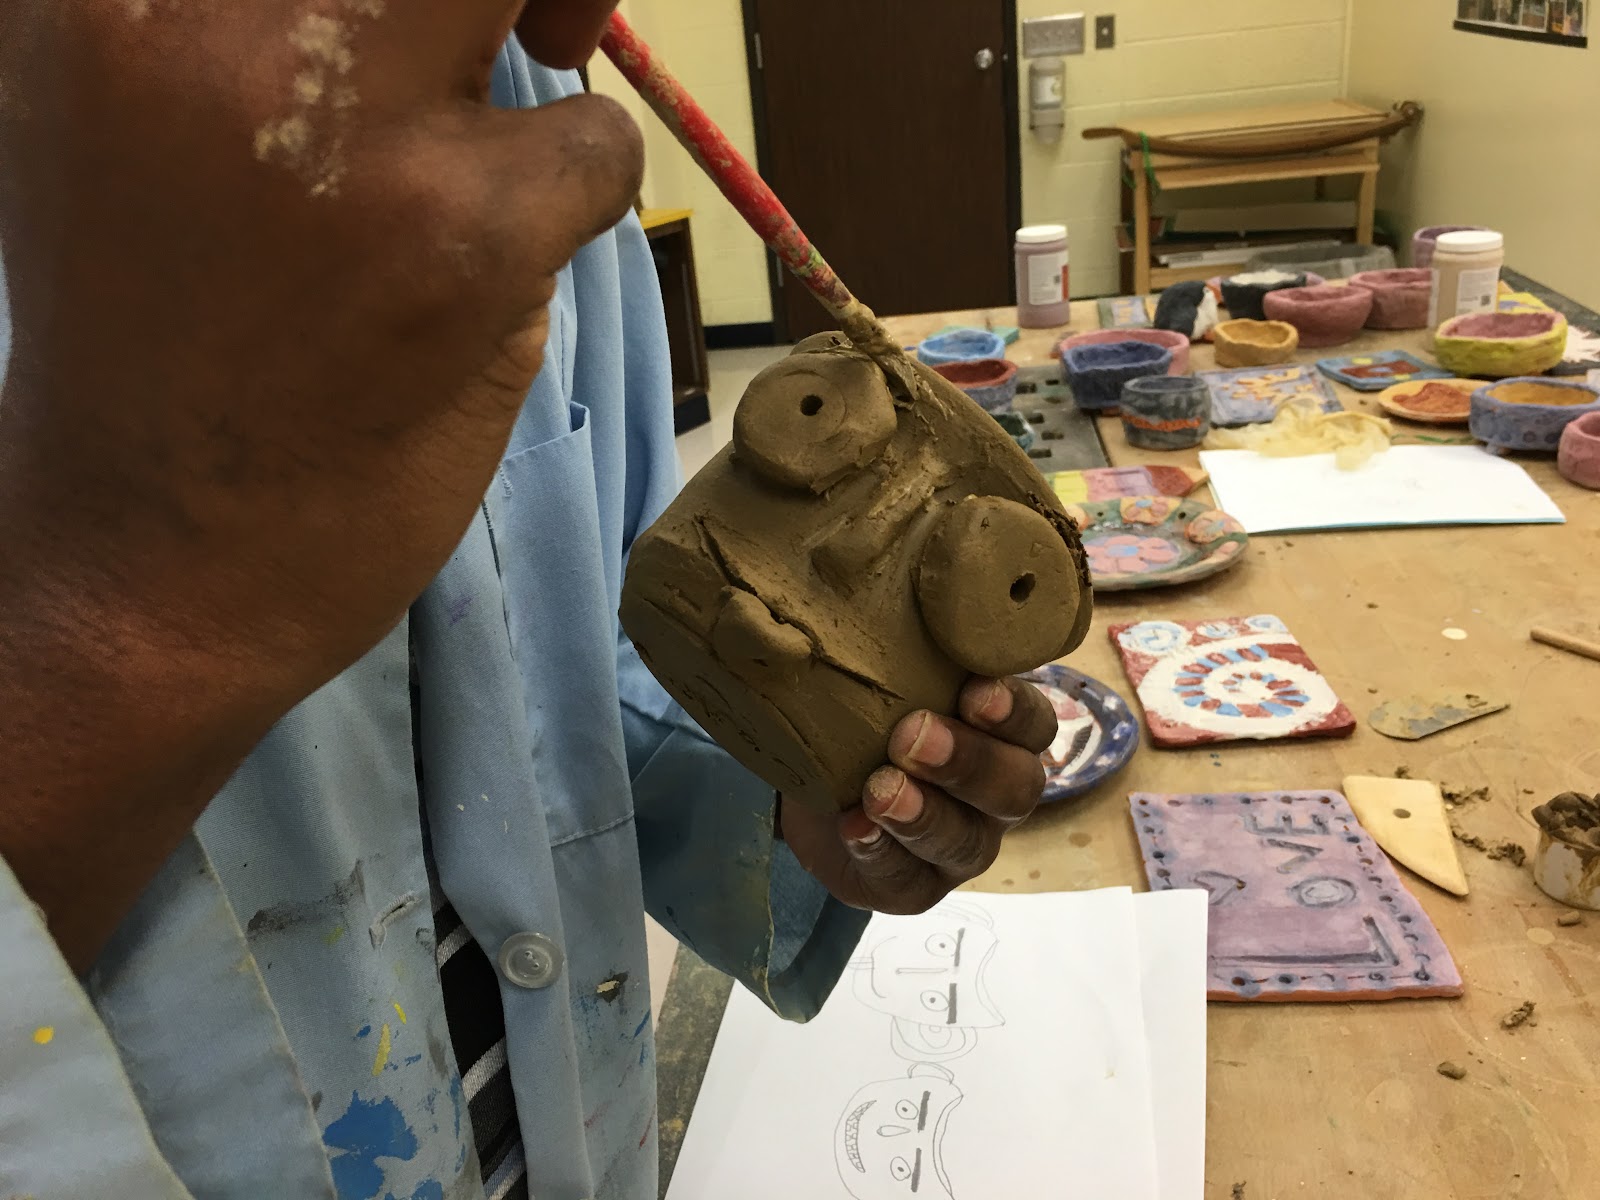
For the production part of the lesson, students were required to draw at least three sketches of ugly, crazy, or goofy faces. I showed them how to use the pottery wheel and helped them throw their first cup. They used the slip and score technique to attache a handle and face to their leather hard cup.

Then we did a bisque fire.
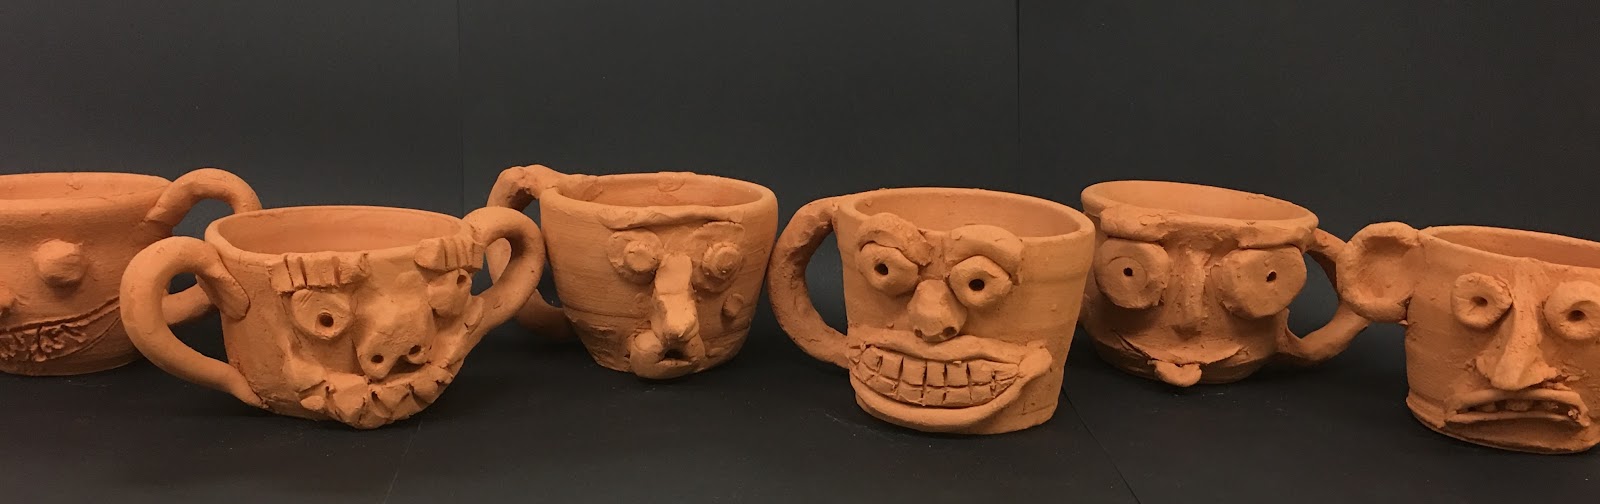
And glazed the mugs.
Opening the kiln to see all the crazy colors and expressions was so exciting! I've only done this assignment once before, years ago, but to me it is a great way to teach contextual understanding of an art as well as ceramic skills and techniques. It is also the perfect assignment to let students feel less afraid about making mistakes, because when your goal is to make something ugly, the bigger mistake the better. And there's beauty in that.


 The first Christmas card was published in 1843, and the tradition caught on like wildfire. People love to be remembered and it is extra special, especially in this digital age, when the card is handmade. My students created paper stencils, for cards, by cutting out Christmas-themed drawings. We taped the stencils onto the back of a silk screen and then squeegeed ink through the screen and onto card stock. My students have done screen printing before, but this is the first time they created an edition. They used some cards to write prisoners who volunteer their time to work as Braille transcribers, and the rest will be for sale at the student Christmas exhibit.