Showing posts with label craft. Show all posts

Friday, September 15, 2023

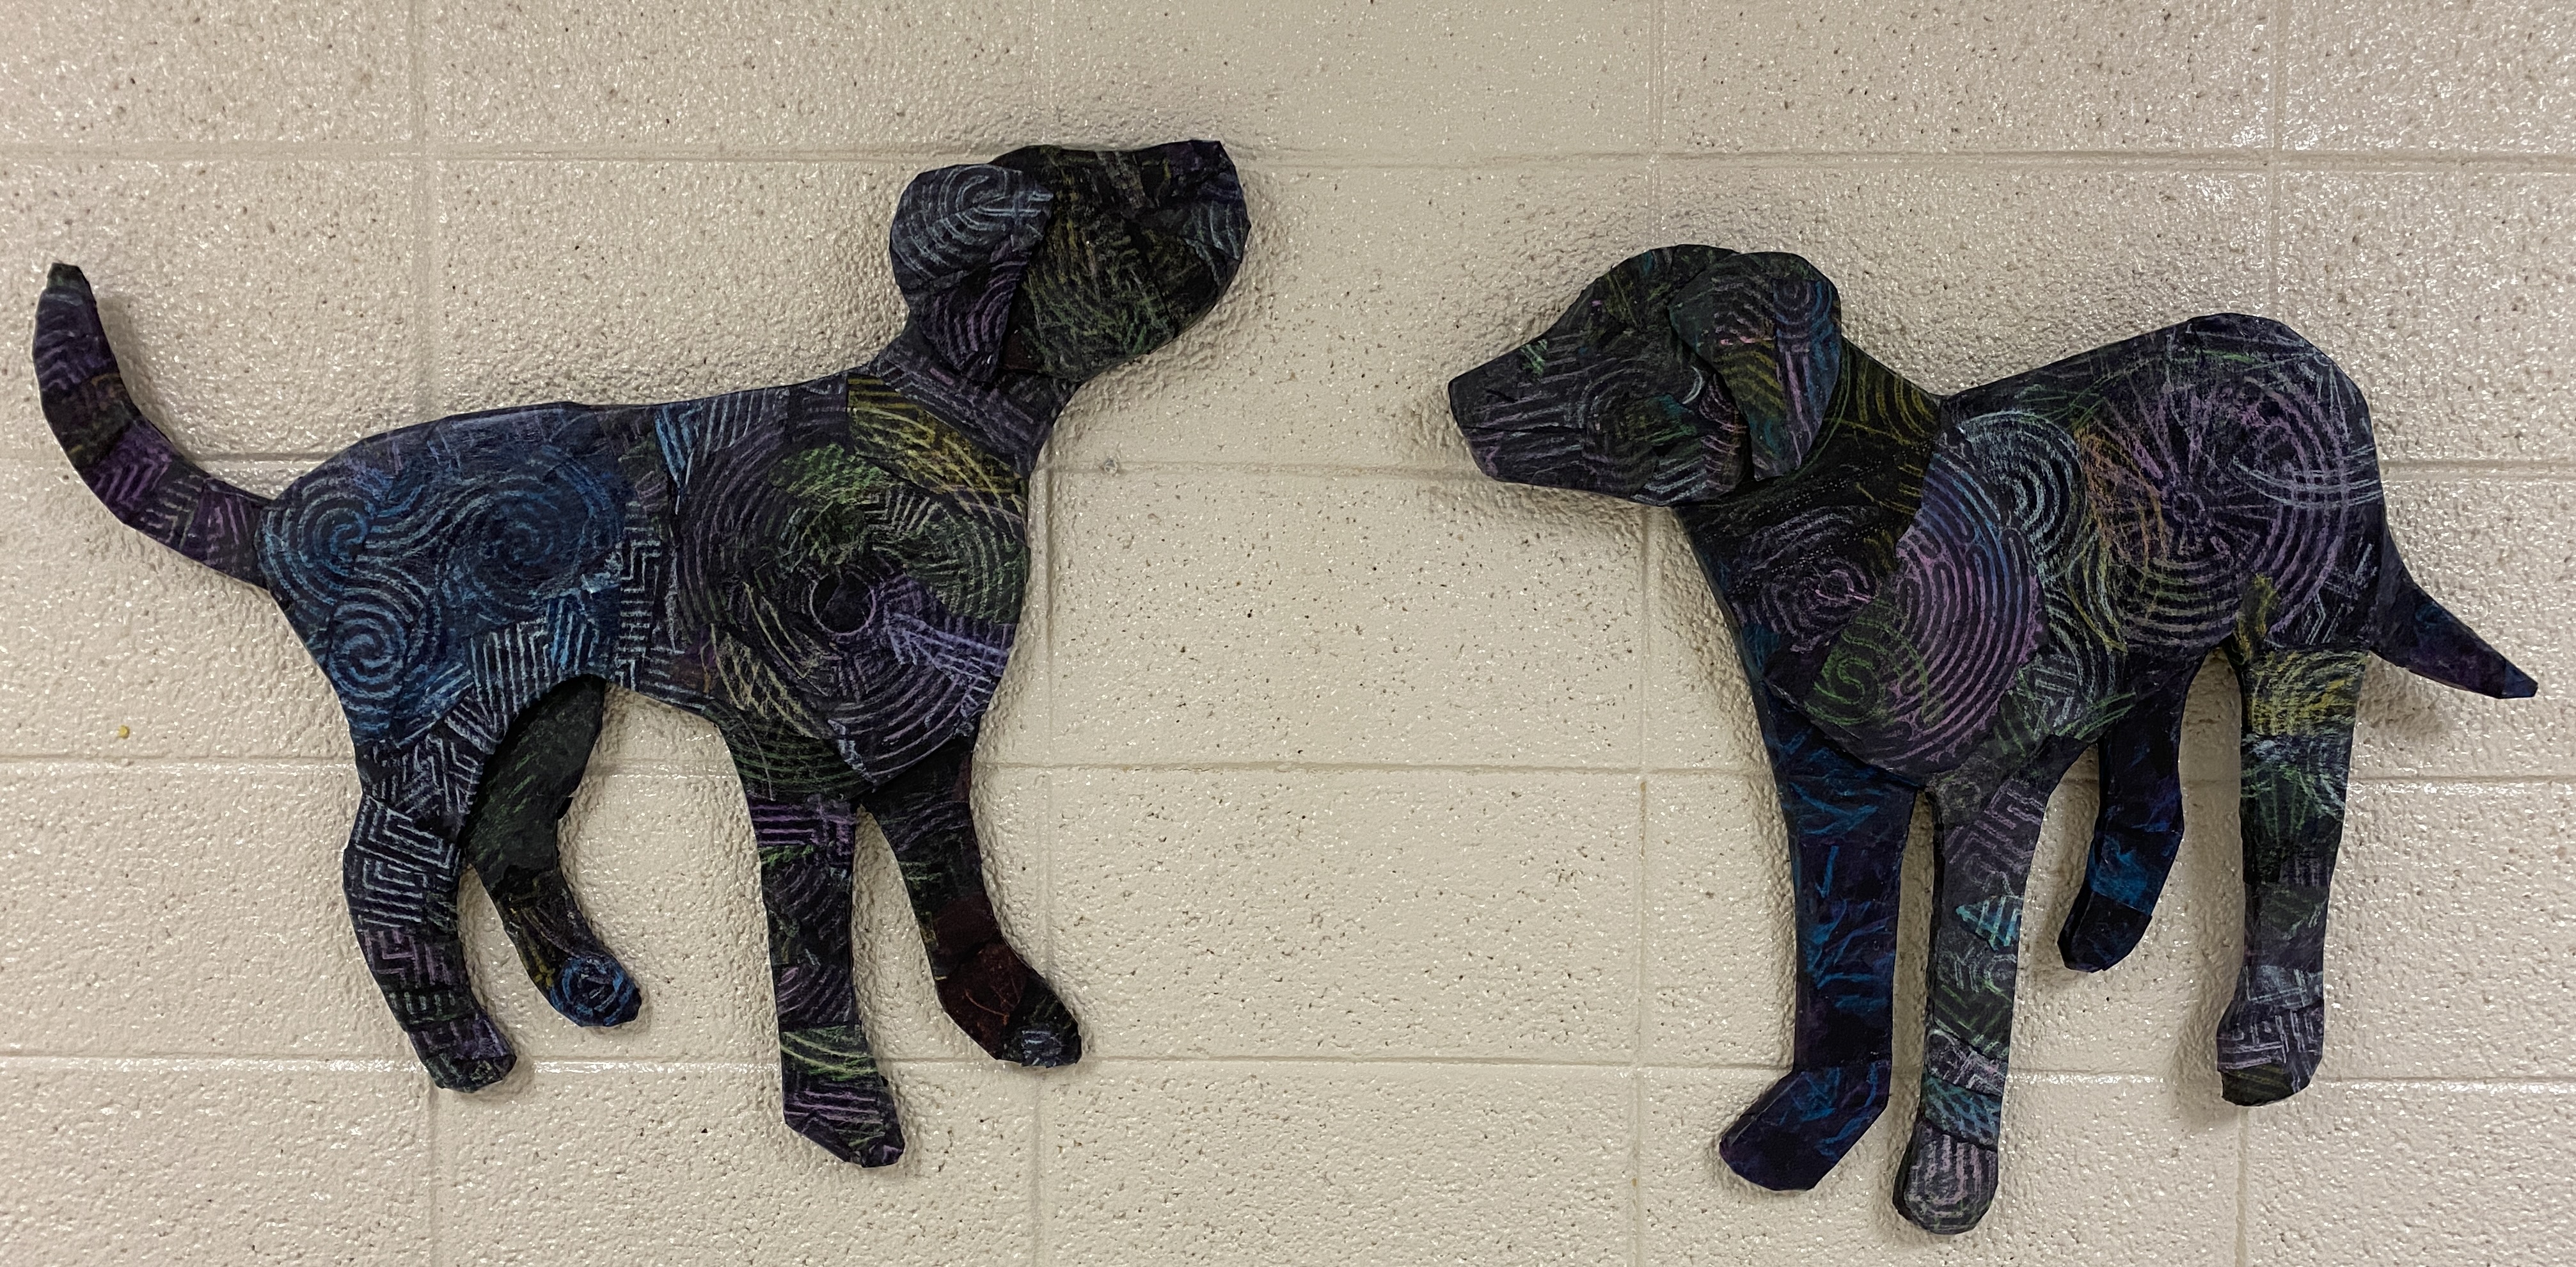
Dog Relief Sculpture, Wall Art


DisneyPlus has show, Critter Fixers: Country Vets, which is filmed in Georgia not far from The Academy for the Blind. In fact, we had some students do some work-based-learning with them on a regular basis last school year, culminating in a school assembly Q&A session with the Critter Fixers stars, Dr. Hodges and Dr. Ferguson. Students were able to walk to different stations on campus, petting various animals and listening to their heartbeat through a stethoscope. It was a great day and we all looked forward to seeing the episode when it came out.

Months later, the show's producer came back and, during a tour of the school, stopped by the Art room and mentioned how nice it would be to have a piece of student artwork on a wall of Critter Fixers. Immediately, the parent mentor, who was giving the tour, mentioned Kirby, as a subject. Kirby is the school's emotional support dog. Minutes after they left, I started looking for pictures of the black Labrador Retriever. Students helped me pick a couple of my sketches, and then they traced the projections onto a large piece of paper to use as patterns.  I used the patterns to cut out layers of cardboard, glued together to make a thick structure. 

Two Middle School students made more rubbings with oil pastels on black paper, based on the past assignment, which they decoupaged onto the structures.  To make the relief structures into something that could be hung on the wall, I had made two holes through two layers of cardboard to thread wire through before adding a top layer of the body.


Thursday, September 10, 2020

Line as Element: String Art

Can you make a curved line using only straight lines? This project builds on the Op Art project we just completed and continue our quest to understand line as an element of art. 


Each of my virtual students should have a piece of colored mat board and a couple different colors of yarn.  You'll need to make notches along the edges, about 1/4" deep. If you cut 12 notches on one side, then you'll need to cut twelve notches on the side that touches it at a right angle. In fact, let's keep it simple and make the same number of notches on all four sides. If you have a rectangular board, the space between each cut should be longer than those on the short side. Do the math.

Pick a color of yarn and put it in the top side notch, with the end in the back. The picture above shows it starting on the left. You might want to tape it to secure it. Then stretch the yarn along and tuck it into the bottom, far left notch. Bring the yarn out the front of the mat at the notch right beside the one you just used, so it comes out of the second notch from the left, on the bottom.  You don't want to waste a lot of yarn by wrapping it the whole length of the board, just think of it as making a stitch: down one and up the next.
You'll stretch the yarn to the notch second from the top on the left side and then bring up the notch directly under it. Continue the pattern, by pulling it down to the 3rd notch from the left up the fourth, and then back to the next notch on the left side.

If you are right handed you may want to start your project on the upper right notch and go to the bottom, closest to the right, but the idea is the same: move over one and down one, until you've used every notch.


When you finish using all the notches on those two sides, you'll notice that all of your straight lines made net that makes a curve along the edge.  

Try doing the same thing with the same color yarn, with the opposite corner by rotating the board  180 degrees to bring the top to the bottom and the left to the right, keeping the colored side of the mat up.
This ends up with an diagonal football shape. You may want to choose a different color yarn and do the other two corners, to create a balanced finished piece. This can be a frame by tucking corners of a photo or drawing behind the string, or it works as a stand-alone work of art. Either way, you've managed to do some magic by making curves from straight lines.

Saturday, May 12, 2018

Rags to Rugs!

Teaching a textile art unit gave me a perfect opportunity to clean out unwanted clothes from my craft closet. I had meant to use husband's old shirts for quilts, but never got around to it.

I was taught to make a braided rug when I was young, by my adopted grandmother, but the task of sewing the braids together was so labor intensive, that I never did it as an adult. Luckily there is a no sew method, that makes things much easier, and probably stronger.  It requires four strands of fabric (1 1/2" to 2" wide). I tied the four strands together.

Then I took the first strand at the far left and went under the 2nd, over the 3rd, and under the 4th, ending with a small tug. I repeated the processes until about 5 inches of woven strands gave me enough wiggle room to wrap a small spiral.  Then I continued with the under over under pattern, except I ended by tucking it down through a loop from the previous weave.
When a strand got too short, we cut a little button hole slit in the end and stuck the end of another strand through the hole. That strand also had a slit cut into the end so that the other end (of that long strand) could thread through it and be pulled tight. This was much less bulky than trying to tie the two ends together.

And so the rug grew as each strand connected to the existing spiral. You may need to pull a little to make the loops big enough to push the strand through. But it comes along pretty quickly. And once my students could work independently, I could sit back and watch.  I put a piece of tape on the top to remember that we were spiraling counter clockwise and keep the pattern and shape tidy. Some students made personal rugs that were the sizes of hot pads, and others worked together on bigger projects.