Friday, December 2, 2016

The Memory Tree


"Where's the glass fish from Chicago?" My daughter asked as we unpacked the Christmas ornaments Sunday. "And has anyone seen the tiny teapot from Chile?" I added. Each ornament carries a memory and so we search, find, reminisce and hang with purpose each year.

The family memory tree tradition, from my childhood, was featured in a 1970's  3/4 page news paper article. (My town was tiny enough for this to count as news). My parent's tradition of buying or finding an ornament on every trip, has now carried on to a third generation and it has been successful for several reasons.


You save money on souvenirs.

My family doesn't feel the need to buy $30 sweat shirts for everyone to prove we've been to Philadelphia. We buy our mini Liberty Bell for six or seven dollars, and treasure it, years after everyone would have grown out of the  shirts. We take lots of pictures and video, but in terms of tangible objects, it is usually just something that fits into one pocket. Spend less, travel light and see more sites.


The Search is Fun!


The quest for the perfect ornament on each trip feels like a treasure hunt. We look past most of the things in gift shops and focus on something that  would work as an ornament, like a small toy or a key chain. We may spend several weeks traveling to many states, but we are in search of thing that will represent our trip, something that we love. We've found  a tomahawk from the Smokeys, a tiny sock monkey from Vermont, and a celtic knot from Ireland.

Found objects are our often favorite things. My son found a piece of driftwood on a walk in Niagara Falls, NY that looks like a shepherd's crook. We collected a few sea shells from the beautiful shores of Tonga that now hang on our tree.

Happy memories bring more happiness.

We write the name of place and year on (the back or bottom of) each ornament and so as we decorate the tree we remember and discuss the trips we took. This is not a commercial tree to be admired once or twice for matching glass balls, but a meditative experience. During December, I often find myself staring and reflecting on the time I've spent with family, the amazing things I've experienced, and it brings me a great deal of gratitude and satisfaction.


Eclectic Tree give a home to odd-ball ornaments.

When I walk into someone's home and they have a tree decorated with nothing but pink balls ornaments and burgundy ribbon, I wonder what they've done with all the ornaments they've received from church and work ornament exchanges or gifts. What happened to all the homemade ornaments the children brought home from elementary school? Were they all tossed or put into indefinite storage because they didn't fit in?  Having a memory tree gives a home to all sorts of styles. Variety adds interest.


The Holidays are about People

My father-in-law died right before the holidays, last year, and we were overwhelmed at the number of collections he had, one of which was a wooden duck collection. Rather than feel the need to keep all of his things, we took a very small duck, put an eye screw on the back, and now each time we see it on the tree, we think of him and remember that "grandpa collected ducks."

My former teacher,and good friend, Jean, made homemade ornaments for my children for years. I think of her every time I look at the tree. Christmas should bring us closer to distant dear ones and their memories. Even if these aren't souvenir ornaments, they're still an important part of having a memory tree.


I create visual unity by by using red ribbon on most of the ornaments. And I use plenty of handmade, repeated ornaments too; (stay tuned for ideas on home made decorations.)

Decorating a memory tree brings more thought and meaning to the season and has become a favorite tradition of mine. In case of fire, I'm grabbing the ornaments.


Friday, November 25, 2016

Popsicle Stick Kazoos

Making instruments is a favorite art activity for my students with multiple disabilities. Because they are all legally blind, having and end product that makes sound is more meaningful than a drawing that they can't see.

A rubber band, 2 popsicle sticks (tongue depressors), two 2"X3" pieces of construction paper or card stock, and some tape are all that is required for a child to make a simple kazoo.

The popsicle sticks can be decorated with colored tape or sharpies. Don't use regular markers that will run when they get wet and color the young musician's mouth. Stretch a thick rubber band around one of the popsicle sticks. Then fold each piece of paper 3 times (alternating direction), and tape the paper to the ends of the other stick.  Sandwich the two sticks with the paper in-between and wrap tape around the outside two ends. 

Hold the kazoo to your mouth like a harmonica and blow. It will sound like a little party horn.


The giggles that come from my students once they figure out how to work their kazoos are even better than the sound from the instrument.

Be sure to have enough supplies on hand for your child to experiment with various widths of rubber bands and thicknesses of paper to get the best sound.

Sunday, November 6, 2016

High Contrast Compositions

Value subtleties are often lost for people who are visually impaired. The higher the contrast, the easier it is to discern shapes. I thought it would be good to teach about contrast in art by having students limit themselves to white paper and black or a dark color. I had them draw or trace shapes that overlapped. X's were drawn on every other shape to give the composition a checkerboard affect. This process only works as long as 3 lines don't intersect (as in the letter "Y").  It has to be an even number of lines coming together at intersections. Then the students were asked to paint or color the shapes with the X's.

A Visio Book (closed circuit TV) was used by some students to magnify their drawings so they could color in the lines. One of my students sees better when the Visio Book reverses the values so that the dark lines he colors look white on the screen.

Students with almost no vision, used Wikisticks to trace stencils. The student who made the piece to the right, chose water color as his medium.


Tuesday, November 1, 2016

Wire Elephant Wall Art

I was recently commissioned to make a wire wall hanging, and my wonderful client was very specific. She wanted an elephant with the trunk raised. And a baby elephant. Three Greek letters. And lots of color. 

I am always nervous about doing commissioned work because I can't see the imagine in the patron's head and I don't want to disappoint him or her. But when I repress fear, do my own thing, and try to have fun while doing it (which was pretty easy in this case) things usually work out.


I started out with a large drawing (3 foot X 4 foot) and bent the wire to follow the lines. I held the wire in place with tape, until I could use more wire, fabric, and mesh to hold it in place. thinner, plastic coated wire and copper wire worked well to hold glass beads and curls. I used upholstery fabric samples, fabric glue or hot glue to create large areas of color, tissue paper, yarn, pipe cleaners, tiny pieces of painted cardboard, buttons, and foam, add a little variety and activate quieter spaces. A couple hooks on the wall will hold the wooden dowel from which the piece hangs. 

It is always gratifying to finish a piece and see a smile on a patron's face.


Monday, October 24, 2016

Assemblage Project


A few weeks ago, my class studied the amazing artist, Louise Nevelson, and each student created their own, Nevelson-inspired, assemblage sculpture. 


Nevelson offers a great lesson in art history and moving forward in life with confidence and work habits. She built large sculptures using wooden objects in boxes and painting them one color, black, white, or gold. It was fun to watch students search through piles of materials and find something that was meaningful to them. I offered my students pieces of cardboard and wood, used water bottles, wire, and small, used toys.


 Art classrooms often becomes the garbage cans of the school, as people show up with paper towel tubes , bubble wrap, and a "Can you use this?" But that's a good thing when teaching students environmental concepts such as reducing and reusing, as well as art concepts such as "found objects" and assemblage. Conversations can go back to Duchamps "ready-mades" and the big question, "What is art?"  Bliss for me as a teacher, is the spot right between the profound and the whimsical.

Saturday, October 15, 2016

Ceramic Lanterns from Slabs

Every time I think I'm going to run out of ideas for ceramic lesson plans, another idea pops up like a light bulb over my head. Only instead of a light bulb this time, it was a candle light, shining from inside a clay lantern. I recently dusted off the slab roller and students got busy rolling out slabs of clay.


Some of my students created cylinders, in which a candle can be placed underneath a covering or inside a little doorway.


Others created boxes with opened tops, or in the shapes of houses in which the roof could be removed to place a candle inside.

This lesson is a great way to teach about form and function, as well as negative shape and the technique of slip and score. I just got these babies out of the kiln, but I can hardly wait to see them painted or glazed, and lit up from within.

Tuesday, October 11, 2016

Foil Paper Art

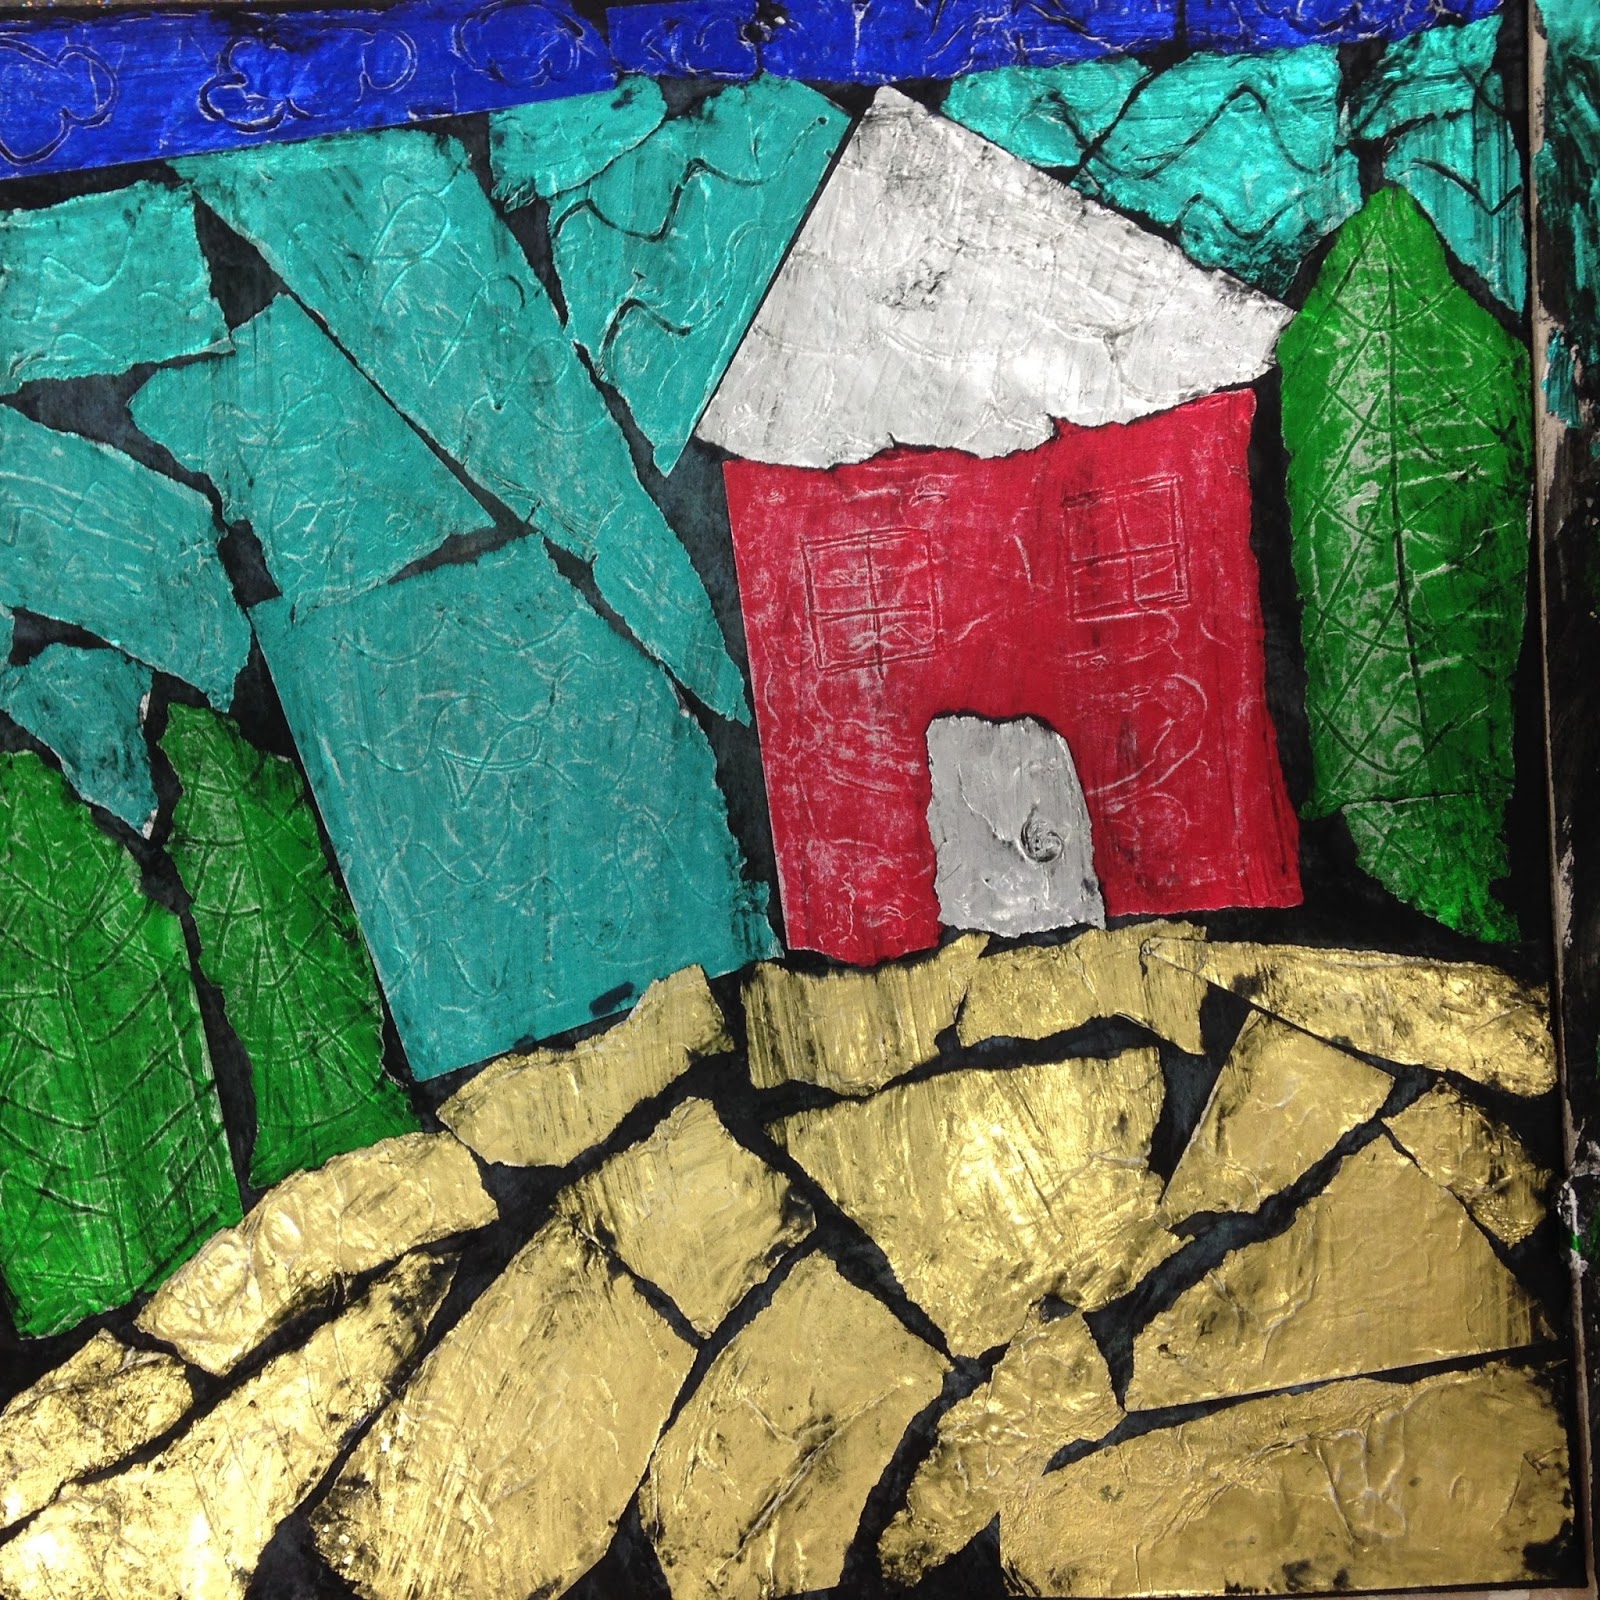
My art class just completed a week dedicated to Austrian symbolist artist, Gustav Klimt, whose use of gold and pattern helped usher in the Art Nouveau movement. Last year's film, Woman in Gold, was about his most famous painting, Portrait of Adele Bloch-Bauer, which is hailed as the "Mona Lisa of Austria. "
In the spirit of Klimt's metallic looking paintings, we made landscapes and figurative images using foil paper. This lesson plan idea was courtesy of art supply company, Dick Blick. My students each drew an image on chip board (although paper would work as well). Then they filled in each shape with color by gluing torn foil paper onto the board. Little cracks between the paper work well to break up the space. Several students used used plastic tooling tools to emboss a pattern onto the foil. And then they used black tempera to cover the entire image. When the paint was almost dry they wiped the it off using a damp paper towel, which gives a vintage feel to the piece. It was a trick getting the right amount of rubbing, as too much will take the color off the foil, and not enough will keep the color from being revealed.


Some students drew directly from posters I had of Klimt's paintings, while others chose to represent their interests (such as the Nike shoe below).