Showing posts with label wall art. Show all posts

Friday, September 15, 2023

Dog Relief Sculpture, Wall Art


DisneyPlus has show, Critter Fixers: Country Vets, which is filmed in Georgia not far from The Academy for the Blind. In fact, we had some students do some work-based-learning with them on a regular basis last school year, culminating in a school assembly Q&A session with the Critter Fixers stars, Dr. Hodges and Dr. Ferguson. Students were able to walk to different stations on campus, petting various animals and listening to their heartbeat through a stethoscope. It was a great day and we all looked forward to seeing the episode when it came out.

Months later, the show's producer came back and, during a tour of the school, stopped by the Art room and mentioned how nice it would be to have a piece of student artwork on a wall of Critter Fixers. Immediately, the parent mentor, who was giving the tour, mentioned Kirby, as a subject. Kirby is the school's emotional support dog. Minutes after they left, I started looking for pictures of the black Labrador Retriever. Students helped me pick a couple of my sketches, and then they traced the projections onto a large piece of paper to use as patterns.  I used the patterns to cut out layers of cardboard, glued together to make a thick structure. 

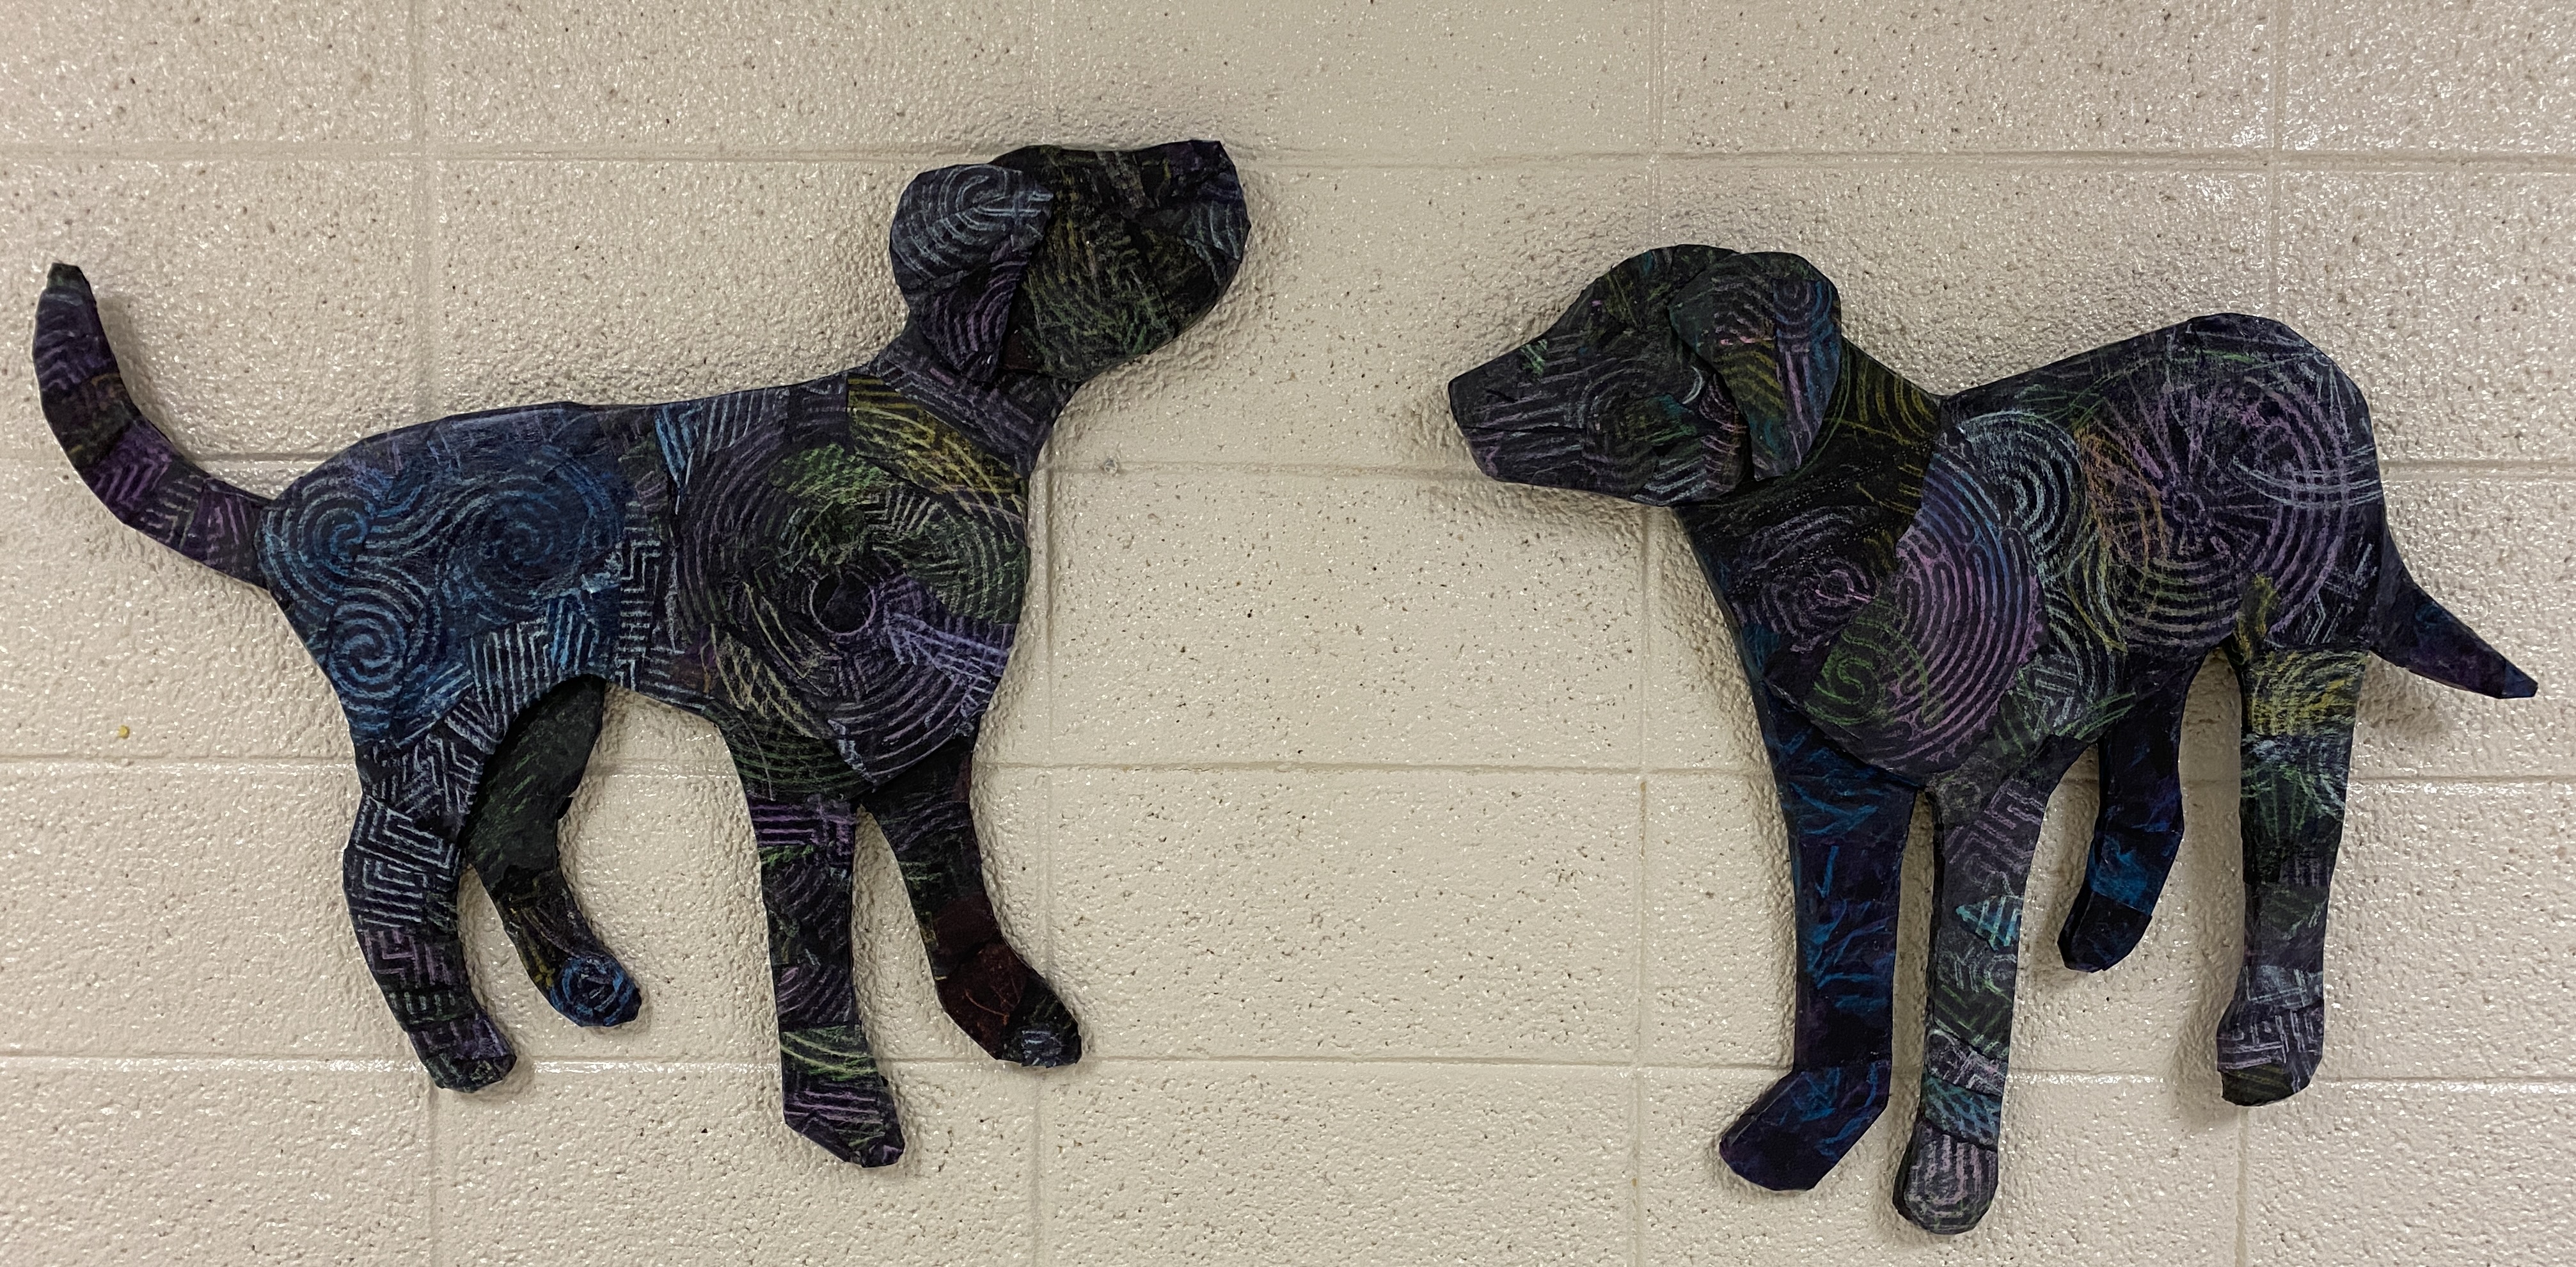
Two Middle School students made more rubbings with oil pastels on black paper, based on the past assignment, which they decoupaged onto the structures.  To make the relief structures into something that could be hung on the wall, I had made two holes through two layers of cardboard to thread wire through before adding a top layer of the body.


Monday, March 27, 2023

Wall Mural

The school mural wall has been a hotter, harder, more rewarding art project than my students and I had anticipated. It took us two weeks to paint, with three hot work days, and two rainy recovery days in each week.
The first week we did the entire underpainting. You need no vision to use a paint roller on a cement wall. Students would pair up and one would do the edging while the other would work the roller. I'd come along behind with a paintbrush to blend large masses of color so that there was a gradual shift over the panels of concrete.

Students and I worked together to determine which words and which order to put them in. We decided to use verbs: command statements and tried to think of the most appropriate background colors and patterns would make the most sense with each word and how to create contrast the background with the foreground. It was the perfect way to learn and apply design principles.


We didn't have all of our ideas completely solidified when we started painting, and so we used chalk to lay in some of the wall.  We "erased" any of the patterns or words that we didn't end up using with paint brushes and water. I was impressed that some students with no vision could still draw without any tactile drawing tools.


I added Braille dots after the print words, to help fill up space and reinforce the Braille code.Students were looking for ways to include the rest of the school. I suggested that they each offer their handprint, but then there was a discussion on how the handprints could be arranged. We came up with the idea of a garden where the handprints were the flowers. We grow as individuals and we grow together.


I painted a pair of wings during a planning period. One student wants us to do a whole series of wings on the opposite side of the wall that we painted, but I think we'll save it for next year. In the meantime, I've been so pleased at the number of people who tell me they feel happier each day as they come to work and see the wall. Everyone deserves an environment that is makes them feel good.


Friday, May 28, 2021

Bead Board Upcycling Project

After my family finished a home improvement project, we had strips of left over bead board. I cut many of them into small enough pieces to ship in a large envelop to my distance learning students along with a fat sharpie marker, and the rest I used for the students in my classroom to work together to create a large wall piece of art for the school. They decided to use light blue and peach to create a complimentary color scheme, so they painted the strips in the wood, before creating patterns and zentangle designs with sharpies: variations on spirals, checker board, weaving, zig zags etc. Once the individual boards were nearly full of pattern, we finished the exposed edges with white tape and then screwed the strips together going horizontally and vertically. Basically, we ended up with a fun, 6 foot piece of art that everyone could contribute to and be proud of while celebrating Earth Day!
Students paint large pieces

Personal pieces were made from small pieces

A virtual student shares her finished art from home