Showing posts with label mixed media art. Show all posts

Thursday, September 3, 2026

Stained Glass Window Project for Children with Special Needs

Each week, I teach a few classes art classes for students who have multiple complex needs. They are all blind or visually paired but many also have an intellectual disability and are on working on toddler or a pre-school level curriculum. I try to meet each student where they are and teach concepts on their cognitive level.
Rose Window crayon rubbing
We started the school year learning about media. I shake up a bin of crayons and ask what kind of drawing medium they think I have. They guess and run their fingers through the crayons to get a second clue or see if their guess was right. Then I do the same with markers and colored pencils. We experiment with each one, drawing shapes mostly.
Window Crayons on glass
Circles were a focus shape one week. We exercised to songs about circles by making big arm circles or spinning around. I had a scavenger hunt with circle objects and they drew chalk circles on the side walk, They used all the drawing media in the class to trace circles and  stamped dots with BINGO dot makers. We sang "The Wheels on the Truck go round and round" before reading  a book about trucks (with push buttons that made sounds). 
The next week we did similar activities to learn about squares, and finally we incorporated what we had learned about mixed media, circles, and squares to create stain glass windows. I shared the basic history of stain glass windows and let them touch a real one. Then they drew on our classroom window, with window crayons, made crayon rubbings of a rose window image  that I outlined with hot glue to make it tactile. 
Finally the students made their own stained glass windows, using tissue paper and CD cases. They each chose several colors of tissue paper to tear into strips and shapes. Then they painted Mod Podge (or watered down Elmer's glue) onto the CD case.

Students layered tissue and another layer of Mod Podge to complete the decoupage on both sides of the case. Once the jewel cases were closed, students drew with black paint pens or sharpie markers on the outside to create shapes to go with the colors. (Mostly circles and colors). 

Repetition of concepts is crucial when working with students who have special needs. They need a variety of activities but these  build on the last ones. 
 

Saturday, November 16, 2024

Transfer Drawing Portraits


I have loved making transfer drawings for decades, since I discovered Paul Klee and his art. I like to use a breyer and relief ink to create a tacky surface on paper, which I then flip, ink side down onto my artwork. I draw onto the back of the inky paper, to transfer the drawing onto the final surface. It works like carbon sheets, but it has a lovely speckled texture and ephemeral aesthetic. I didn't have any relief ink, but I had some oil paint and I thought I could paint that on a surface to create a similar affect.Above are my first two attempts at this process, as I took a planning period to figure out the process to teach my students.

Instead of having students pick something to draw, I printed out pictures of them, a family member, or celebrity. This took the subject mostly out of the equation. We were staying in our "Portrait Unit" perimeter, but focused more on media and process then anatomy.


student self portrait
Most of the drawings were hidden in the dark mass of transfered brush strokes. It looked like the project was going to have to be trashed, but I realized that edges could be defined and harsh lines softened by using oil pastel. 

Painting a piece of paper to transfer, left bits of paper sticking to the final product. Likewise, using scrapbook or decorative paper for the base was also problematic as it would tear as we pulled the tacky paint off. Ultimately painting on a piece of laminating plastic and transferring to wall paper samples worked best.

I love the distressed, unfinished look with the vintage wall paper patterns peeking through. It's just another tool in the box of how to make an image.


Friday, September 15, 2023

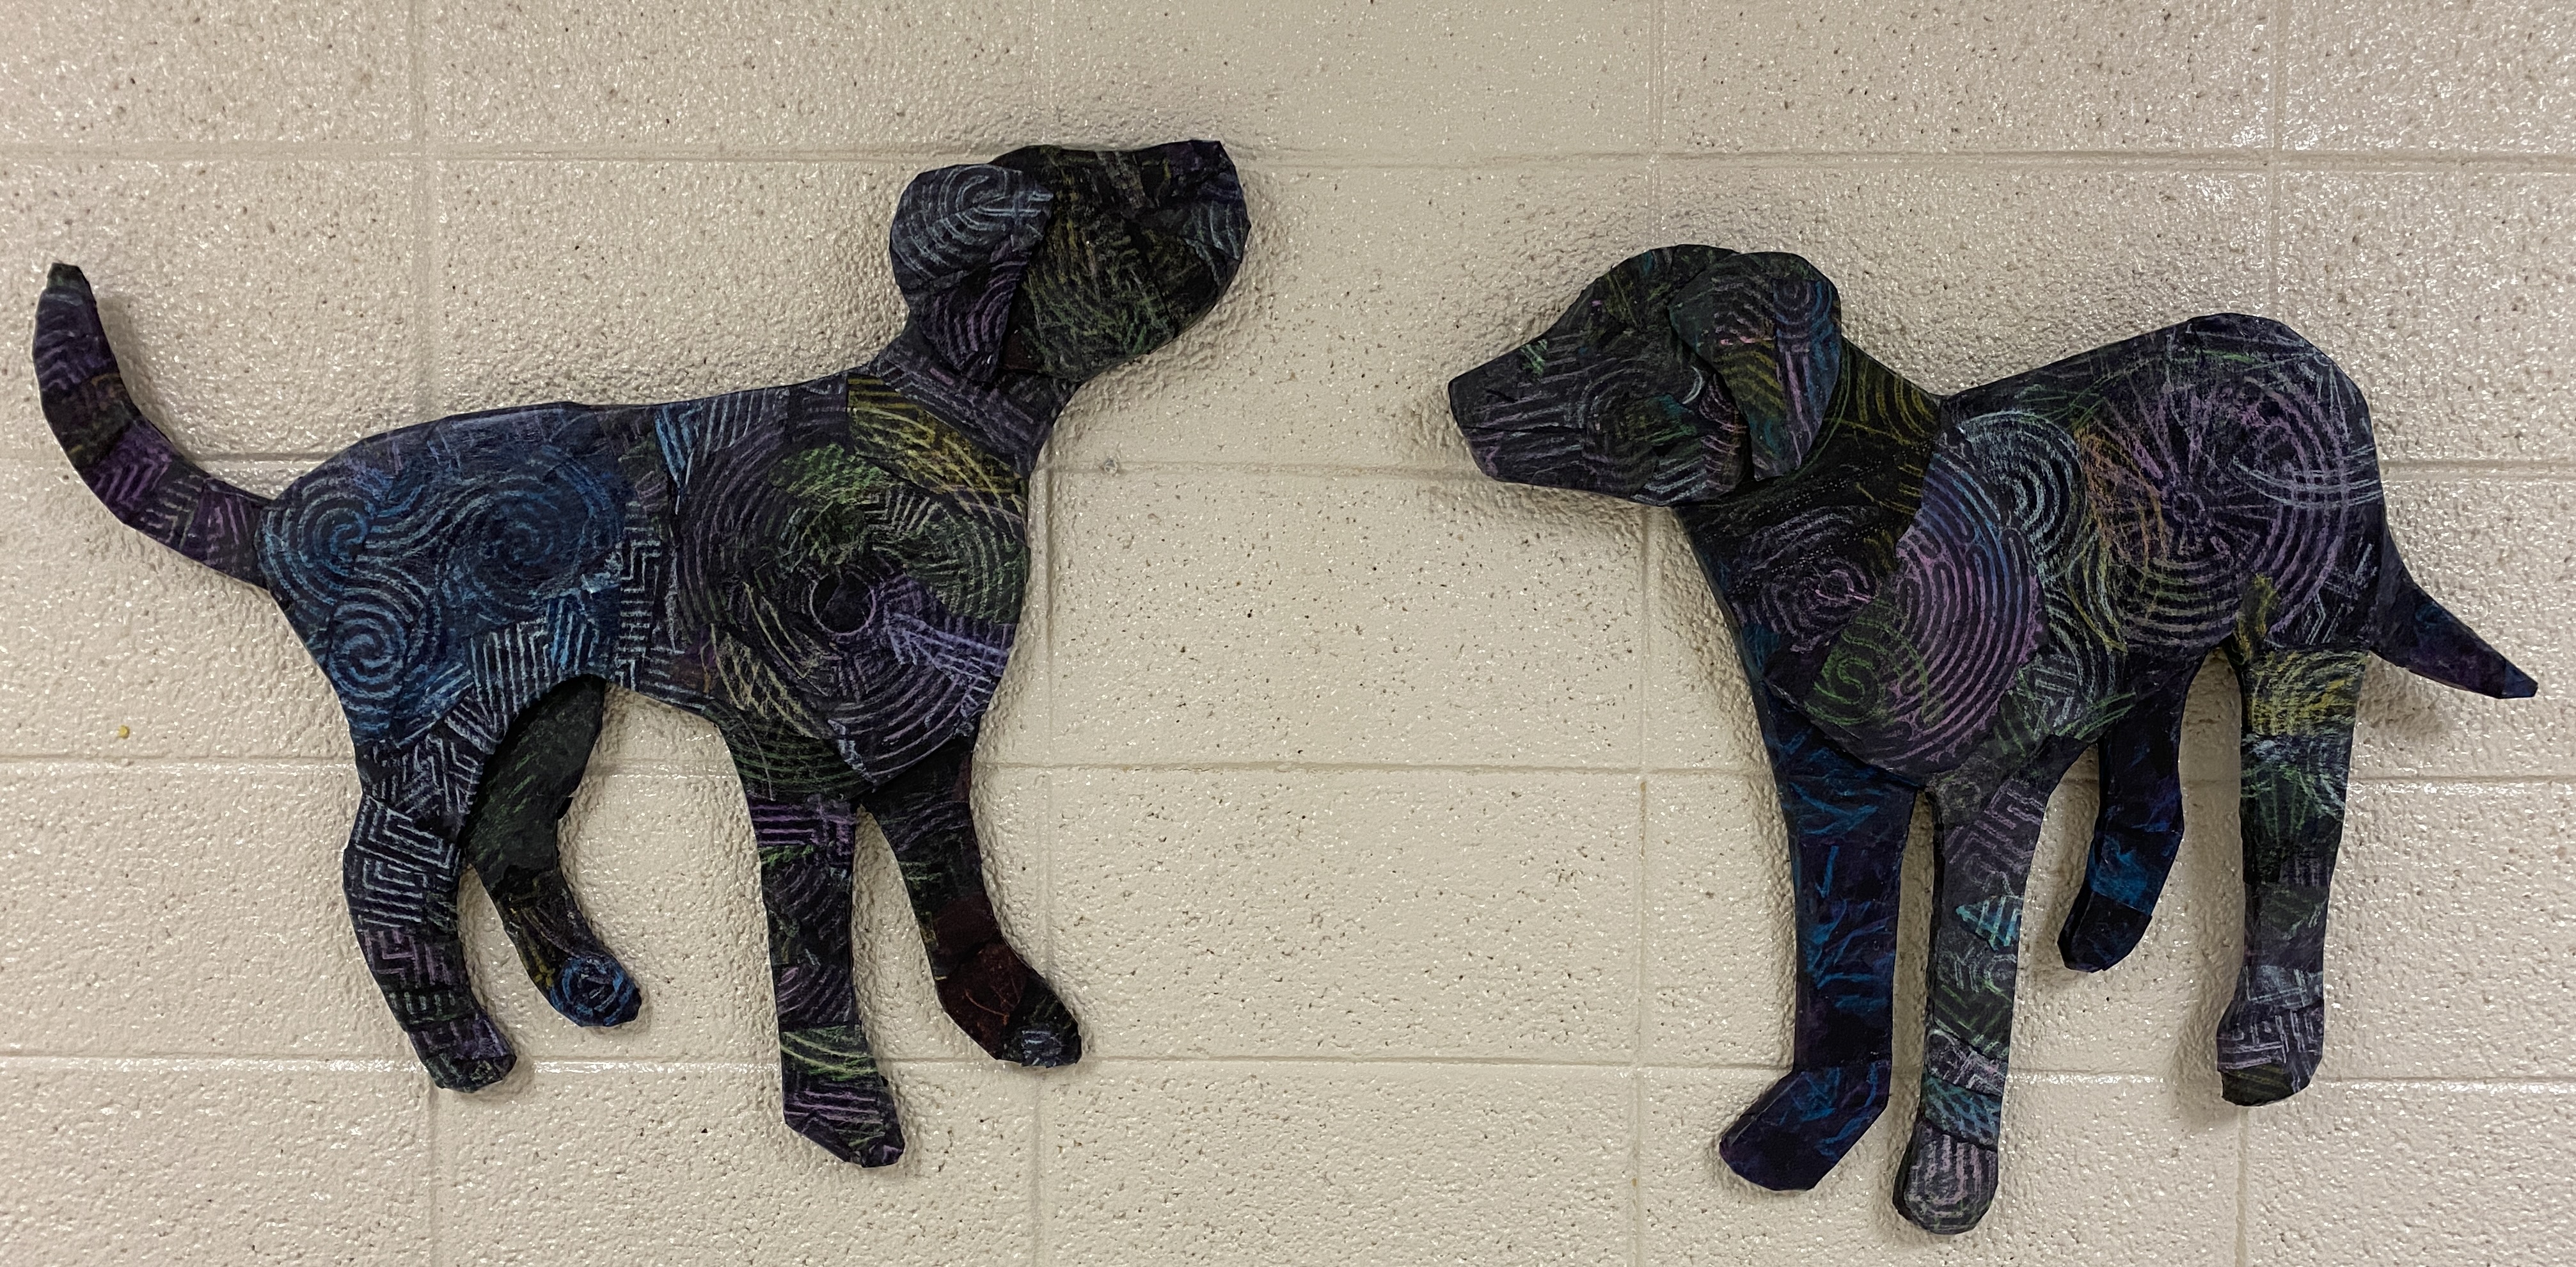
Dog Relief Sculpture, Wall Art


DisneyPlus has show, Critter Fixers: Country Vets, which is filmed in Georgia not far from The Academy for the Blind. In fact, we had some students do some work-based-learning with them on a regular basis last school year, culminating in a school assembly Q&A session with the Critter Fixers stars, Dr. Hodges and Dr. Ferguson. Students were able to walk to different stations on campus, petting various animals and listening to their heartbeat through a stethoscope. It was a great day and we all looked forward to seeing the episode when it came out.

Months later, the show's producer came back and, during a tour of the school, stopped by the Art room and mentioned how nice it would be to have a piece of student artwork on a wall of Critter Fixers. Immediately, the parent mentor, who was giving the tour, mentioned Kirby, as a subject. Kirby is the school's emotional support dog. Minutes after they left, I started looking for pictures of the black Labrador Retriever. Students helped me pick a couple of my sketches, and then they traced the projections onto a large piece of paper to use as patterns.  I used the patterns to cut out layers of cardboard, glued together to make a thick structure. 

Two Middle School students made more rubbings with oil pastels on black paper, based on the past assignment, which they decoupaged onto the structures.  To make the relief structures into something that could be hung on the wall, I had made two holes through two layers of cardboard to thread wire through before adding a top layer of the body.