I find it funny how slowly and painstakingly some remove pretty wrapping paper from a package, I find it funny that some people slowly and painstakingly remove pretty wrapping paper from a gift, only to throw away a few days later. If you have a favorite paper and want to preserve it in a fun way, why not cut it into squares and make ornaments from it during the Christmas break "Lord of the Rings" marathon (or whatever binge watching you do while on break).

They're not hard to make once you learn the steps, which begins with cutting a square of paper, I think I used 7 inches and it worked well. You fold the piece of paper in half, and then take a corner (starting with the folded side) and line the top up with the side, making a little triangle at the top. Unfold and do it with the open side.
After you open that, you'll see you've made a little X. Take the folded corner at the other end and line it up with the center of the X. Make a crease.
Grab the corner touching the X center and bring it back so the first edge of fold you made lines up perfectly with the fold you just made, to make a triangle with a little edge. Then take the half that is still rectangular (with the X) and line the folded edge with your most recent fold so that there is a point in the center of your original rectangle. At the point (probably facing you, on the original folded edge) crease so that the two triangular shapes are overlapping and the backs are together.Then cut the extra.
Cut the extra along the edge, and you should open the paper to find a pentagon (5 sides) .
Take one side of the pentagon and fold it up so that the corners of the edge are just touching the creases that go to the The two points on either side of the center point, just above the center. Repeat that five times so that each edge has been folded and creased.

Then try to fold two sides that are next to each other at the same time, along the pre-folded creases. Where they overlap, there should be a little corner that sticks out the side.
Unfold it and then go around and do this until every corner has had a chance to be creased in this manner.

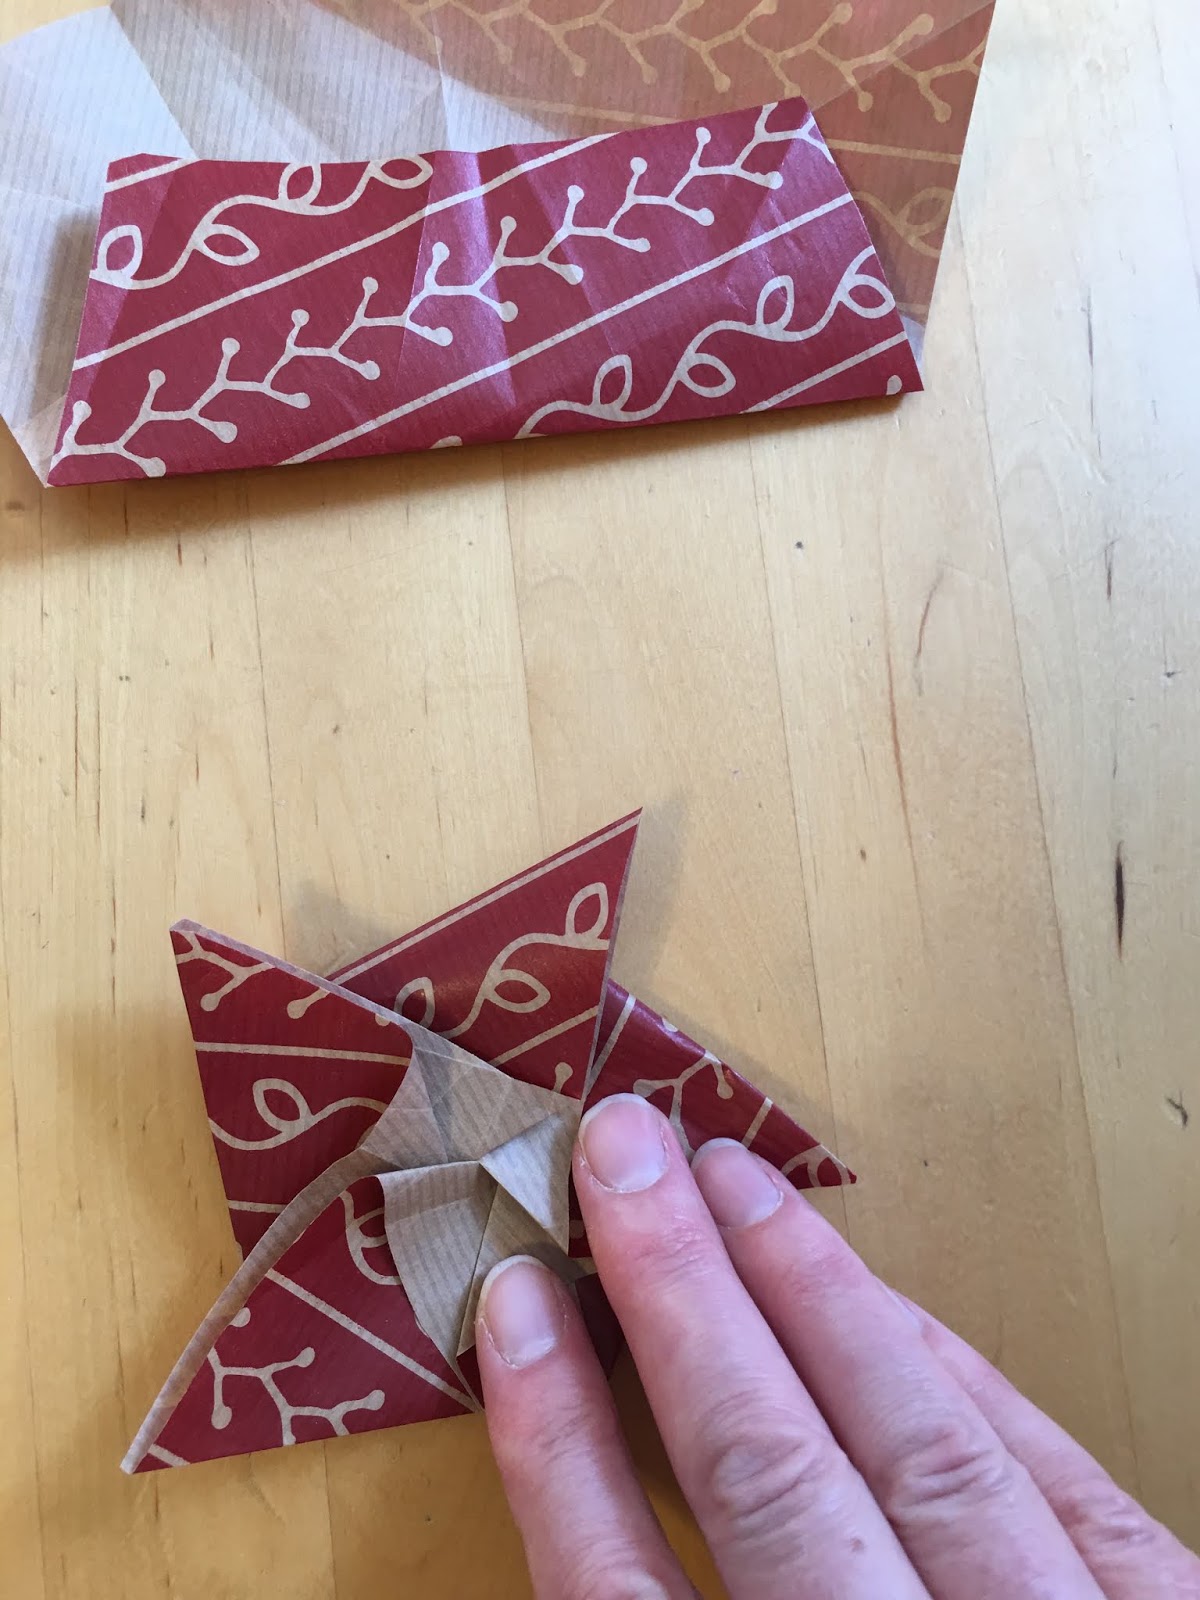
Grab each point and gently turn them in the same direction until you can press down to create a star shape with the back of the paper spiraling in the center.
Then turn the ornament over, and take the edge of each star point and fold the outer edge half way over so that the point of the pentagon in the center of the star goes to the center of the ornament.
The last corner will need to be tucked into the center, so that it all holds itself together. It looks pretty nice from either side. I used red ribbon to make a loop and bow. My students helped me make some to send to the board of education for Christmas, but these could be done any time of the year, from sheet music for the refreshment table at a recital, or from gold paper and hanging from the curtain rod for your Oscar's party. Find a chunk of time to figure it out and then enjoy the process AND the product!