Showing posts with label relief sculptures. Show all posts

Wednesday, October 1, 2025

Plaster Word Art

 Dick Blick offers a Topographical Typograhy lesson that I was happy to try out for our relief sculpture unit. My students who are Braille readers, don't spend much time thinking about how fonts each have their own vibe. But even blind kids can grasp the idea that text for a five year old birthday card, requires playful letters whereas, a wedding announcement might ask for elegant lettering. Now what that means can be different, but rounded letters are less serious than sharp edged letters. Calligraphic texts with the slanted letters and varied weight of line harkens to romance or tradition. So students began this assignment by picking a word and a style for their type.

My students wrote and  transfered their best idea to a piece of mat board using pencil, marker, or Wiki Sticks depending on their vision. Then they taped 1/2 strips of white posterboard on it's edge to follow their lines. The following day, a lot of the tape had curled up so I started hot gluing it for them the day they tacked it down with fewer pieces of tape. 

Then they took pieces of plaster cloth and dipped it in a bowl of water for just a second or two, smoothed out with a couple of fingers in the air to fill in some of the holes in the guaze-y fabric. Then draped it over the raised lines and smoothed it down. 

Some students stuck to an initial or two.

A couple Braille readers opted to make just one initial or a simple picture, since they don't read print at all. I was okay with that since a picture is worth a thousand words. Ultimately we were able to do 15 small projects (5" X 8" to 8" X 10" ) with a 5" wide X 3 yard strip  plaster fabric. Some students used watercolor pencils and some used spray paint to finish up the surface, but I liked the white, unfinished surface. It's a fun project that can be done somewhere between 15 minutes and 3 hours depending on how elaborate you want to get.

Friday, September 15, 2023

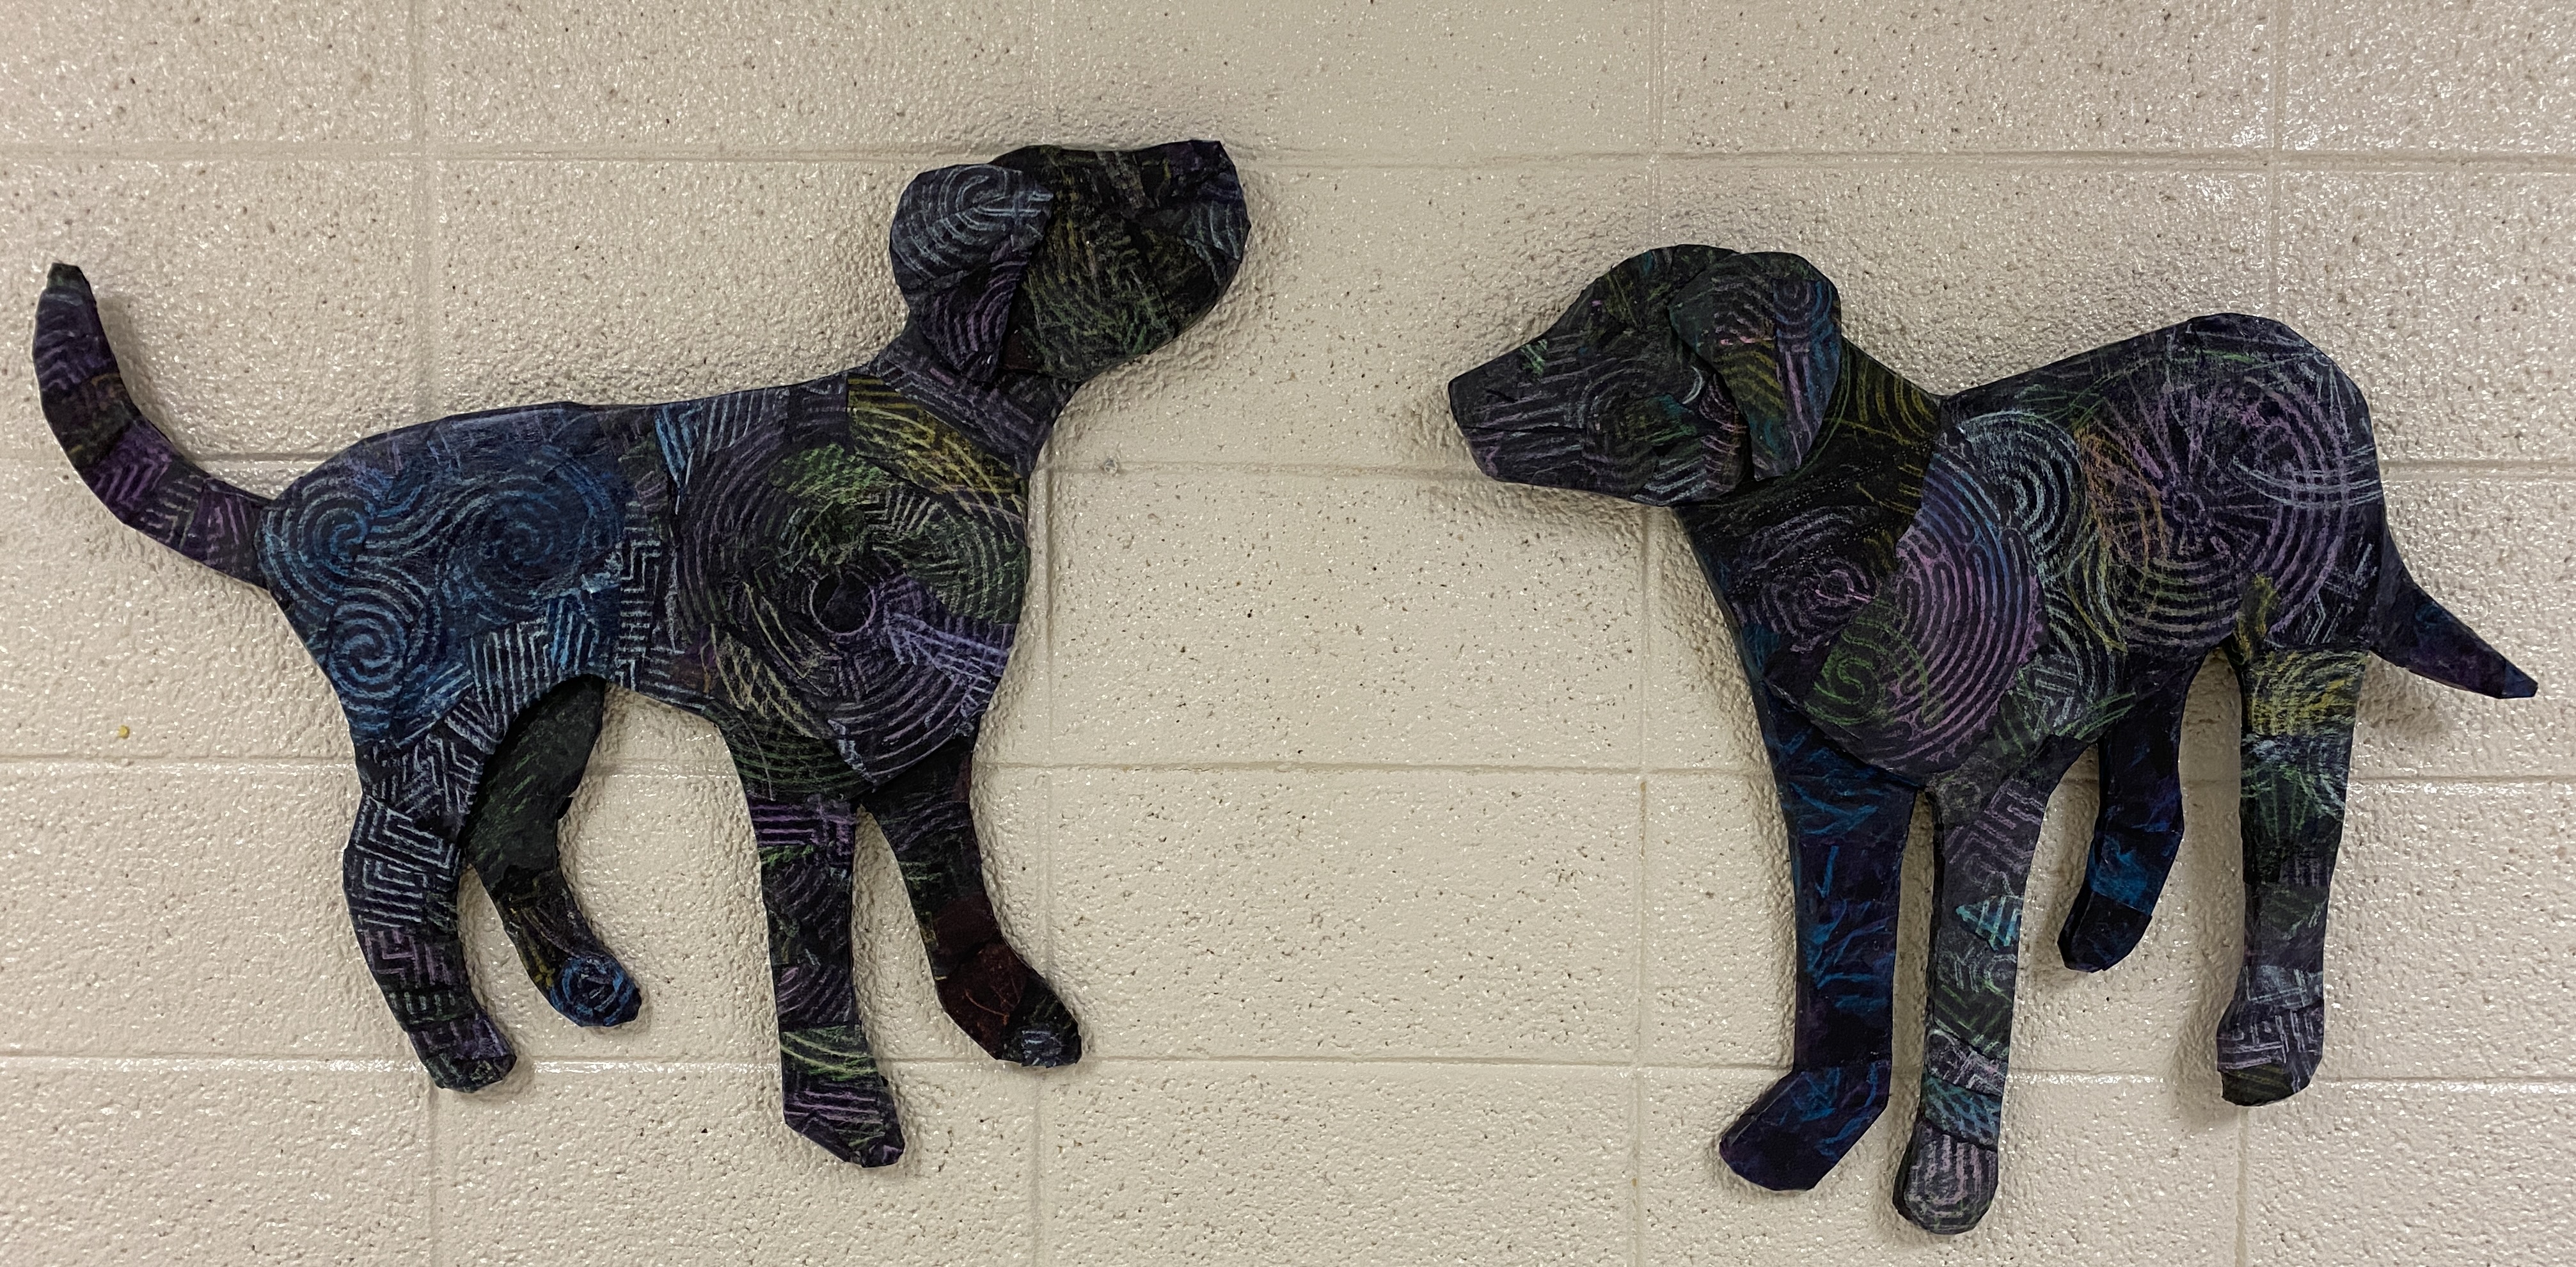
Dog Relief Sculpture, Wall Art


DisneyPlus has show, Critter Fixers: Country Vets, which is filmed in Georgia not far from The Academy for the Blind. In fact, we had some students do some work-based-learning with them on a regular basis last school year, culminating in a school assembly Q&A session with the Critter Fixers stars, Dr. Hodges and Dr. Ferguson. Students were able to walk to different stations on campus, petting various animals and listening to their heartbeat through a stethoscope. It was a great day and we all looked forward to seeing the episode when it came out.

Months later, the show's producer came back and, during a tour of the school, stopped by the Art room and mentioned how nice it would be to have a piece of student artwork on a wall of Critter Fixers. Immediately, the parent mentor, who was giving the tour, mentioned Kirby, as a subject. Kirby is the school's emotional support dog. Minutes after they left, I started looking for pictures of the black Labrador Retriever. Students helped me pick a couple of my sketches, and then they traced the projections onto a large piece of paper to use as patterns.  I used the patterns to cut out layers of cardboard, glued together to make a thick structure. 

Two Middle School students made more rubbings with oil pastels on black paper, based on the past assignment, which they decoupaged onto the structures.  To make the relief structures into something that could be hung on the wall, I had made two holes through two layers of cardboard to thread wire through before adding a top layer of the body.


Thursday, September 11, 2014

Shape Month for My Art Class

I dedicated our first month back in school to the design element of SHAPE. I've never taught any of these projects before, but I wanted to find the clearest ways possible to teach the basics of art to students who are visually impaired.

Notan
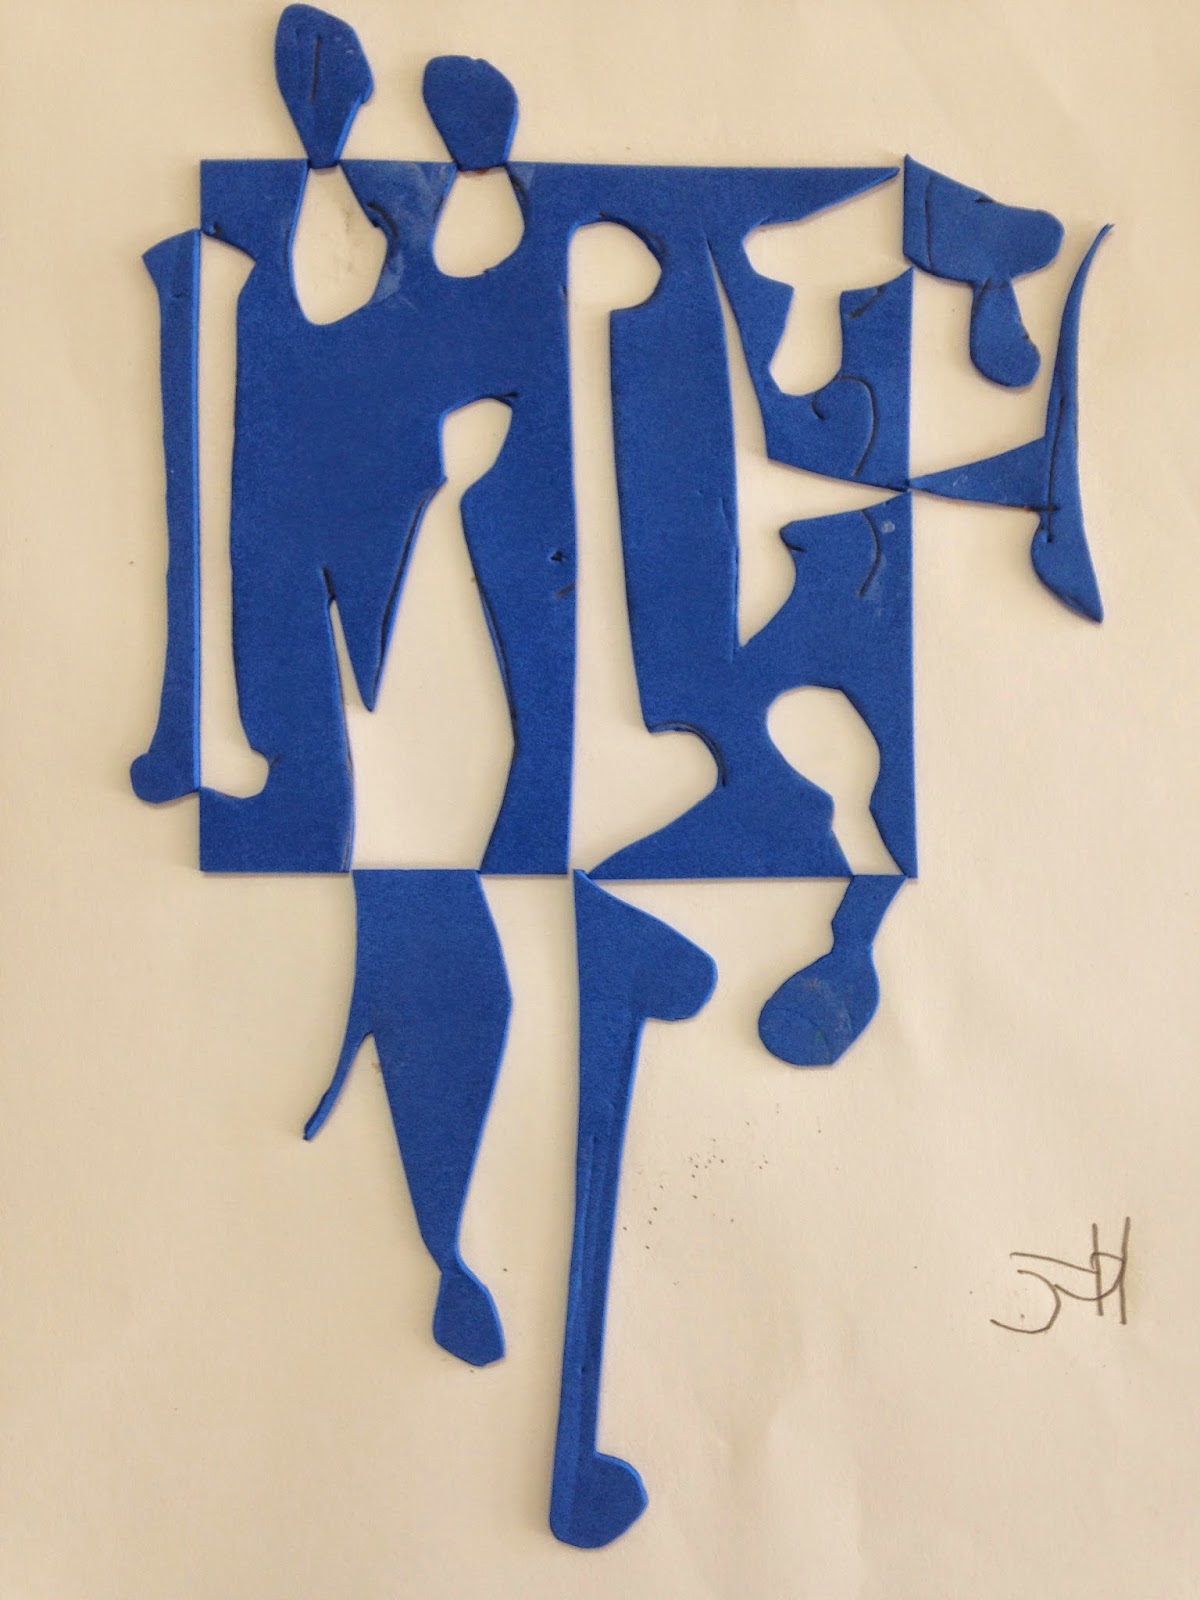
This is my new favorite way to teach the concept of NEGATIVE AND POSITIVE SHAPE. Notan is a Japanese design principle in which dark and light shapes are juxtaposed in an image.  With blind students I found it very helpful to have them use  foam sheets because they could feel the indented lines they drew in creating a shape, and once it was cut out they could put it all back together like a puzzle. After they flipped and glued each piece, they could feel the negative shape (the hole) and the positive shape (the piece they flipped). They each made two images, one symmetrically and one asymmetrically balanced.


Rectilinear Relief Sculptures
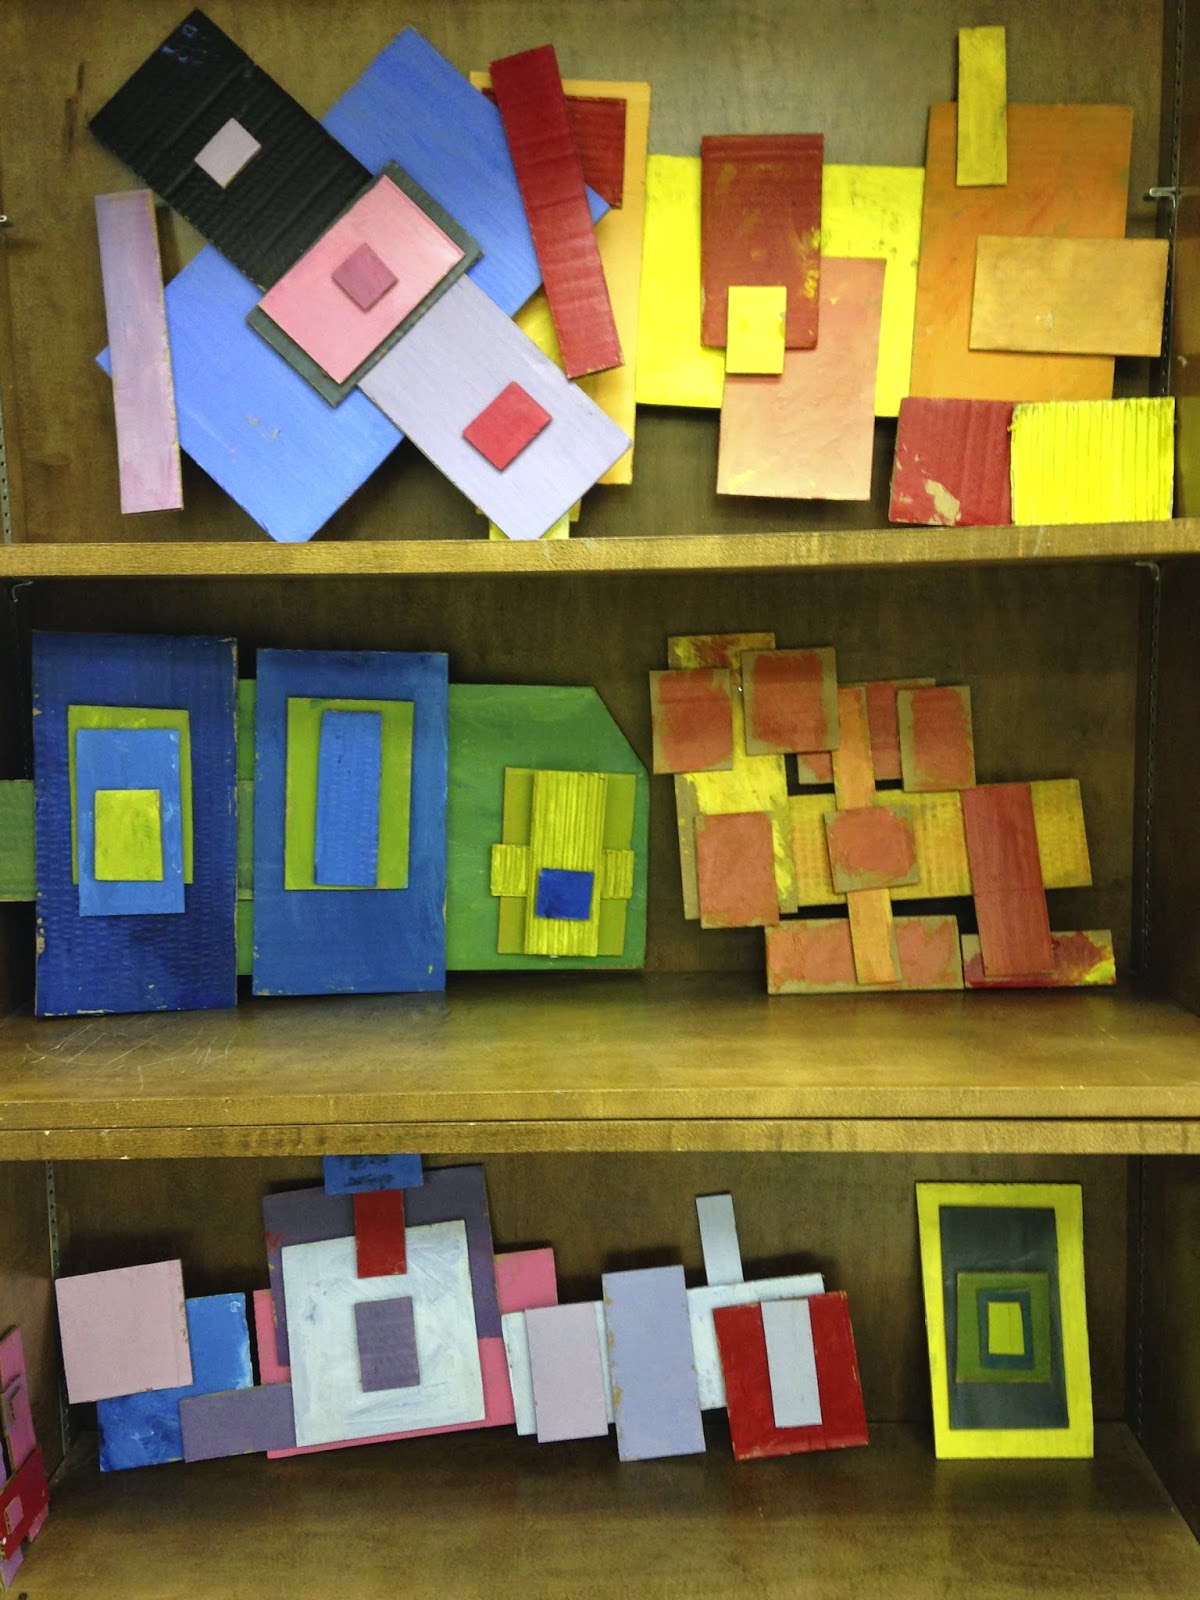
I felt like a little kid at Christmas when all my new classroom supplies rolled in; I just wanted to play with the boxes. I cut these boxes into hundreds of cardboard rectangles which I sorted into piles according to size.  Students gathered a variety of rectangles and picked two primary colors, which they could mix to create an analogous color scheme. They learned about visual unity through color and repetition of RECTILINEAR SHAPES. They arranged the rectangles several times and took digital photos of three different compositions before they chose one for me to hot glue.


Sports Posters
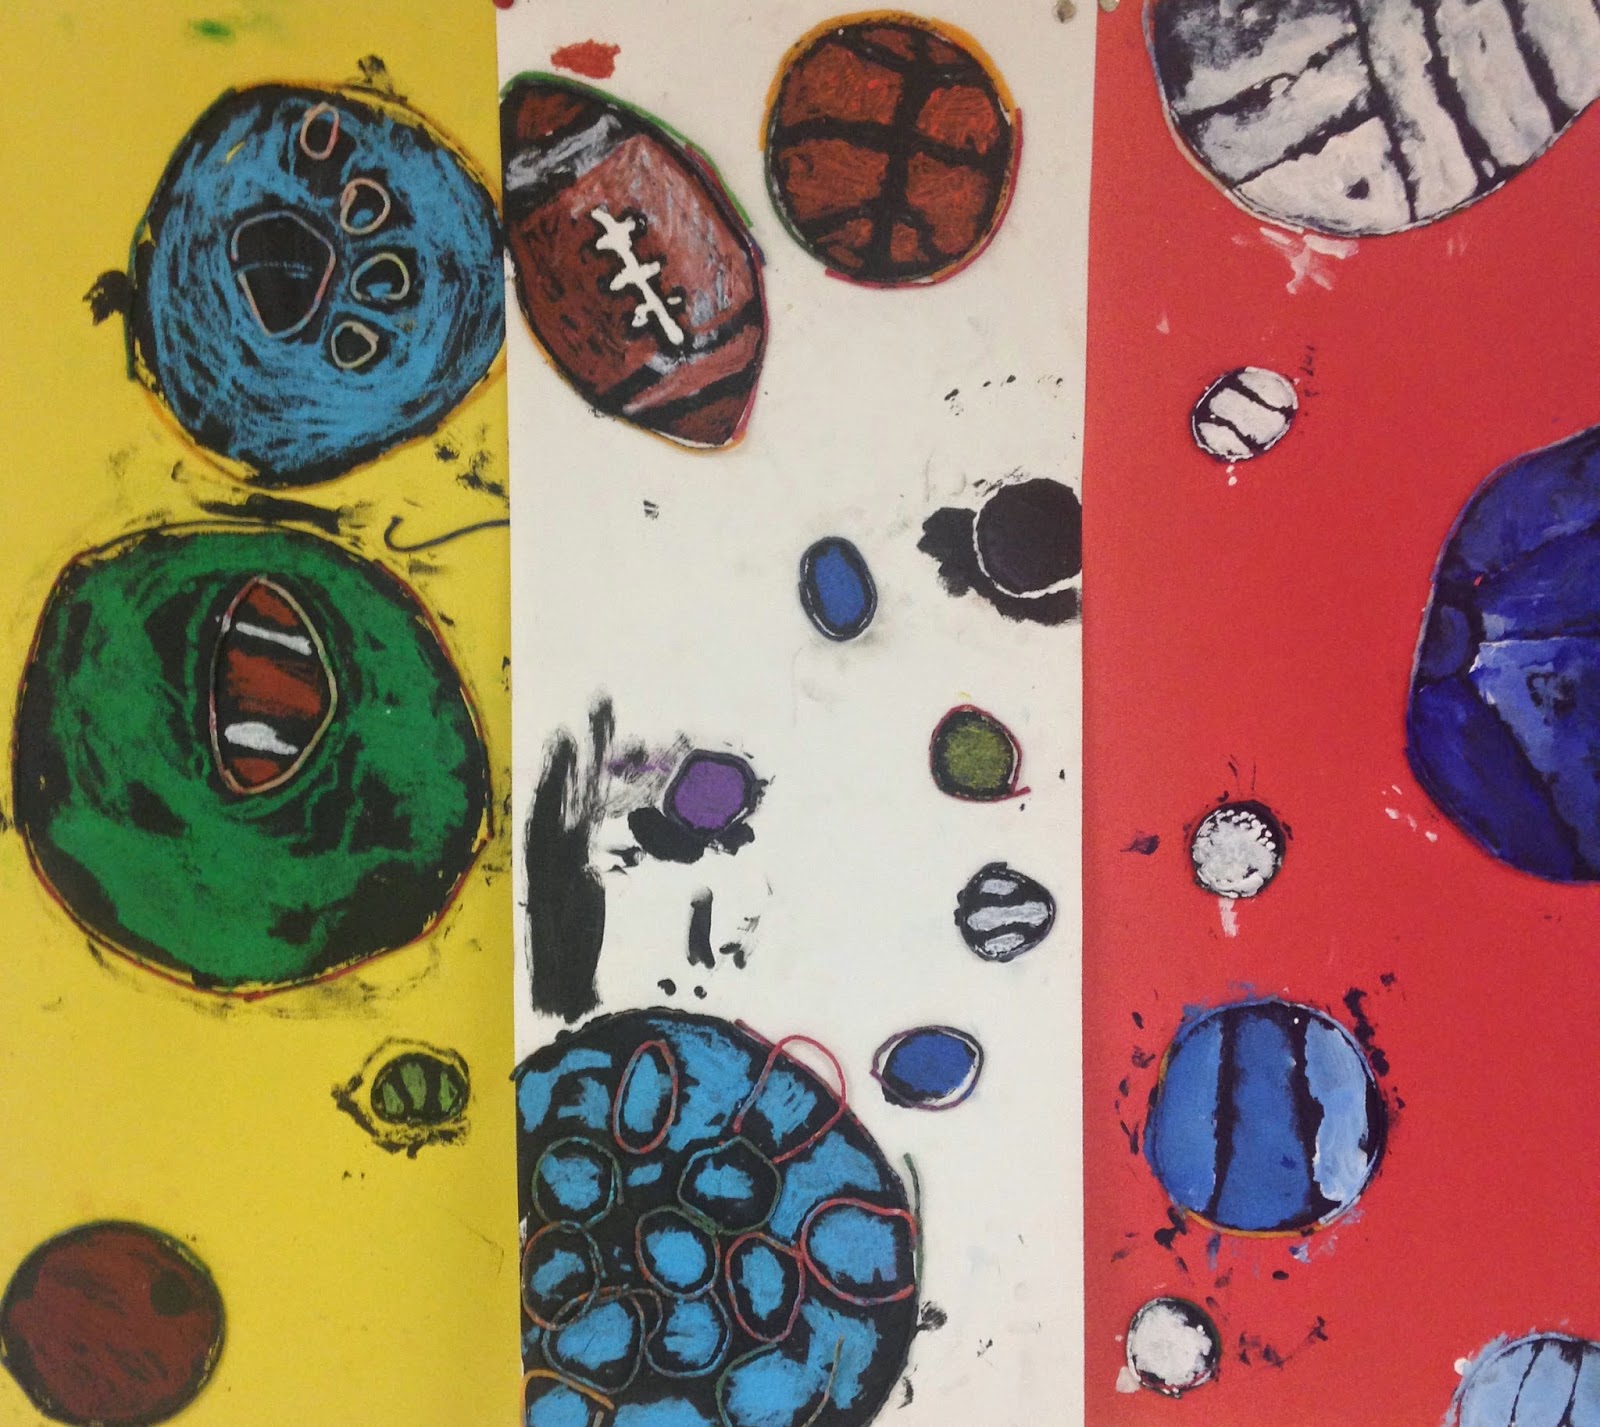
This assignment came about because Coach asked me for help covering his ugly cupboards and I'm all about interdisciplinary assignments.
CURVILINEAR SHAPES are the opposite of the rectangles we worked with the previous week. But we were still building unity through variety of size and unity through repetition of shape. My blind students traced circles with wiki sticks. This provided the tactile boundaries so they would know where to paint. They used black acrylic for the under painting, and then acrylic or oil pastel for the color on top.The fingerprints and smudges come from trying to feel for the dry areas that still needed painting.

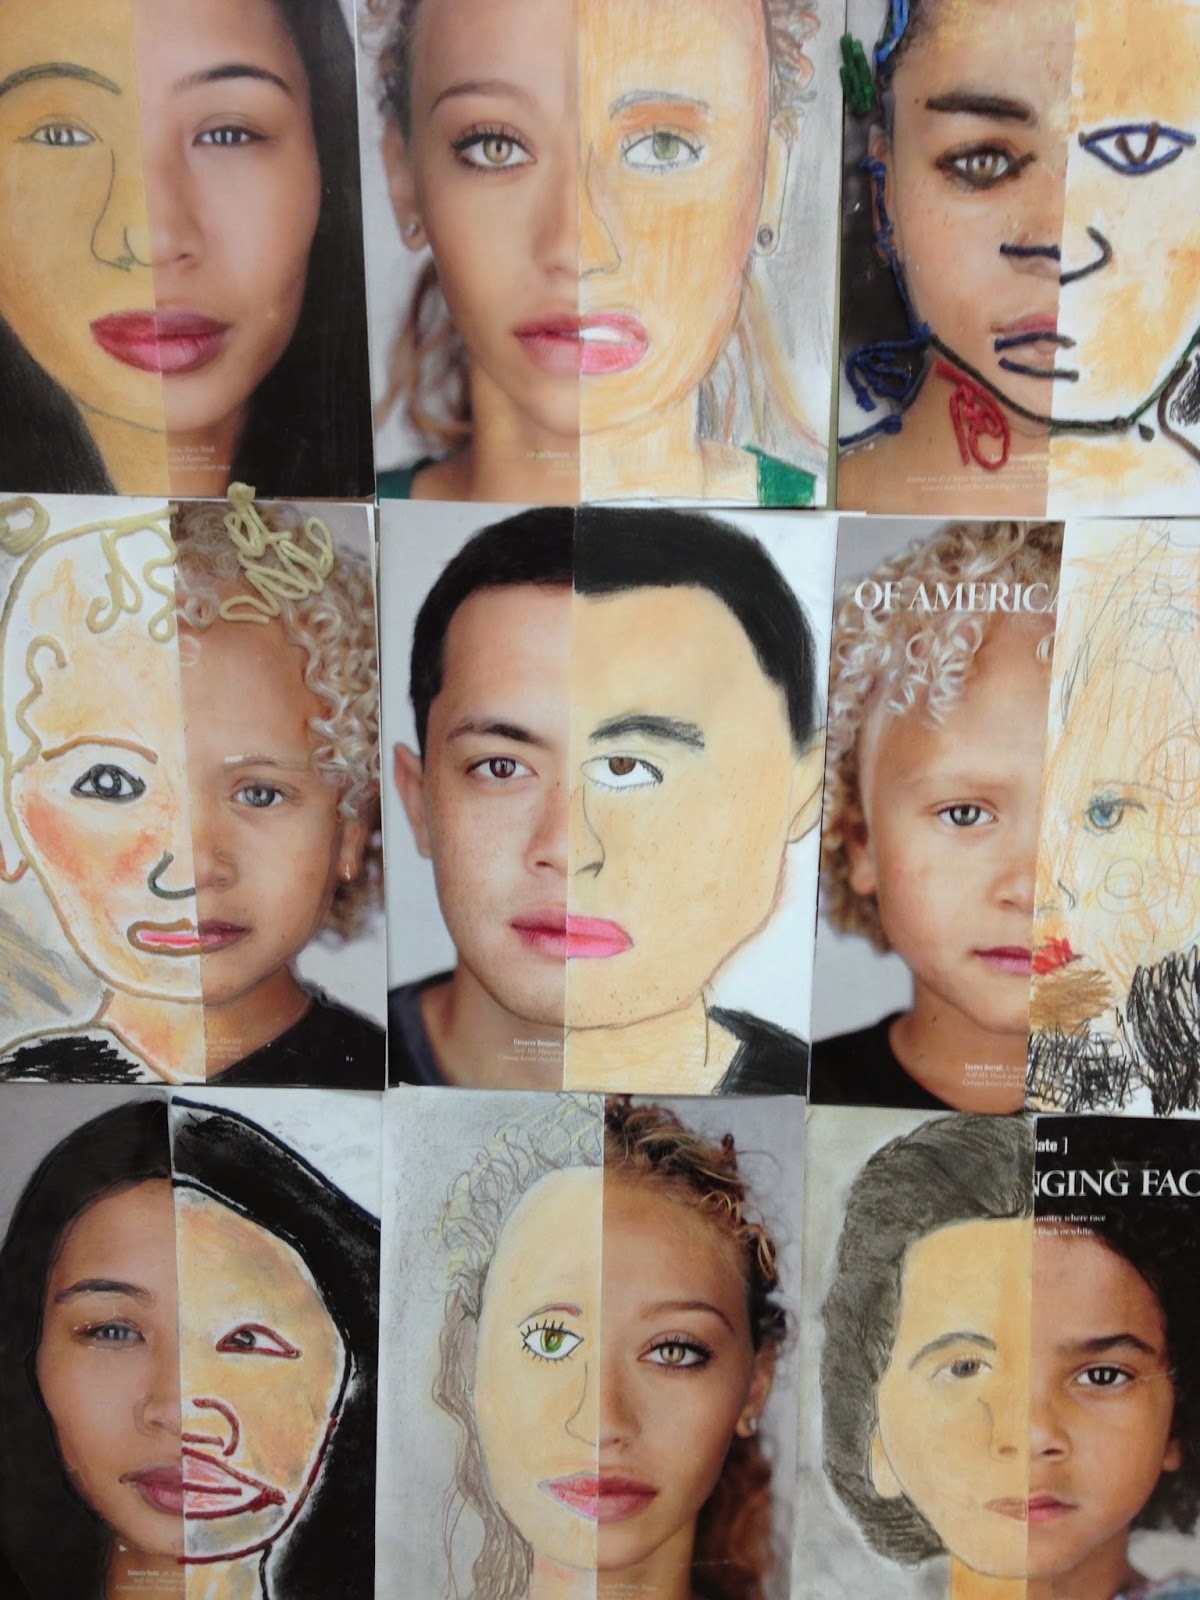
Half Face Drawings
I remember loving this project when I was a kid and have been wanting to try it out with students for a long time. National Geographic had a great article about race in America and I was able to read it and discuss a little genetic science with the students. This assignment was used to teach about NATURALISTIC SHAPE as well as symmetry, proportions of the face, and observational drawing skills like trying to match color. Observational Drawing is hard when you are completely blind, so I traced half the face in hot glue for those students, and after they glued that half face, onto a piece of card stock, they used wiki sticks to create the other half the face. Then they used colored pencils and pastels to color it. Students really enjoyed the process.