Saturday, December 3, 2022

Cardboard Gingerbread Houses & Paper Snowflakes

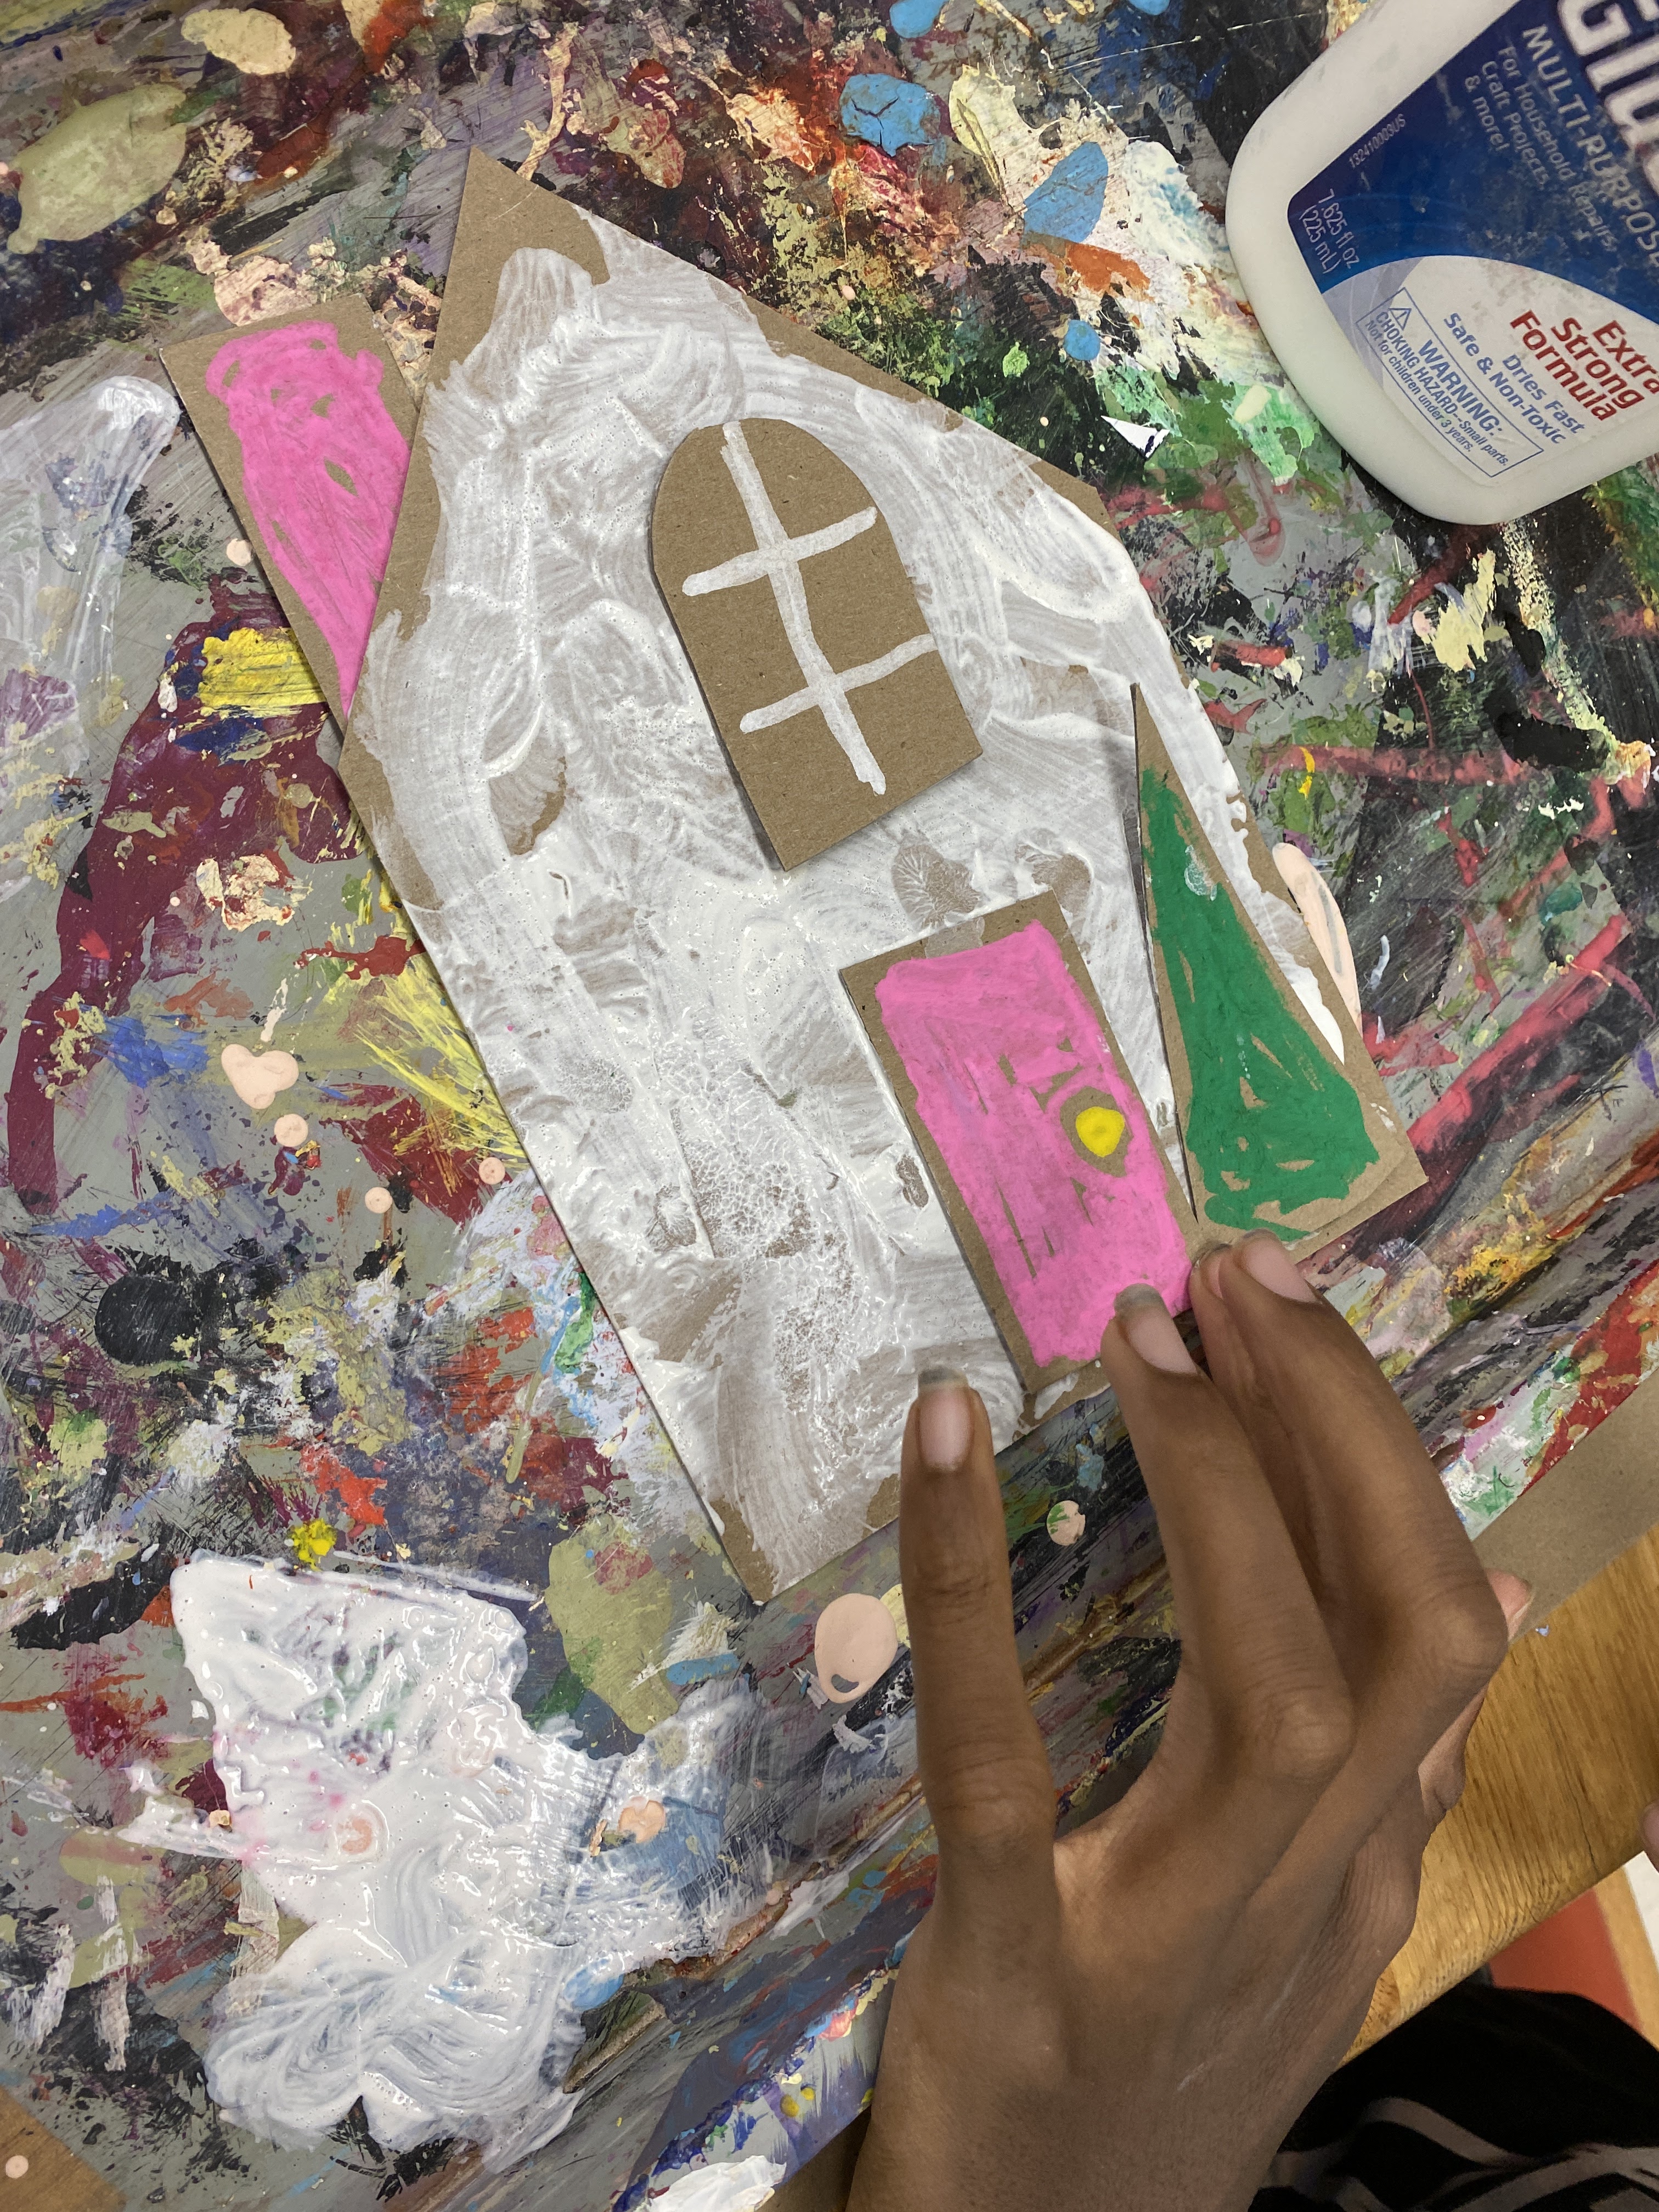
 Nothing beats edible gingerbread houses for hands-on seasonal craft projects, but when an emergency bulletin board situation arrises, 2D versions can made quickly and easily. Cardboard is the perfect gingerbread color, and white paint is the perfect substitute for piped icing. 

The thing I love most about this simple 30-minute project is the endless variety that can come out of it. It's a great time to talk about parts of a house: door, window, stairs, shutters, roof, chimney, etc. But you can also discuss the importance of shape. A barn is usually a different shape than a castle or a church. The front of a house is different from the side. A rectangle can be a two-story town house, or a southwestern ranch house. Windows can be rectangles, squares, circles, arches. The window size may vary depending on whether it is a store front or a log cabin.  So even though it's an easy and straight forward craft, it brings up such lofty concepts as form and function in architecture. And even very young and totally blind students can choose and paint the house shape before choosing, placing and gluing smaller architectural elements.


Snowflakes are another one of those required childhood craft (see hand turkey post). Some of my students struggle with scissors. Those of us with vision learn so much from observation, but it may be difficult for those who are blind to know how to even hold scissors with the thumb in the small hole and the fingers in the larger hole, thumb up and fingers down, unless someone teaches you explicitly. My students also tend to use the tips of the scissors and close them completely with each snip, when it requires much less effort to slide the paper back towards the thick part of the scissor blades and just close the scissors slowly and partially while maneuvering the paper to make small shapes. For students who scissors are a serious hazard, I just had them fold the paper, which  is a challenge in and of itself. Snowflakes have six points, so getting the 60 degree angle means folding the paper in half, and then finding the center of the fold, making a cone to get complete overlap from the back and two front flaps. Then creasing before cutting the corners will help get a circle with six sections. Some students make the point of their triangle on the folded side and then are surprised when their finished snowflake is two semi-circles instead of one whole. By cutting a V shape on the opened, rounded edge of the triangle, and then cutting a few half diamonds or half hearts on the folded edge, a snowflake can be made with three or four cut shapes. Once a child gets the hang of it, they can become a one-person snow factory and turn a window or tree into a winter wonderland.

Festival of Trees

It's that time of year again! The Museum of Art and Science has it's annual Festival of Trees and my students and I love to! At the Academy for the Blind, we make sure our projects contain a tactile element, but this year, one of my students suggested we incorporate sound. So we made clay bells to hang, and we have a speech device on the tree skirt. It was truly a sensory tree. The museum employees say that children know just what to do when they see the button. They run over, push it, and hear my students wishing them a merry Christmas!
For our 3D snowflakes we used discarded Braille book pages. It's been fun watching my students find words and parts of words on these ornaments that they can read, like little hints on what story may have been contained there before we cut each page up into 6- 3 to 5 inch squares. We folded the squares, diagonally twice to make a triangle, which had three slits cut into the side, parallel to the none-folded bottom, longest side of the triangle, Then we opened and glued the strips to make each of the six portions of the snowflake which were than glued together. You'd probably need to watch a video to know what I'm talking about and there are plenty out there for you to choose from.


We spray painted some red and some green, while leaving plenty of them white. They are supposed to be snowflakes after all, but we didn't want it took look like we just dumped a bunch of copy paper on the tree, and the spray paint helps intensify the Braille's texture. Then we used red and green card stock to make different kids of ornaments, that don't require much time. We were down to the wire
I took about a dozen students on a field trip to the museum to decorate the tree. Our assigned tree ended up being right by the entrance to the museum and it didn't take us long to finish the task. Then we were able to explore the museum.
The hands on exhibits are the most fun, and my high school students are fun enough to participate in things like puppetry, building toys, fossil digs and magnetic tiles. I love the museum; I love my students; and I love celebrating the season!


Clay Bell Ornaments


Making bells out of clay is not as hard as you might think. A simple pinch pot technique is the starting point. I gave my students who were blind a small ball of clay to push their thumb into. By creating a paddle of straight fingers, the thumb and fingers gently press against each other and turned in increments to create even walls and a big enough hollow space for a clapper to move freely. Students rolled a very short coil and attached it to the top of the upside down "pot" and then two holes were poked into the upper part of the bell, and a larger hole at the top of the handle.  Some bells had rubber stamp images pressed into the sides for decoration. Students rolled little balls of clay and poked holes through them for beads, but many of these ended up being too small, or having the hole close up in the drying process.  Remember, clay shrinks, including holes so make everything slightly larger than you want in the end. Plastic beads, jingle bells can be strung on wire and then tied onto the bell through the two holes, but glass beads ended up making the best sound. By spray painting the bells gold and adding some red ribbon, the end product felt much more presentable. Because my students are all blind or low vision, being able to make ornaments that appealed to their sense of hearing made it all the more appreciated. Ring in the season!


Tactile Ornaments


It's easy to make tactile Christmas tree ornaments with young children with dried beans and pasta. My elementary school art students with visual impairments loved making something tactile that they can hang on their family tree. I offered them a piece of mat board cut in the shape of their choice, and then it was a matter of them choosing from bowls of dried foods to glue into place. Some made turtles from pecan shells and beans, others made flowers from pasta shells, but they each ended up with something they could feel and remember for years to come. These can be spray painted silver or gold, or left with the natural colors contrasting with the board. Make the next snow day a craft day and try this simple ornament idea with your kiddos!