Ceramic Ornaments

Texture is so important for blind students, which is why I loved giving them this pendant assignment. We used shoe soles, thread spools, combs, and whatever we could find to stamp slabs of clay, which were then cut out with small cups. The colors changed drastically when they dried, and then were fired.

We used acrylic to paint the ornaments. A dry brush with contrasting color helps the texture show.
Then we added ribbons or embroidery floss and tags. Each student took one home and we made about 70 extra to stuff faculty and staff boxes.
God's Eye

When I was a kid I thought popsicle stick and yarn ornaments were just a Christmas craft, and didn't realize the spiritual significance these had in Native American traditions. The Pueblos of New Mexico and the Huichol and Tepehuan of Mexico held these objects as a way to be recognized or a way for the gods to be able to watch over the weaver. They were also thought of as portals for the gods to pass through to get from one world to the other. I have a few students who have disabilities which make it difficult to even draw a line without help, but they were able to do this project independantly.
Tooling Foil
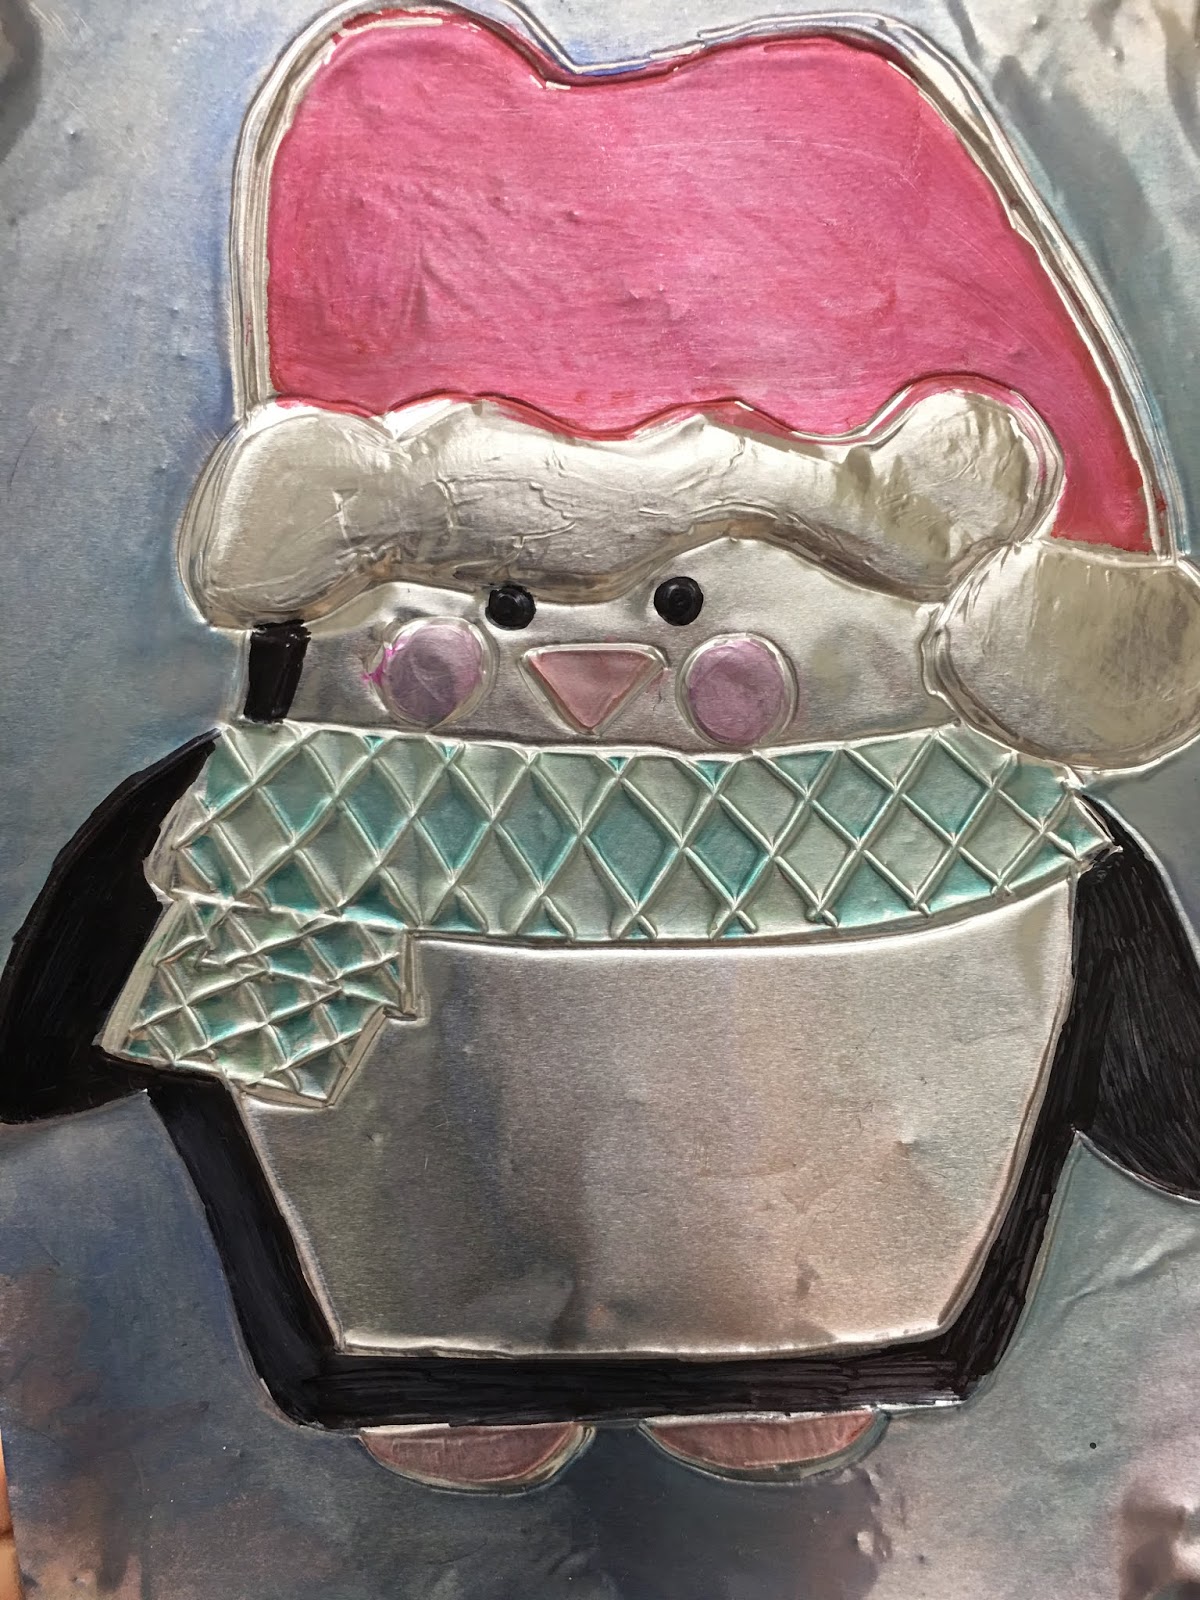
Heavy metal foil and a handful of tooling…uh…tools, kept my students busy for weeks. I wrote some of their names backwards and then flipped it over so they could experience the letters in tactile print rather than braille. Then they'd decorate those. Some pictures were Christmas themed and others weren't. Some were colored with Sharpies and others weren't. I used hot glue to attach the foil to the frames for these. I taught about the Bronze Age and Iron Age and we discussed types of metal and things that are made from metal. You can try this at home with disposable pie tins and a wooden dowel that has been sharpened with a pencil sharpener.
Set Design
Insulation foam scraps from a recent home improvement project were transformed into ornaments to decorate the stage for our school's Christmas concert. I bought a green rope and thin wire to create a string of lights. Everything hung with fishing line. Students researched ornament designs, painted the lights, poured glitter, and beamed with pride when it all came together on stage.
Merry Christmas to all, and to all, happy creating!


 This was the first project in my class unit on relief sculpture. It is an easy way to create tactile images for my students who are blind.


 Younger children can wrap boards with thick string or yarn and cover it with aluminum foil and just rub with their fingers to make an embossed foil project. This student chose to use greens and blues to fill the shapes using Sharpie markers.