Showing posts with label tactile images. Show all posts

Wednesday, October 15, 2025

Tactile Caulk Painting project

To wrap up our relief sculpture unit, I had student's create tactile images by using caulk on canvas or wood. Many of them started with a drawing in marker or Wiki-Stix, if the students were totally blind. Then these were traced using caulk from the hardware store. Once the paint was dried, Under paintings were completed and by the 3rd day my students were able to paint work on the top layer of their painting.

Some students placed their canvas on the potter's wheel and squirted the caulk down onto the base. By touching the tip of the caulk gun to the surface, there was more of a mechanical feel, where as just squirting it from the air, felt more organic. The colors reflect the nature of the line. 

Some students used masonite (the back of scraps of bead board from a home improvement project to be specific), and used spray paint for their under painting.


The tactile quality allowed for my blind students to feel where to paint. Because this spider web was black, my student spray painted the entire image black, and then filled in the negative space with white, so the black lines would feel more like the foreground. She finger painted acrylic, dripping tiny strands as she went. There was not a single student who wasn't happy with their finished painting.


Tuesday, May 20, 2025

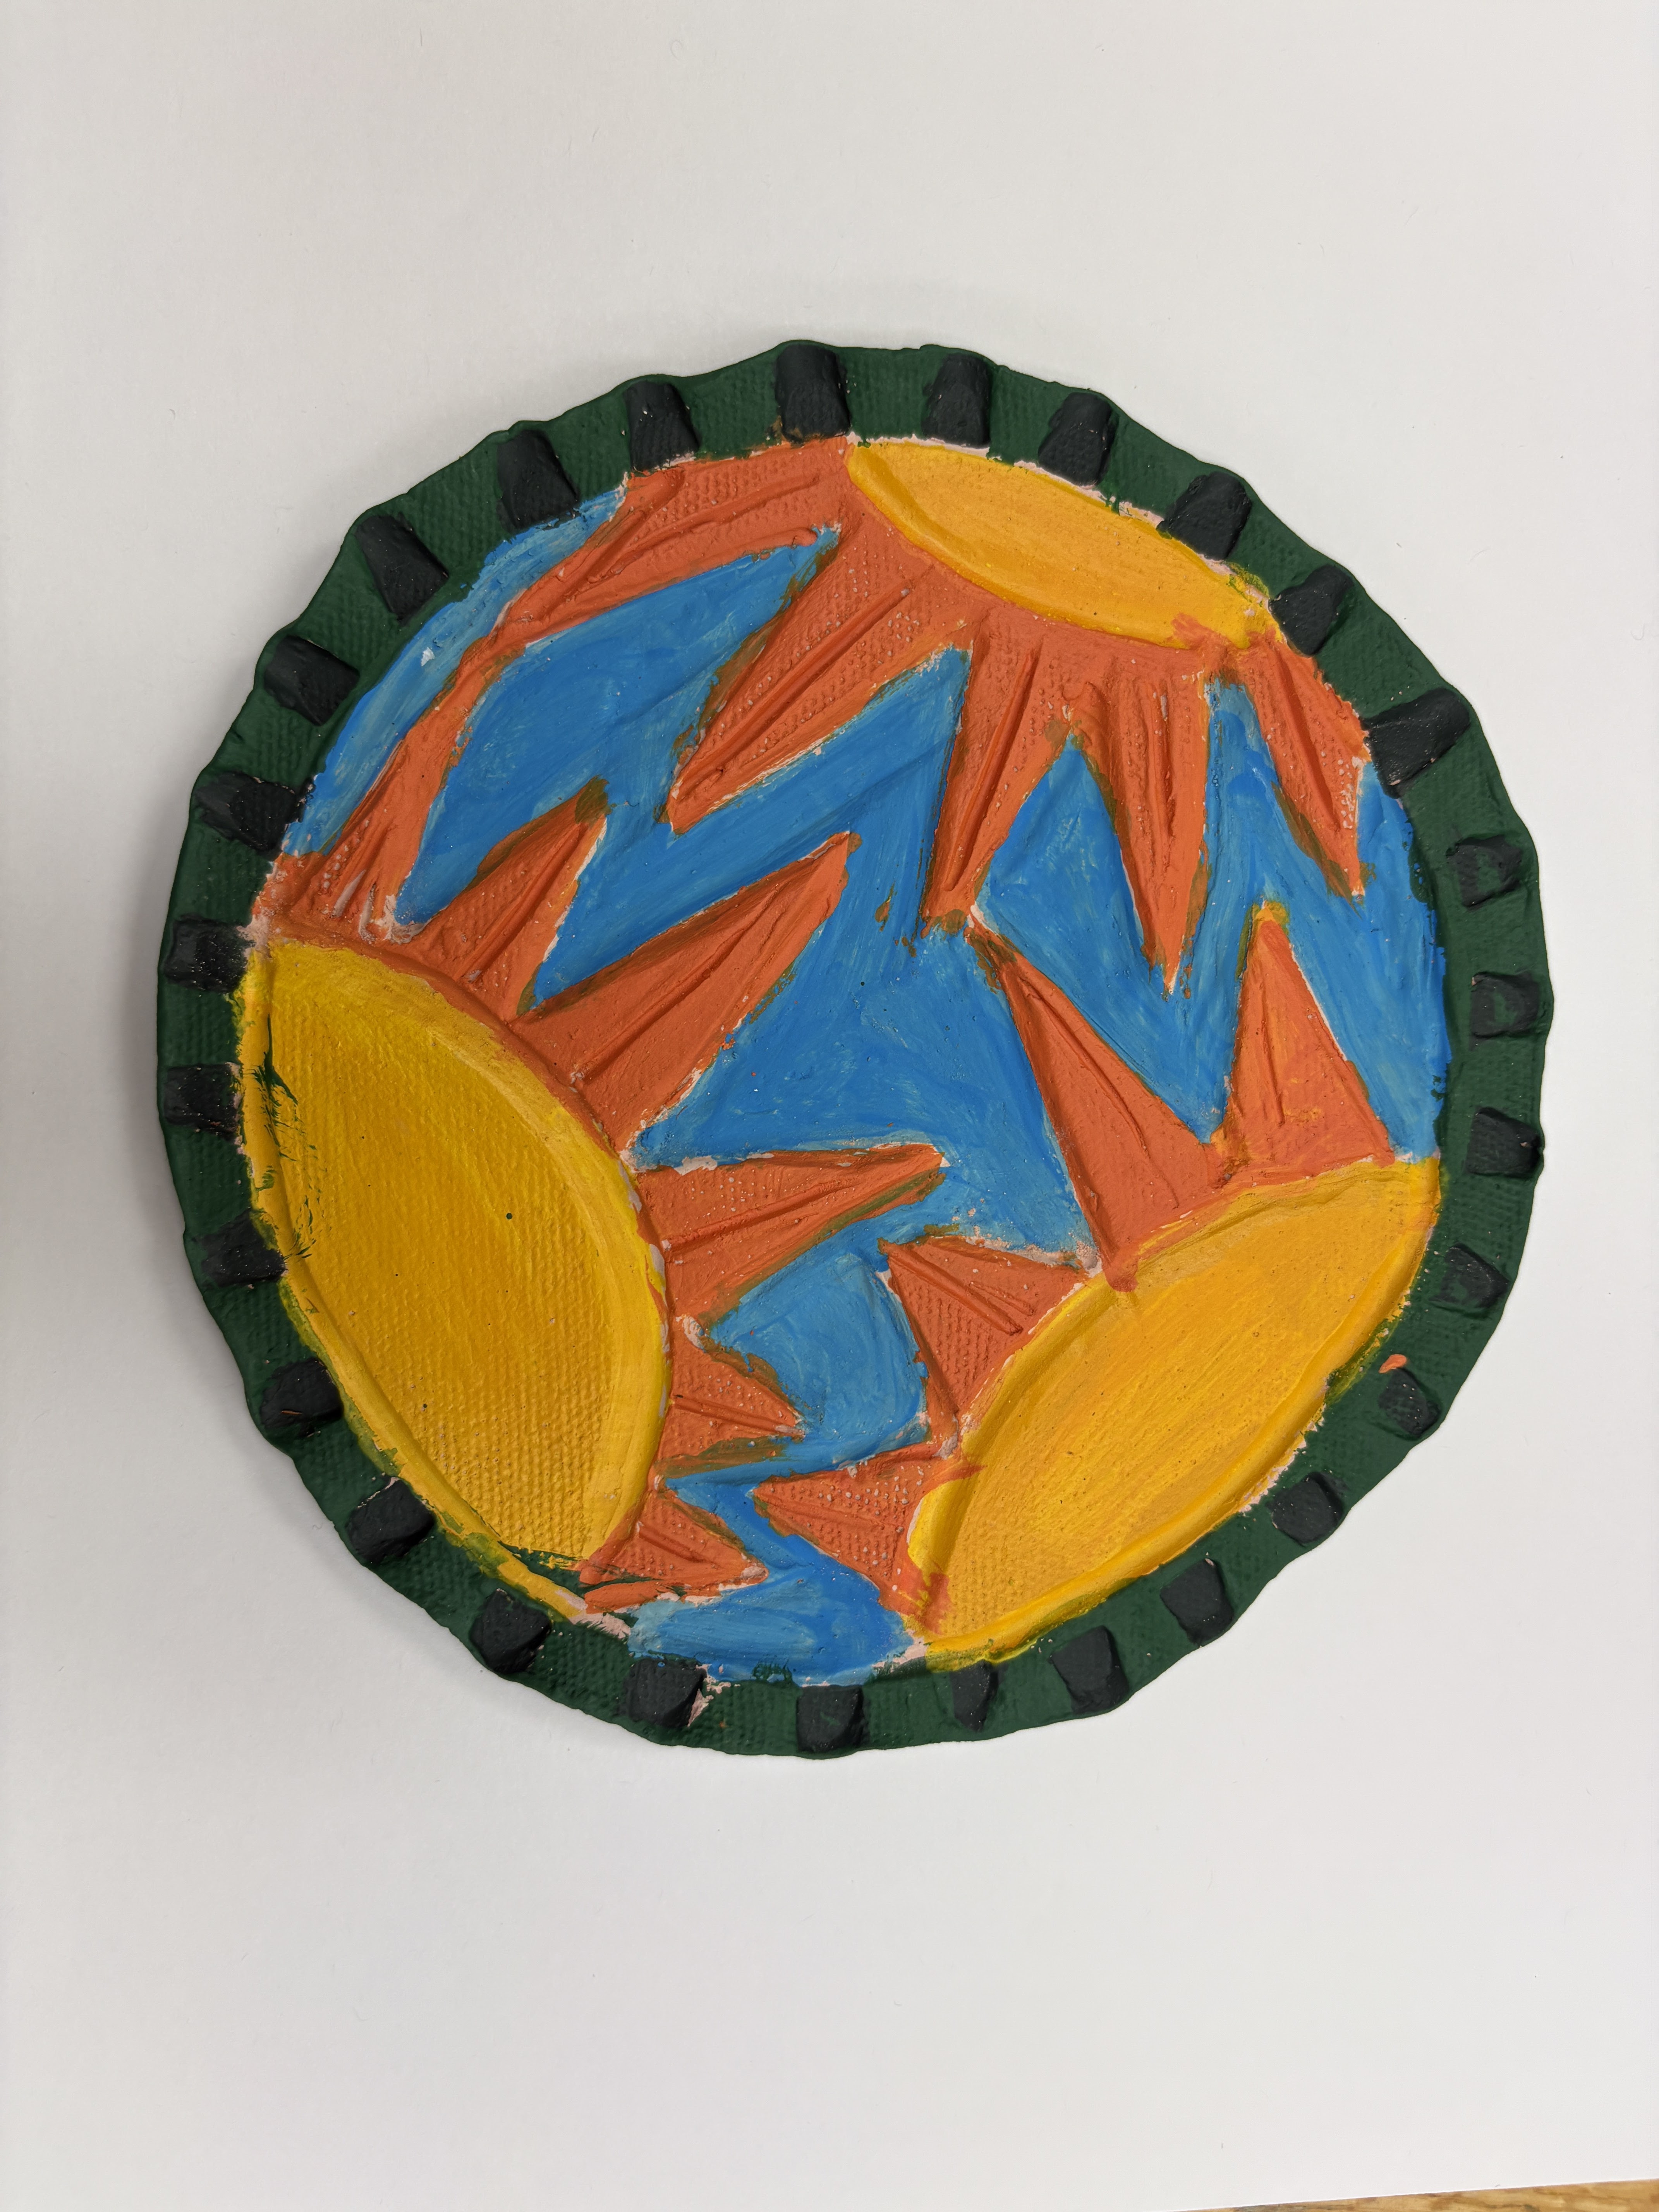
Ceramic Carving Assignment


Making tactile images in my art class are a must. All of my students are visually impaired and half are totally blind. We draw with Wiki-stix, glue, string, puffy paint or by embossing foil. but clay tablets are another solution. This assignment worked really well for my students who normally don't like working with clay because they have tactile issues with anything gooey, slimy, or even sandy in texture. I used clay that was already starting to dry out a little before I cut off slices. Students ran the clay through the slab roller and then it felt more like a thick, heavy piece of fabric since it had the canvas texture pressed into it from the rolling process.


While the clay was still malable, students pressed the ends of pencils or paint brushes to make repeated patterns for boarders. Than they lightly drew an image into the center before carving away the background with ceramic tools. Some students used stencils to get the design that they wanted.

Once the clay was fired, Students were able to feel where to paint (acrylic) each color. Students who were totally blind usually opted to paint the entire thing one color before dry brushing across (perpendicularly) the surface of lines so that only the foreground would get the second color.

Many of these were made as trivets, to set hot pots on. Others had holes made before firing to string twine or ribbon through and make it into a wall hanging. They were the perfect gift for Mother's Day and