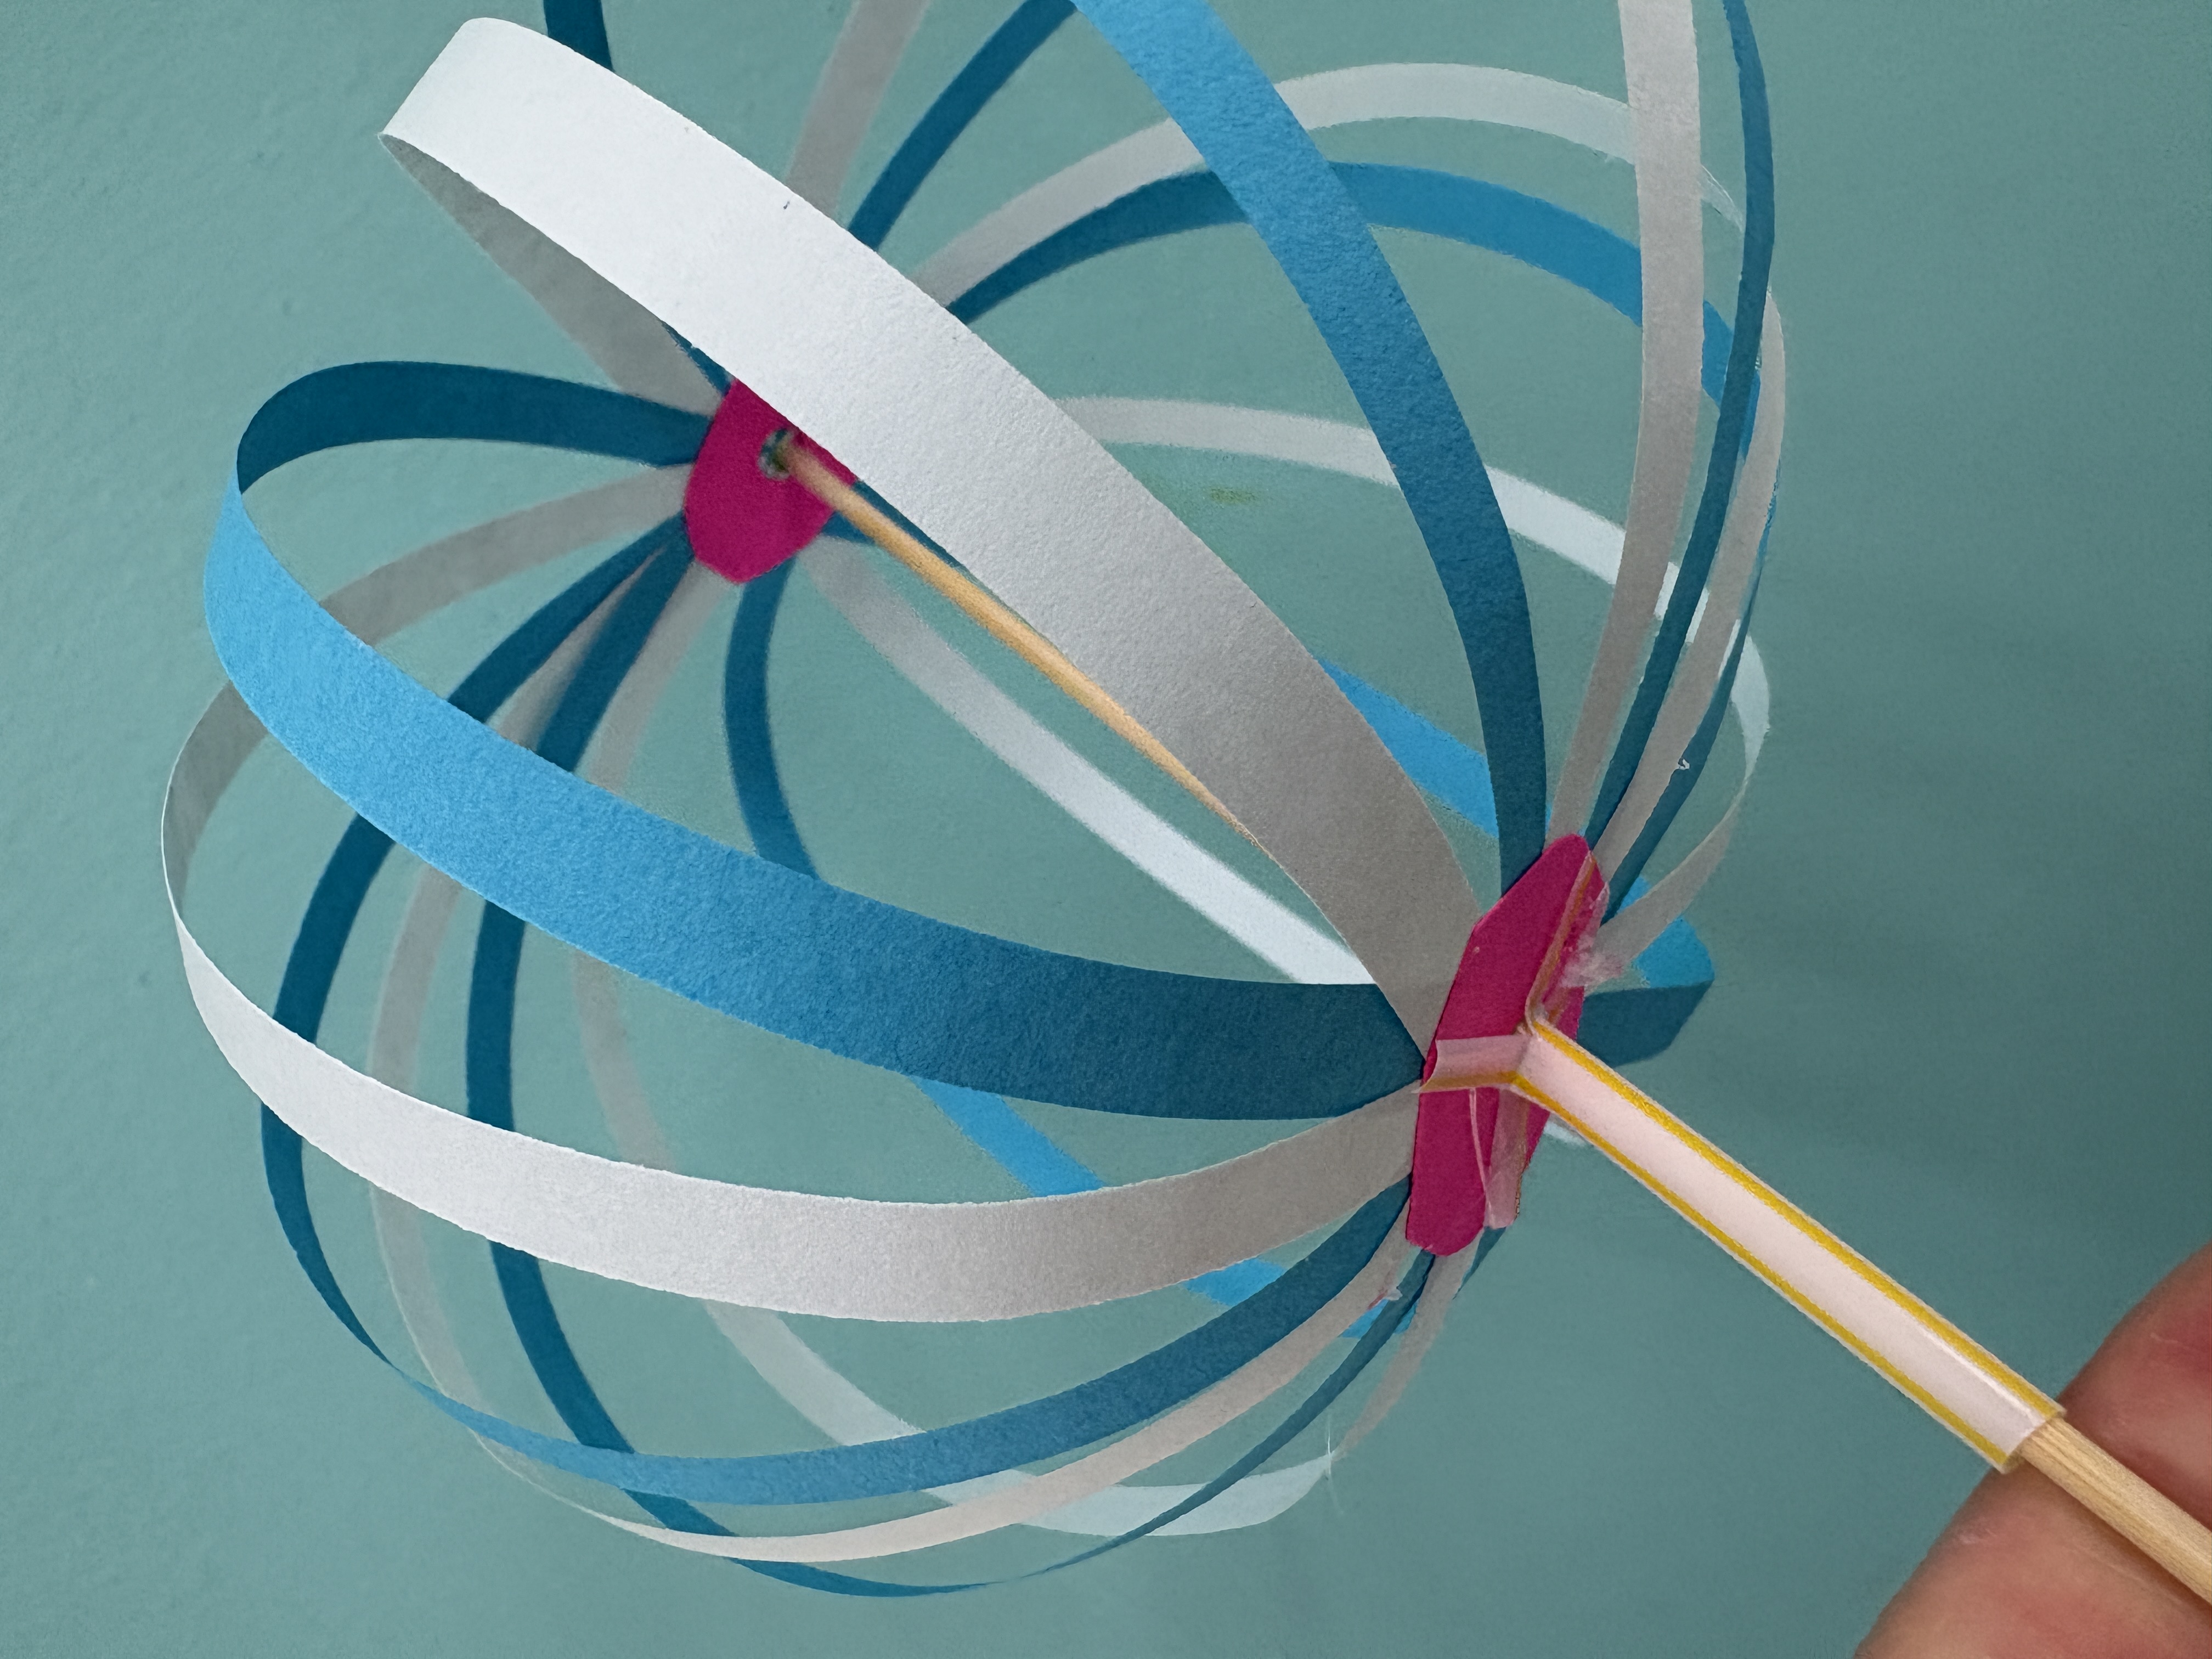
While studying Art related careers such as fashion, costume design, and set design, I decided that toy design would be something my students could actually use or give to a sibling or younger student to use for play. Toy making is much like learning to cook, you start with learning recipes that you can use as a springboard for creativity. You alter things until after time you come up with something totally unique.
 This spinning toy, I saw online and felt it was a perfect craft for my students who bring figits to class every day to deal with their stimming behavior. To make this, you will need: 16 strips of paper that were 8.5 inches by 1/4 inches. 4- 1 inch paper circles with a hole in the middle made with a hole punch, a bamboo skewer, a bead, and 1.5 inch piece of straw. You'll also need liquid glue and maybe hot glue for the finishing touches.

Start by putting glue on one of your donut shaped circles of paper and attaching the strips of 4 strips to make a plus sign, and then four more to make a multiplication sign. Then you can fill in every other space, to ensure that all 16 strips of paper are evenly distributed. Glue another "donut" to the top of the ends of the strips so that they are covered and more secure. Then put glue on a 3rd "donut" and turn the ends of each strip like the page of a book to glue it one by one to the top of the "donut" near the hole. Top with the last paper donut shape.
Slide the skewer through the bottom and top holes like you are stringing a bead. Then glue a bead or two to the top with hot glue. Be sure it attaches to the paper "donut" and doesn't spin around.
The piece of plastic straw should have four slits made with a pair of scissors at the top and then spread out each prong like petals of a flower opening or a banana being pealed. Slide the straw, spread out but at the top, and glue each prong with hot glue to the bottom "donut" on the sphere. Careful! use the small glue gun with low heat so as not to melt the straw or burn yourself!
Once the glue is dry and cool you can spin the skewer between your fingers or hands. You can also spin the skewer between a finger and thumb of one hand while holing the straw with your other hand and twist the strips in both directions. Students found ways to play with these that I hadn't imagined, and loved hearing their laughter as they figured out new ideas.


 This spinning toy, I saw online and felt it was a perfect craft for my students who bring figits to class every day to deal with their stimming behavior. To make this, you will need: 16 strips of paper that were 8.5 inches by 1/4 inches. 4- 1 inch paper circles with a hole in the middle made with a hole punch, a bamboo skewer, a bead, and 1.5 inch piece of straw. You'll also need liquid glue and maybe hot glue for the finishing touches.