Saturday, October 3, 2026
Wall Vase Art Project
Tuesday, November 18, 2025
Origami Trees and Diamonds

It's nice that basic folds in origami are the jumping off point for lots of different projects. Paper Christmas trees and diamonds start the same way as the classic fortune teller.
You begin with folding a square piece of paper in half to make a vertical rectangle and than open and fold it in half to make a horizontal rectangle. Opening to leave a plus sign in the middle of the square. Flip the paper upside down.
Next you fold it in half in diagonaly to make a triangle, first in one direction, than the other, to make a multiplication sign.
With the right side up, push in on opposite diagonals until a square (1/4th of the paper size) is formed and push down. Keep the open side pointed towards you on the table.
Saturday, September 16, 2023
Design Time: Zentangle Collaboration
Repetition is a Principle of Design, which is used to create pattern, textures, and rhythm in art. Some patterns have names: check board, basketweave, zig zag, polka dots, while others are waiting to be invented. It's good to break out of your doodle comfort zone which is surprisingly small for most visually impaired people and try to repeat marks that you haven't tried before.
My students created their own chart with a handful of different patterns before contributing to the larger group composition. Tables were covered with bulletin board paper and when students finished their own work, they could contribute to this group composition. It's fun to work together to learn and create.
Friday, March 1, 2019
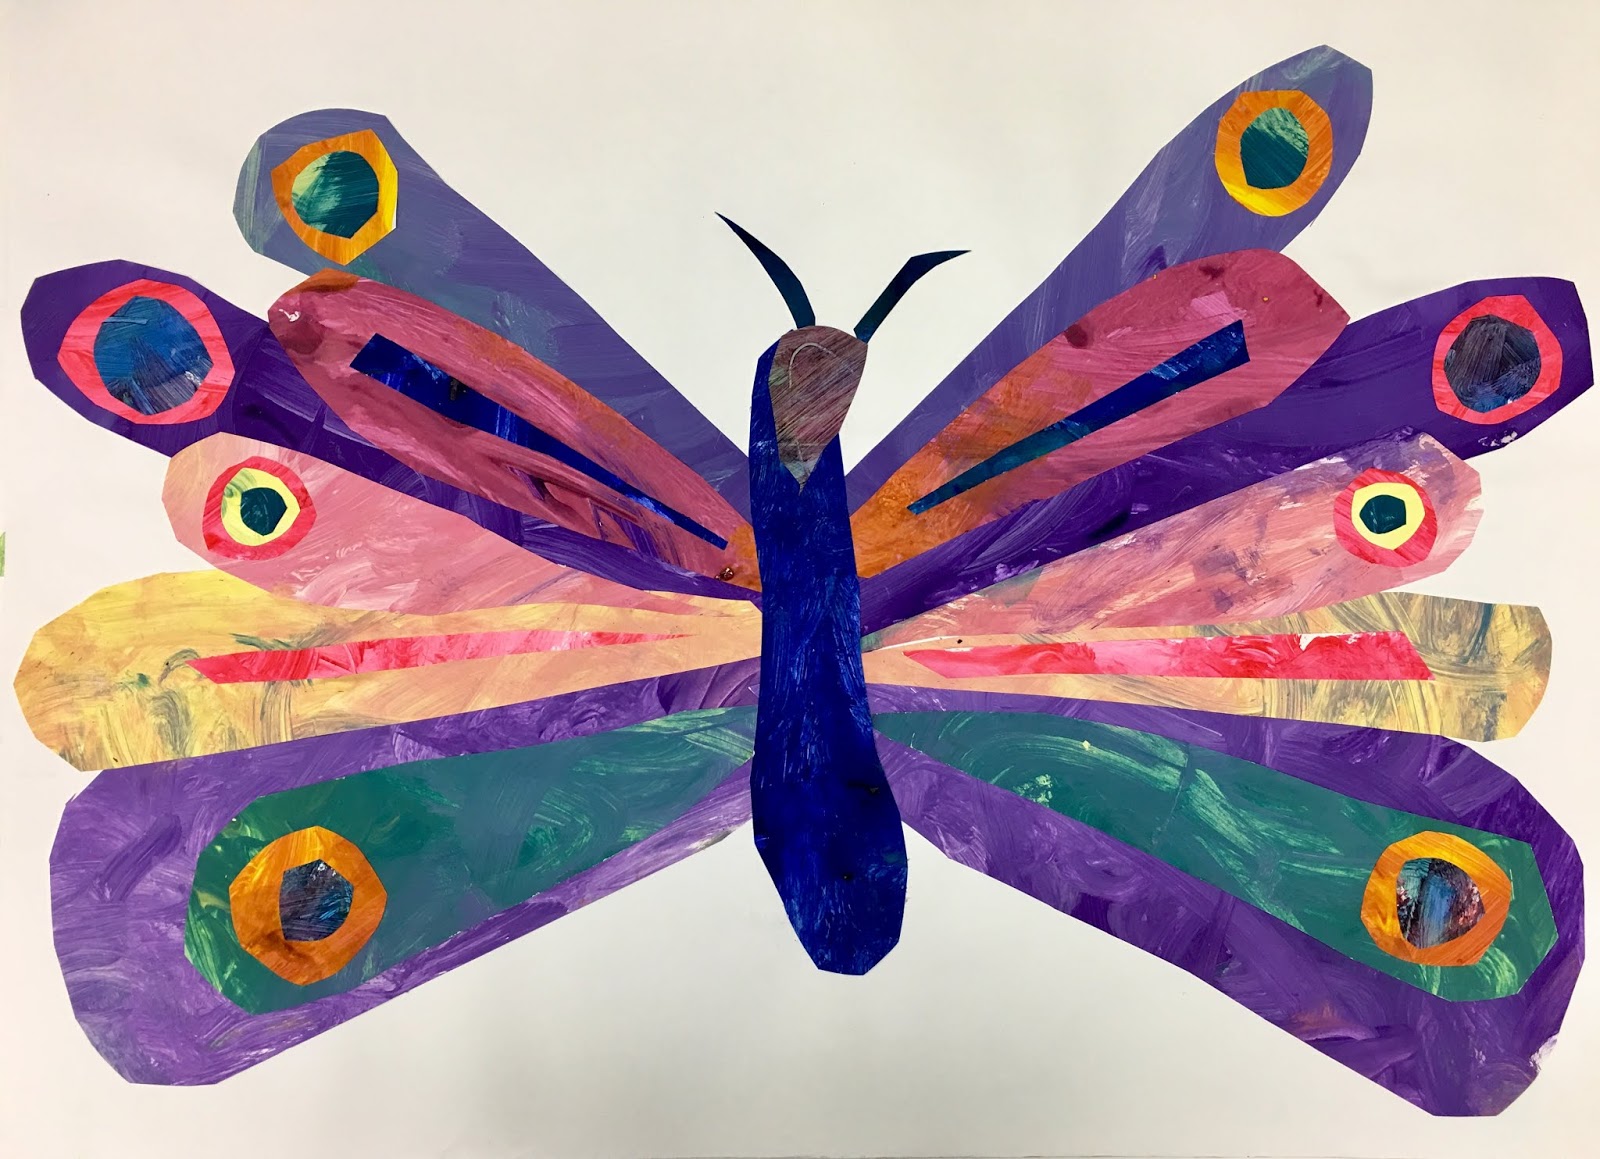
Painted Paper Collages
We're not Eric Carle, but we wish we were. With an upcoming student show, and the need for a few large collaborative pieces, I thought it might be time to resurrect last year's lesson about illustrator, Eric Carle, and his technique of painting paper and then using that to later collage. Only this time the instead of small individual pieces, we would make much larger, group projects. So I discussed color mixing, and students covered large pieces of paper with tempera. Then they painted glue on the back of the shapes I had cut out of the paper, and attached them onto 2'X3' pieces of paper.Here are a couple of our finished products. They make me feel happy.
Tuesday, January 23, 2018
Muppet Inspired Hand Puppets!
I believe that genius is being able to turn your mother's green coat into a world famous frog, which is why the genius of Jim Henson was the springboard for last week's art project, starting with a slide show discussion and this documentary that shows behind the scenes at The Muppet Show.
The making of the muppet show 1982 - YouTube
My high school students, then got busy creating a character for their very own hand puppet. They researched, sketched, cut and glued. Some puppets were as simple as a couple of pieces of craft felt stitched together and turned inside out before embellishing.Others were more elaborate puppets with mouths that opened and closed. A variety of materials are important for creative detail work: pompoms, puffy paint, lace, upholstery fabric, glitter, foam, wiggly eyes, doll hair, and ribbon.
I have planned a field trip to see Muppets up close at the Center for Puppetry Arts museum, and we'll catch "The Wizard of Oz" performed with marionettes while we're there. By the end of the week, it was clear that puppetry arts are a happy marriage between performing and visual arts!
Sunday, August 16, 2015
Collaboration Celebration!
We are back in school and my art room is abuzz with busy artists! Last week, as schedules were getting settled and students were trying to learn class procedures, I had them each create a portfolio (giant paper folder). They had their choice of medium, as long as their name is the focal point. Some used foam stamps, others, marker, hot glue, colored pencils and stencils, and pastel. But with a huge range of ability levels, I found that some students, and some classes work more quickly than others. In order to keep each student engaged in the creative process (and out of trouble), I kept a large piece of butcher paper a table.I used green paint to divide the paper into round shapes, which were then hot glued, so that blind students could feel their boundaries and stay in their section. When anyone had some extra time, they were invited to use pastels or oil pastels and create a pattern within a shape.
My advanced class of low vision students made their own "mural" by dividing black paper with high contrast lines, creating triangles of various sizes.
It was a great introduction to not only shape and repetition, but unity and variety as well. Every class has students who are very unique, but we can be united as a community of learners, just as parts of a "mural" can be visually united. We also discussed the fact that collaboration means having respect for others and their contributions. I have a good feeling about what is possible for my students this school year.