Showing posts with label Museum of Art and Science. Show all posts

Friday, December 26, 2025

Recent Field Trips: Festival of Trees and GA & GA Library Services for the Blind

I feel so fortunate to work at a place that supports my belief that learning for my students extends beyond the walls of my classroom. 

The origami ornaments we made in the classroom was part of a tree design for the festival of trees. This exhibit is one of the biggest fundraisers for our local Museum of Art and Science. It is one way we can contribute to society while simultaneously creating an awareness for our school and art department.


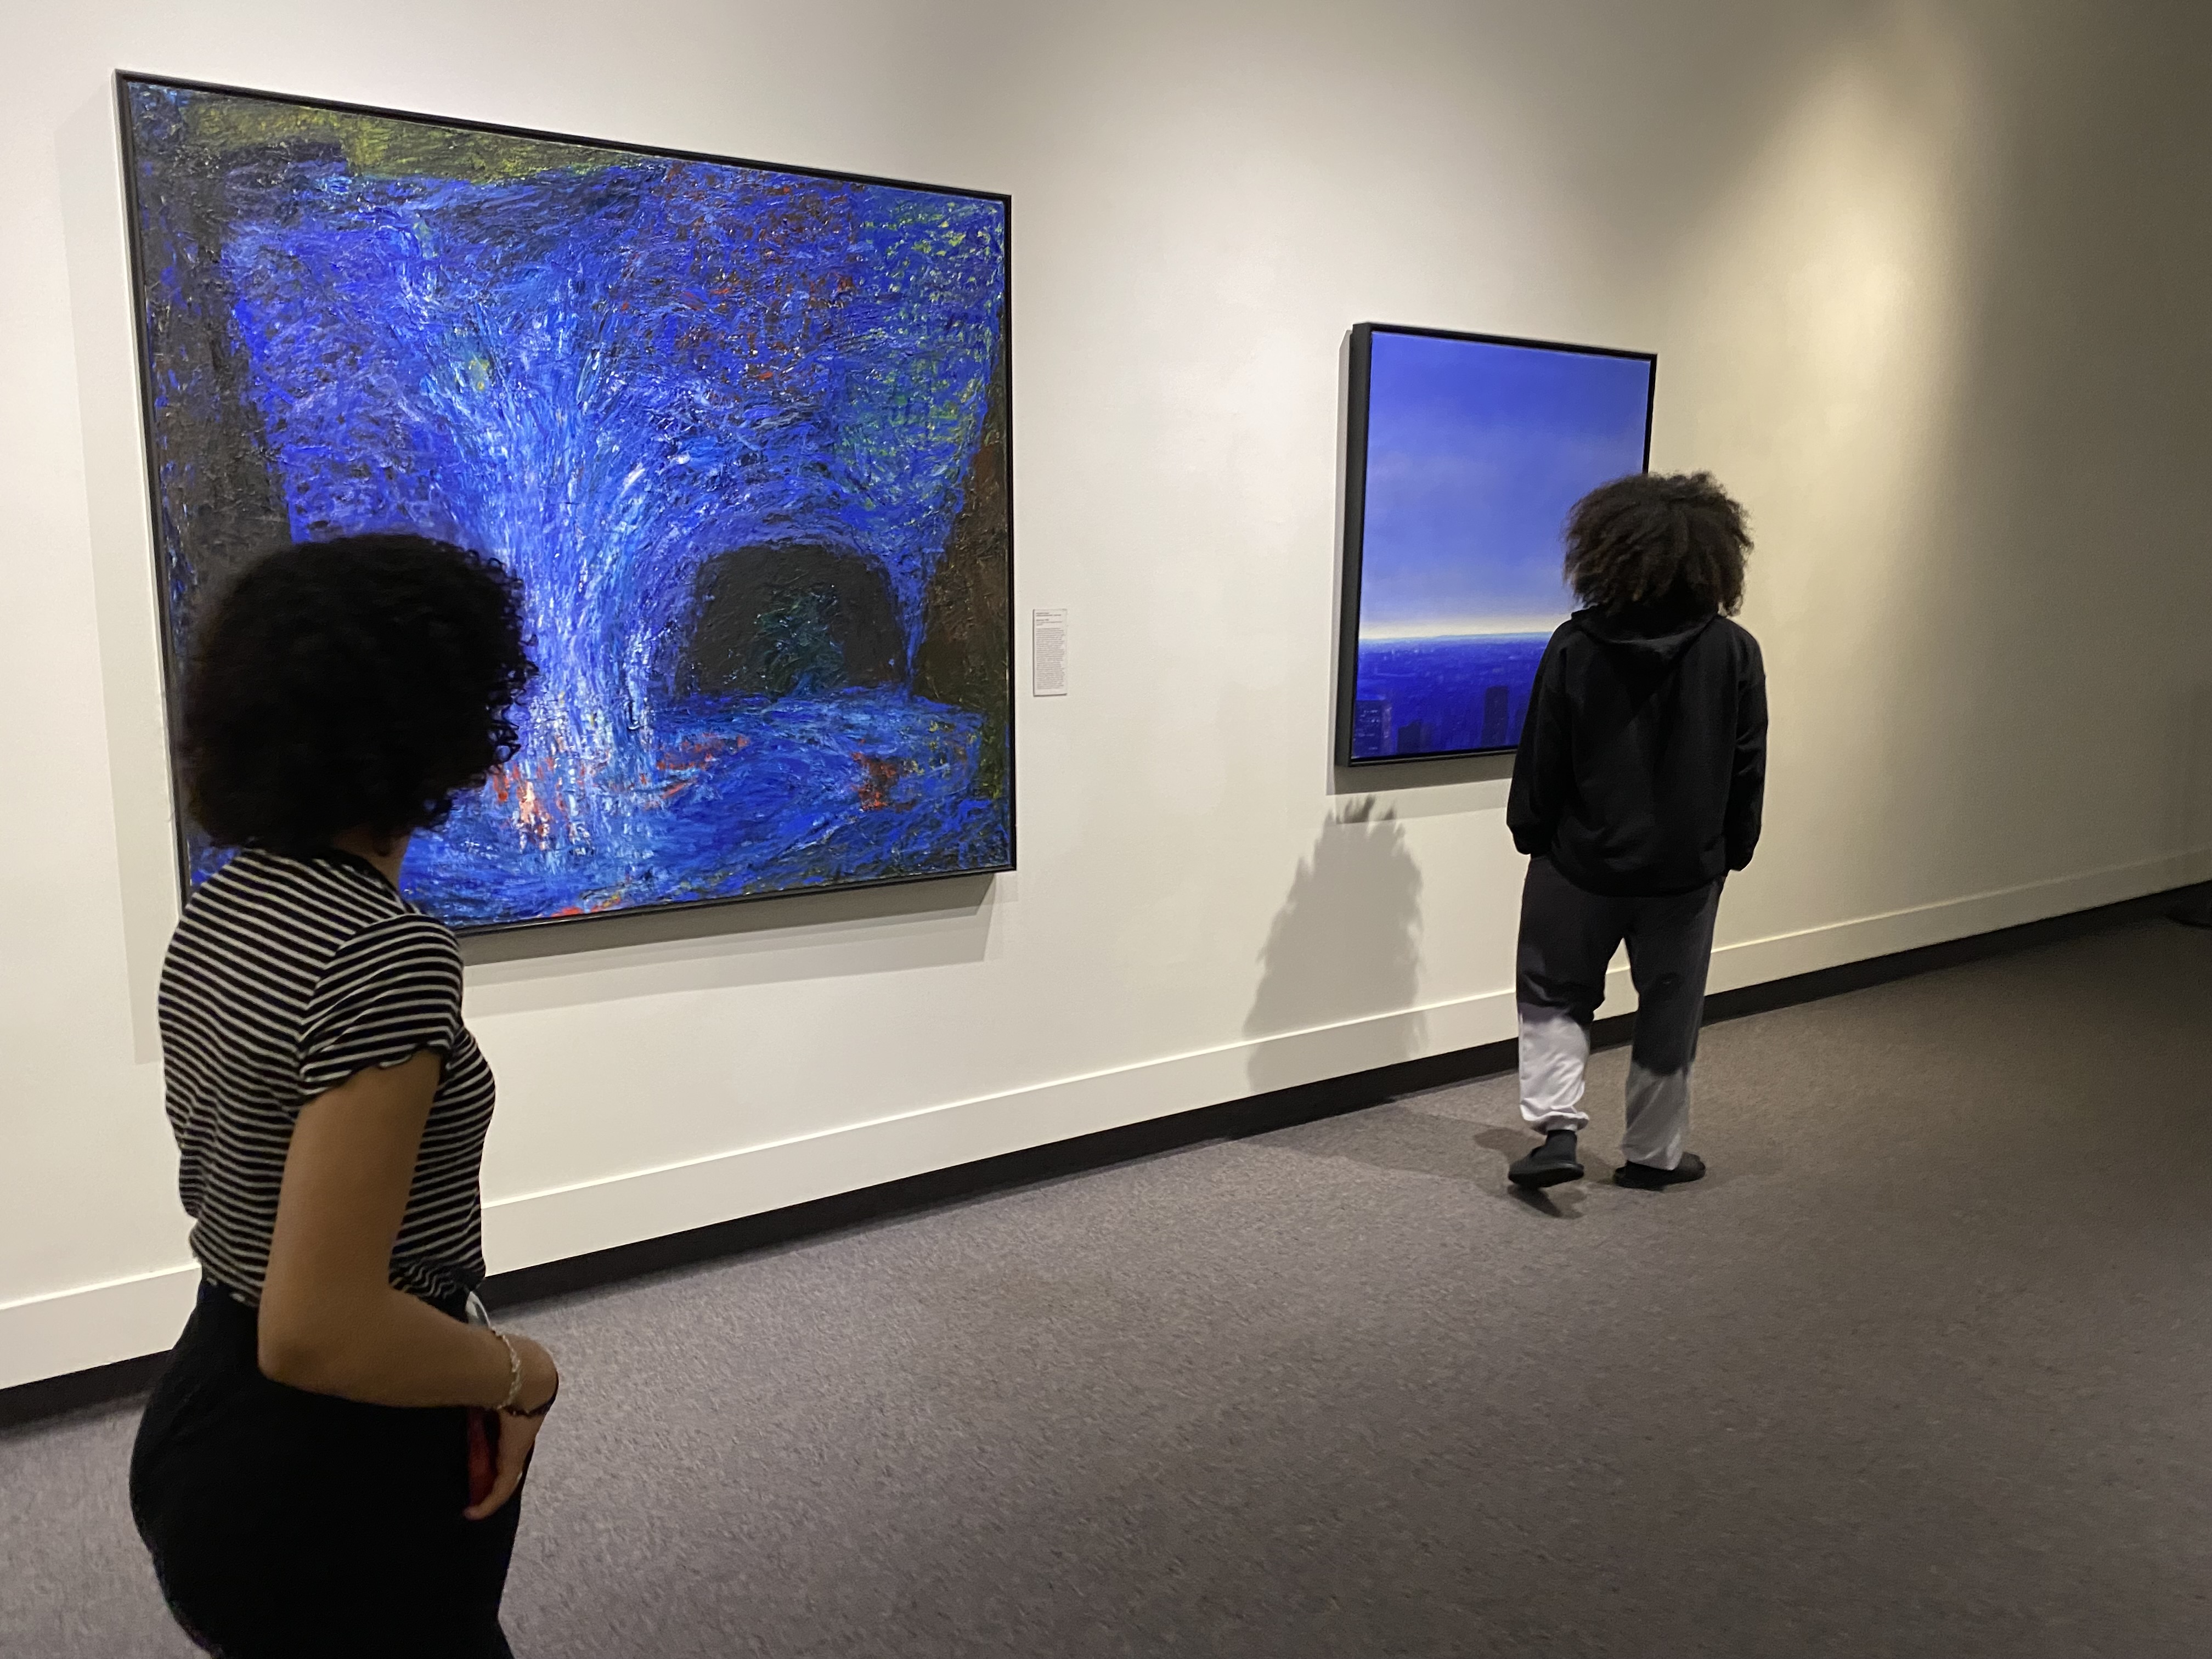
I have few enough students that the museum has allowed me to bring them to help decorate the tree, and while we're there, we explore the museum, which always has wonderful exhibits. 

Students could explore the mini-zoo, dance in the light box, build with blocks and magnets, and dig for dinosaur fossils. They had a room for an immersive experience with sound and images sorounding the viewer.


But I was pleased to see that many were happy making art. The tactile plates to make crayon rubbings was perfect for students who are totally blind.

A week later, we made the trip to Atlanta to learn about Georgia's Library Services for the Blind. There are so many accessibility tools and support groups that can help my students tap into the world around them. 


The Atlanta Library has a lot of local artwork, and so many pieces were fabric portraits, similar to the projects we had recently completed. It was fun to audio describe these pieces for my students who couldn't see them.  And the Library Services area had art that was tactile and begging to be touched. We were happy to oblige.

We paged through Braille picture books and played Braille or large print BINGO and than had lunch at the famous Varsity.

Hopefully these experiences will be not only memorable but transformative. I want my students to know how to be part of a larger community where they can both serve and be served.

Friday, December 6, 2024

Festival of Trees 2024

Every year our local Museum of Arts and Science hosts a Festival of Trees, and I like to sign up for my students and I to execute a fresh idea for a tree design.

Trees are an important symbol of Christmas, but they also represent knowledge and growth. Because Georgia Academy for the Blind is a place of growth and learning, GAB Art classes decided to incorporate the elements of trees to our "Festival of Trees" design. Our campus has twenty-two acres of land and 170 trees from which we collected pine cones and sticks. We painted, gllued, wrapped yarn, and strung wooden beads to make these ornaments. All of our students are blind, but the tree incorporates sensory experiences beyond vision: the smell and feeling of the prickly pine cones and sticky sap, the taste of cinnamon and orange, all contribute to the rustic and outdoorsy holiday experience our woodland tree provides.


students explore the museum
Once we do the hard work of making the ornaments, we get to the fun part: the field trip to go decorate the tree. The museum has been so generous in working with our special needs. We always love to explore the minizoo and the artist's loft and the hands-on science exhibits. This time, students got to pet an alligator!
And then there's the Festival of Trees Gala, which is the main event and fundraiser for the museum! It's nice to see all of the community sponsors sharing ideas and the Christmas spirit! I love being part of my school and I love being part of Macon, GA!


the gala food is always to die for!
The cakes hung from the ceiling like ornaments


Saturday, December 3, 2022

Festival of Trees

It's that time of year again! The Museum of Art and Science has it's annual Festival of Trees and my students and I love to! At the Academy for the Blind, we make sure our projects contain a tactile element, but this year, one of my students suggested we incorporate sound. So we made clay bells to hang, and we have a speech device on the tree skirt. It was truly a sensory tree. The museum employees say that children know just what to do when they see the button. They run over, push it, and hear my students wishing them a merry Christmas!
For our 3D snowflakes we used discarded Braille book pages. It's been fun watching my students find words and parts of words on these ornaments that they can read, like little hints on what story may have been contained there before we cut each page up into 6- 3 to 5 inch squares. We folded the squares, diagonally twice to make a triangle, which had three slits cut into the side, parallel to the none-folded bottom, longest side of the triangle, Then we opened and glued the strips to make each of the six portions of the snowflake which were than glued together. You'd probably need to watch a video to know what I'm talking about and there are plenty out there for you to choose from.


We spray painted some red and some green, while leaving plenty of them white. They are supposed to be snowflakes after all, but we didn't want it took look like we just dumped a bunch of copy paper on the tree, and the spray paint helps intensify the Braille's texture. Then we used red and green card stock to make different kids of ornaments, that don't require much time. We were down to the wire
I took about a dozen students on a field trip to the museum to decorate the tree. Our assigned tree ended up being right by the entrance to the museum and it didn't take us long to finish the task. Then we were able to explore the museum.
The hands on exhibits are the most fun, and my high school students are fun enough to participate in things like puppetry, building toys, fossil digs and magnetic tiles. I love the museum; I love my students; and I love celebrating the season!


Wednesday, October 21, 2020

Paper Roses


I have been keeping my hands busy during virtual faculty meetings and family movie nights with this simple process for making paper roses. Now it is my student's turn to contribute to what will hopefully a stunning tribute to Helen Keller and those with visual impairments at the upcoming community Festival of Trees. The steps below 


Each paper rose requires four squares of paper (the same color.) A normal 8 1/2 X 11 sheet of paper will get you 4- 4 1/2 squares, or 2- 5 1/2 squares.  Or you can get 6- 6 inch squares from an 12 X 18 piece of construction paper.
 Fold each of your 4 squares in half, diagonally three times to create 8 triangle shapes radiating from the center. Snip the very tip of the folded triangle, and then cut the non-folded edge to be a rounded petal shape. You can cut the petal edge with a simple rounded shape. I like making three bumps with the largest in the center.


Open up these up and you'll have four flower shapes.

Cut one petal out of the first flower, two from the second, three from the third, and the fourth will be cut in half for two four-petal sections. This will leave you with eight parts in the following sizes: 1 petal, 2 petals, 3 petals, 4 petals, 4 petals (again), 5 petals, 6 petals and 7 petals.

Use a pen to curl the petals back.
Start with the largest piece and glue the ends together, overlapping the end two petals.
Then repeat with each section working from largest to smallest, and nesting each one on top of the other, gluing each  of the eight layers. You'll end with the tiny one petal curl in the center.
 It's that simple! I played Marie Osmond's Paper Roses once to inspire me. Enjoy the process and the product. 


Thursday, November 7, 2019

Vision of Christmas Tree for the Visually Impaired

The Museum of Art and Science has an annual Festival of Trees exhibit. This year, my students and I participated as a way to advocate and inform the public about what it means to be blind. I spent a couple weeks teaching my students how to make ornaments that do that. We cut pages of a Brailled magazine into 3/4" X 22" strips to fold into Moravian Stars and we cut and painted wooden dowels to make white cane ornaments. The black handle and the red bottom was made with colored tape, and the tips were made with beads. Red was added to white canes so that they could be seen in the snow. There are a lot of different tips of cane tips to be chosen according to the needs of the user. There's a pencil tip, which most of my students avoid since they get caught in side walk cracks; there's a marshmallow roller (a cylinder wider than the pencil tip, which is about the same size, shape, and color of a marshmallow), a ball tip, which is very common, and a disc shape jumbo roller.


For students who couldn't handle the complicated instructions of the Moravian star, I taught them create curls of Braille by rolling it around dowels and pencils.  Some of these, like the stars were dusted with gold spray paint.


Left over Brailed paper from the magazine was cut into quarter or half inch strips to create quilled ornaments. These ornaments make tactile images of hearts, flowers, angels, birds, snowflakes and snowmen, once glued to cut up plastic covers to Braille books.  There were also Braille beads that students strung to make words like "Joy" and "Peace," but we ran out of the letter beads we needed after a handful of ornaments.  For the tree topper, I made a large Moravian Star using poster board cut lengthwise in 2" wide strips. Two strips were glued together and folded in half.

  I took twelve high school students the the museum to decorate our assigned tree for the display. We titled it "Vision of Christmas" and if you look close enough you'll find some stress balls that look like eye balls peering out from boughs. We're not afraid of whimsy and it matched our theme.


While we were at the museum we checked out the art exhibits, the mini zoo, the artists workshop and science center for lots of hands on fun.  After a picnic lunch we made it back to the school for the second half the day, with our hearts full of early Christmas cheer.


Thursday, September 22, 2016

Inspired by Origami

The Museum of Art and Science in Macon, GA currently has a wonderful exhibit of New York artist, Gloria Finklestein's work from the 80's and 90's. The pieces have titles related to Japanese culture, such as "Obon" (the sash one wears around a kimono) and "Hanabi" (which literally translate's into "fire flower" and means "fireworks"). The title of the show was "Origami Interpretations," so to prepare my students for our field trip, I had them make several origami objects. We started very simply with a cat and/or dog and tried to use tactile methods of making it more believable and meaningful for my blind students. They then chose whatever they wanted to make: boats, cootie catchers, balloons, boxes. We also watched Robert Lang's Ted Talk "Flapping Birds and Folding Telescopes" about new origami methods. https://www.youtube.com/watch?v=UNdD5Kxdkpg

The museum was so accommodating, in terms of our visual impairments, offering tactile swatches for students to feel, and a template of the obon shape since the actual canvas could not be touched. Several of Finklestein's pieces were meant to be touched, however, with circles that spin and panels that flip. While we were there we attended a planetarium show, animal show, explored the Discovery House, took a nature walk, and had a picnic before coming back for the last three periods of the day.

The follow up assignment was to create a sculpture or collage in the style of Gloria Finklestein. In other words, to make something inspired by the artwork that was inspired by origami. Students used cardboard triangles, glue sticks, and origami paper, or colored copy paper with their own pattern. Some of the collages had cardboard shapes under the paper to help it become easier "see" with their hands.


When a relationship is formed between a teacher and a museum, it can take education to the next level, and make a learning unit more memorable for the students who experience it.


Monday, June 29, 2015

The Armadillo Project

Georgia based artists, Alexis Gregg and Tanner Coleman were recently commissioned by Macon's Museum of Art and Science to do an installation piece. After playing with several ideas, these ceramicists/sculptors decided to create a brick armadillo bench for the nature trail by the museum. My family got to help with the piece, which was pretty fun despite the triple digit temperatures.

Alexis and Tanner have done large brickworks in Australia, China, Thailand, Taiwan and Turkey!


They begin the process by stacking wet bricks and carving their shape. They mark each brick with a code before loading them into the kiln. Once the bricks are fired, they are hauled to the site. That's where we came in. My kids (and one of their friends) helped carry hundreds of bricks and sort them by letter, which told the layer of the sculpture.


The boys also helped to dig out the shape of the bottom of the sculpture, which Alexis and Tanner then filled with cement. We carved our names into the cement before it dried.

The next morning we started creating the shape of each layer by arranging the numbers in order. Tanner had drawn maps for each layer in a notebook to reference. If a brick is missing, it throws everything off, so great efforts are made to find every brick and be as accurate as possible, especially on the first couple of layers.


My daughter and I came out a third morning to organized the bricks for the back of the bench so that the masonry work would go faster for the artists. They'd mixed a mortar that matched the color of the brick very nicely.

And here is the finished bench. If you've ever wanted to relax in the shade on the back of a big armadillo, here's your chance. While this is a much smaller piece than say, their fifty foot dragonfly in Atlanta, it still took a tremendous amount of time and effort. Real art requires real sweat. Alexis and Tanner are no strangers to rolling up their sleeves and doing what it takes to make great things happen, and I am grateful they let us be a small part in the process.