Wednesday, May 21, 2025

Enchanted Forrest Prom


This year our school prom had an Enchanted Forrest theme, so the first thing I did was find last year's beach themed paintings to repurpose. I did a sketch on copy paper to trace onto plastic and then projected it onto the the old paintings for students to trace with chalk. I love the fact that a $5 roll of vynal wall paper could be used to decorate three proms. (If you were to flip it over, you'd see large black and white movie stars from our Hollywood prom.)


Next we did the underpainting. I have some students who can be trusted to paint large areas even with their visual impairments. And then came layers of bark, grass, and details like pink in the skies.


I freshened up the underside of the paper maché mushrooms from our Alice in Wonderland prom. The packing tape was hot glued along the stem and outter rim of the umbrella to look more fungal.


Our high school social studies teacher painted glasses and vases for stems, and hot glued class beads to bowls for mushroom tops.


And then I put battery operated candles inside the stems and viola! You have a mushroom lantern.

Woodland flower center pieces were made with details such as small animals, butterflies, pebble paths, and moss. When they were surrounded by tea lights, they felt even more enchanting.

Then came the big event, which for the first time in years, was off campus. The venue was beautiful and the senior lead out made me cry. Some of my students who are graduating high school have been my students since first grade. It is going to be extra hard to say goodbye to them.


Tuesday, May 20, 2025

Ceramic Carving Assignment


Making tactile images in my art class are a must. All of my students are visually impaired and half are totally blind. We draw with Wiki-stix, glue, string, puffy paint or by embossing foil. but clay tablets are another solution. This assignment worked really well for my students who normally don't like working with clay because they have tactile issues with anything gooey, slimy, or even sandy in texture. I used clay that was already starting to dry out a little before I cut off slices. Students ran the clay through the slab roller and then it felt more like a thick, heavy piece of fabric since it had the canvas texture pressed into it from the rolling process.


While the clay was still malable, students pressed the ends of pencils or paint brushes to make repeated patterns for boarders. Than they lightly drew an image into the center before carving away the background with ceramic tools. Some students used stencils to get the design that they wanted.

Once the clay was fired, Students were able to feel where to paint (acrylic) each color. Students who were totally blind usually opted to paint the entire thing one color before dry brushing across (perpendicularly) the surface of lines so that only the foreground would get the second color.

Many of these were made as trivets, to set hot pots on. Others had holes made before firing to string twine or ribbon through and make it into a wall hanging. They were the perfect gift for Mother's Day and 


Monday, May 19, 2025

Clay Balloon Bowl Assignment


Slab bowls are easy to make for beginning art students. For this assignment we used balloons (taped to cups for stability) as a structure. We rolled out slabs of clay on the slab roller, but a rolling pin works as well. Then we cut the clay in to circular or oval shapes and draped it over the balloons. Some students created texture by stamping or rolling wooden tools over the surface before forming it into a bowl.


Students decided if they wanted the form to be crinkled and organic, like draped fabric, or more smooth with the excess trimmed away. 

Then they added a foot using a score and slip technique. They had the choice of creating a coil to make a circular foot, or rolling three small balls to make legs, some of which were formed into pyramids or cylinders after attaching to the bottom of the bowl. The balloon doesn't create very much resistance so it was a challenge, but only one student ended up popping their balloon while scoring the clay with a ceramic needle.  Once the clay is leather hard, they can be set right-side up, and the balloon can be popped or just allowed to shrivel up, while the clay dries completely. We did a bisque firing in the kiln at cone 06, and then glazed the inside. Some students glazed the inside and the outside, but it's important to keep the glaze off the feet so the bowl doesn't glue itself to the kiln shelf. It is a simple project that yields great results when it comes to the basics of working with clay.


Sunday, May 18, 2025

Tactile Screen Prints for the Visually Impaired


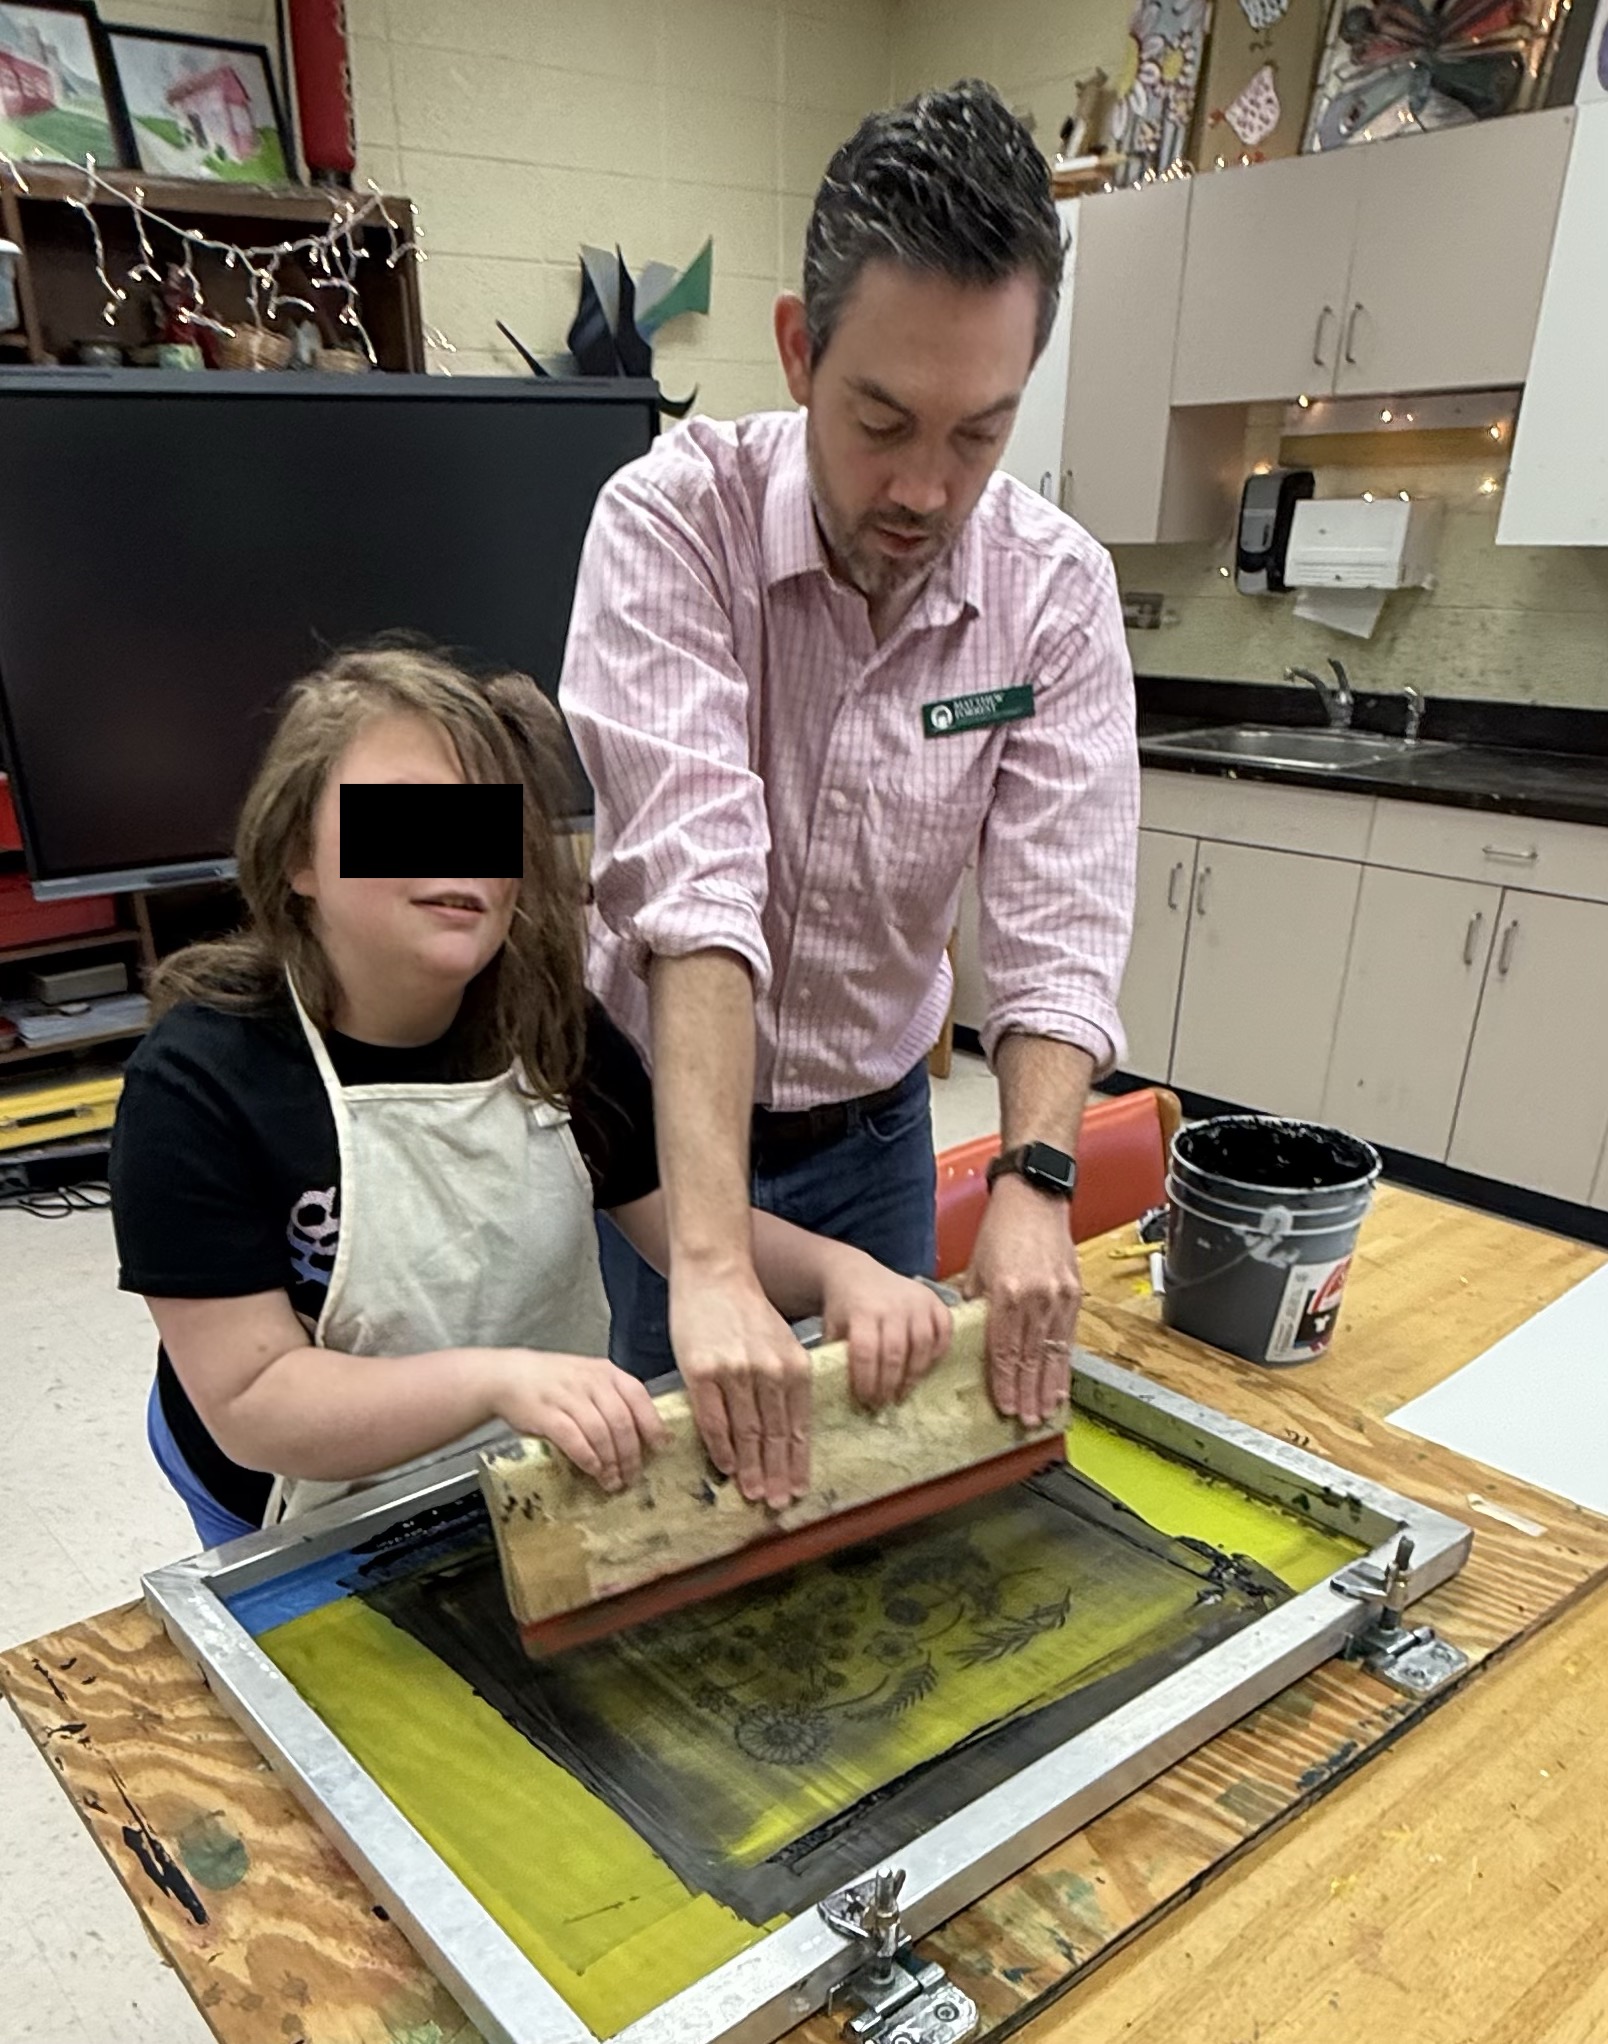
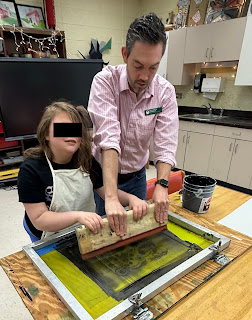
For years a partnership with Georgia College and State University has blessed the lives of my students at the Academy for the Blind. College students have learned service learning and community outreach skills, and my students have benefited from art workshops. This year, Matt Forrest, professor and friend, came to make some tactile prints with my students.

First they screen printed flowers onto good printmaking paper (BFK). While the ink was still wet, students sprinkled the image with a a dusting of plastic. The paper was shaken for an even coverage and excess flocking was funneled back into the jar for the next student's print.


A heat gun was used to melt the plastic, which made a raised surface wherever there was ink.


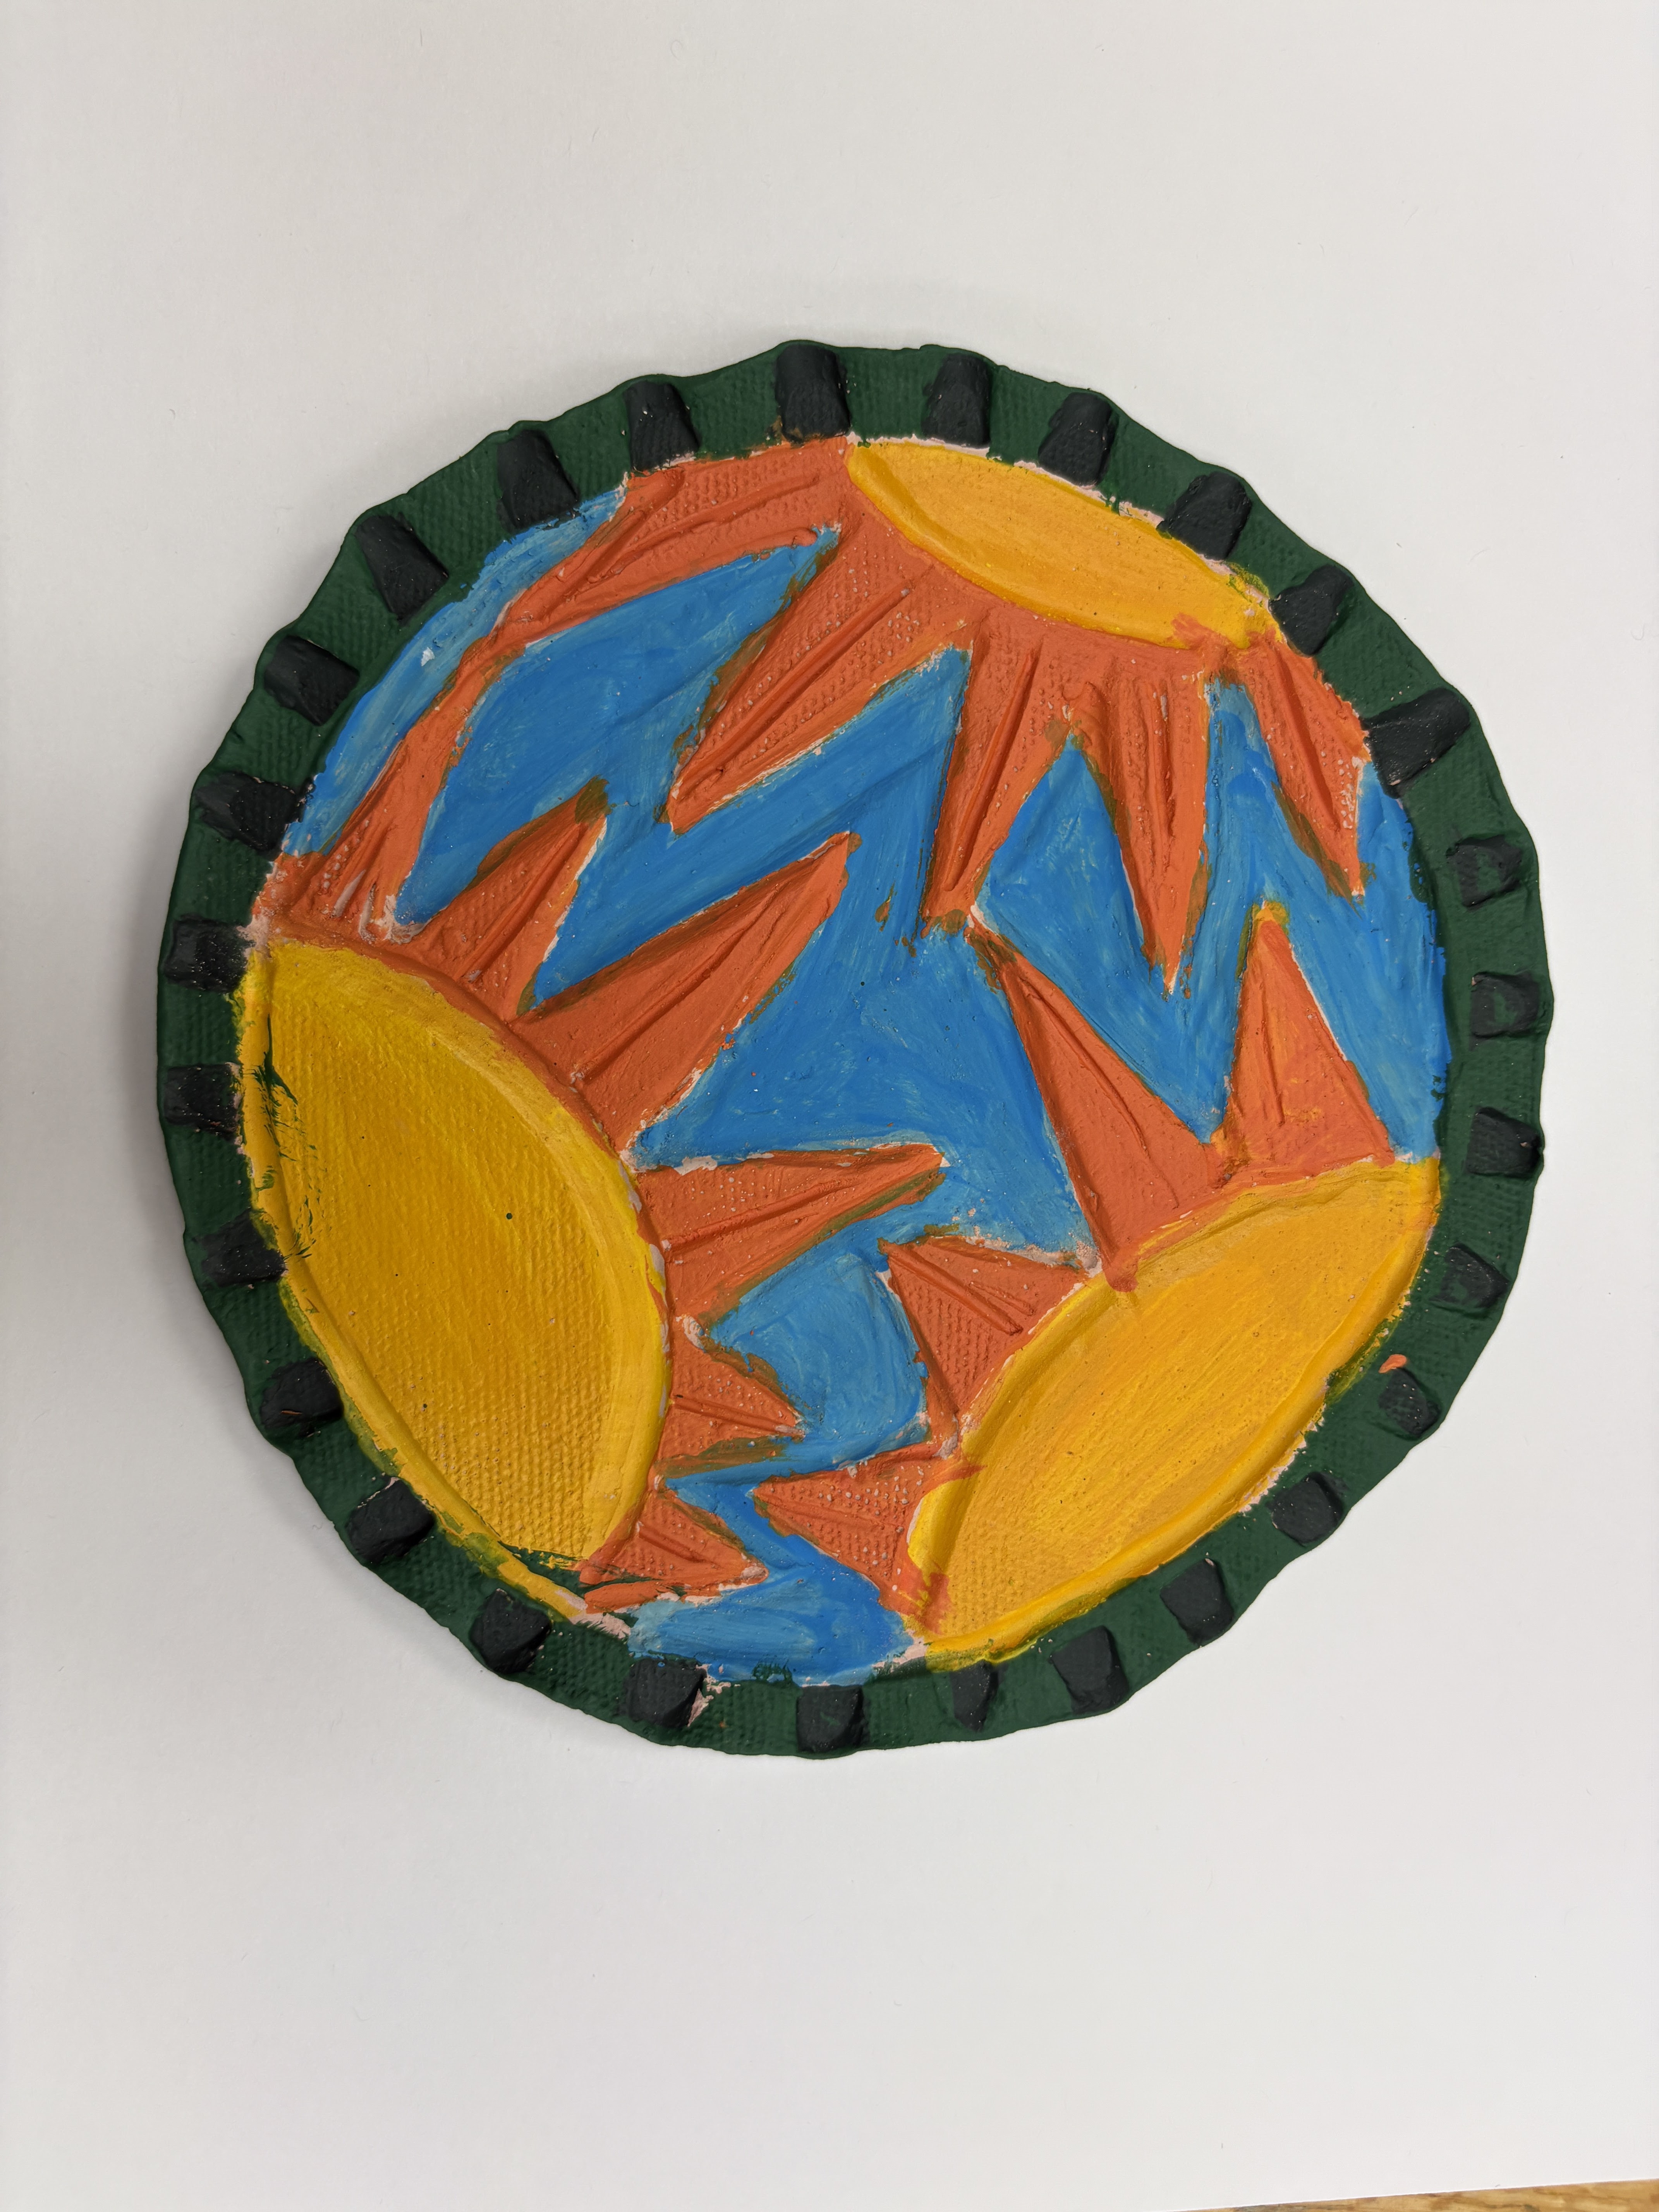
Making the image tactile, helped visually impaired students color in the lines. They used watercolor crayons and colored pencils, which allowed them to use several colors on a single flower before blending the colors with a paintbrush of water. Everyone was so excited about the outcome. 

Even students with no vision and little hand control could color the entire background with several colors and make washes from applying water. Many of these art pieces went home just in time for Mother's Day.